For most cart owners, spring and summer are probably the most common time that they ride.
However, other people may find that they want to store their cart during the summer for some reason.
Perhaps you live in a hot-weather area and the summer is too extreme for your cart riding.
Whatever the situation, you must take good care of your golf cart batteries to ensure that they don’t get damaged.
The following steps will provide your cart with the protection that it needs to stay strong and to avoid battery damage that may force you to buy another array of cart battery cells.
1. Choose a Good Place to Store Your Batteries

Before moving on to proper battery storage, it is a good idea to find a place where you want to put the battery.
This step is one that doesn’t take a lot of time but must be done carefully to avoid complications.
The exact place that you choose doesn’t matter that much, as long as you find one that meets the following criteria as closely as is possible for your battery’s needs:
- Sealed off in some way, such as a small closet in your home used for little else
- Easy to manage atmosphere – find temperature- and humidity-control methods for this room
- Lack of sunlight – sun will warm up the storage area and cause damage to the battery
- Away from other people – keep your battery in a spot that nobody else will consider
- Easy electrical access – you are going to need to use a charger to keep your battery strong
All of these steps are fairly simple and shouldn’t take you that much time to manage.
You should do them long before you decide to store your battery.
Otherwise, you may end up scrambling to find a good place to store it.
We always suggest putting your battery in your home because this helps to make sure that it doesn’t experience any damage that may occur during the summer.
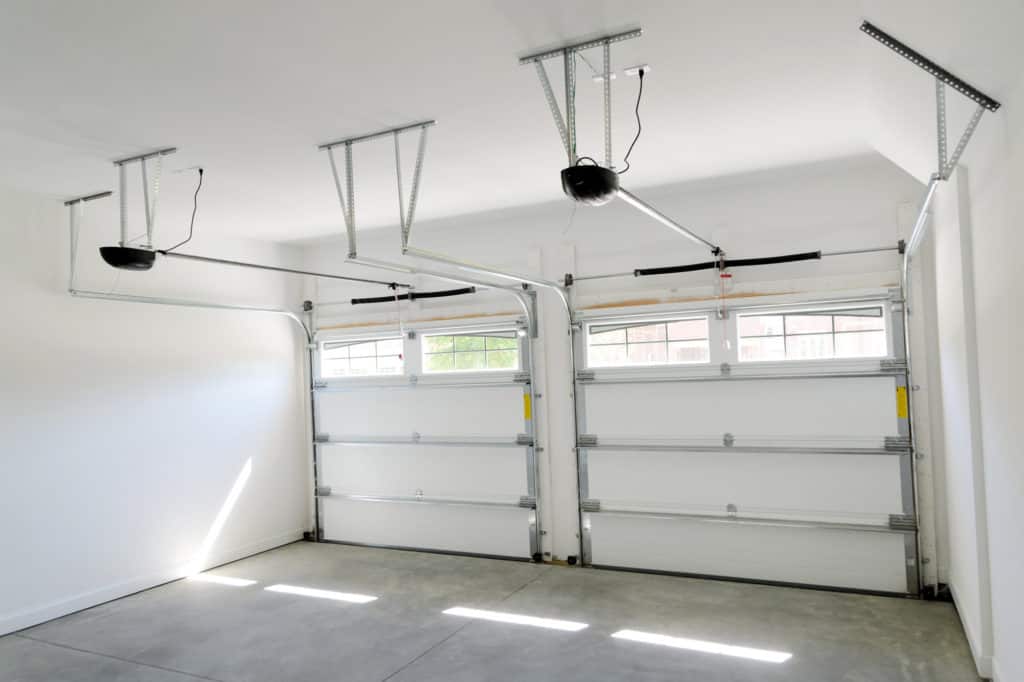
However, some may prefer to place their battery in their garage or a storage shed.
We understand this step because it is often easier to find a place to put them in here.
If you do, try to keep the temperature at around 70 degrees Fahrenheit and keep the humidity level balanced, too.
2. Clean the Batteries Properly

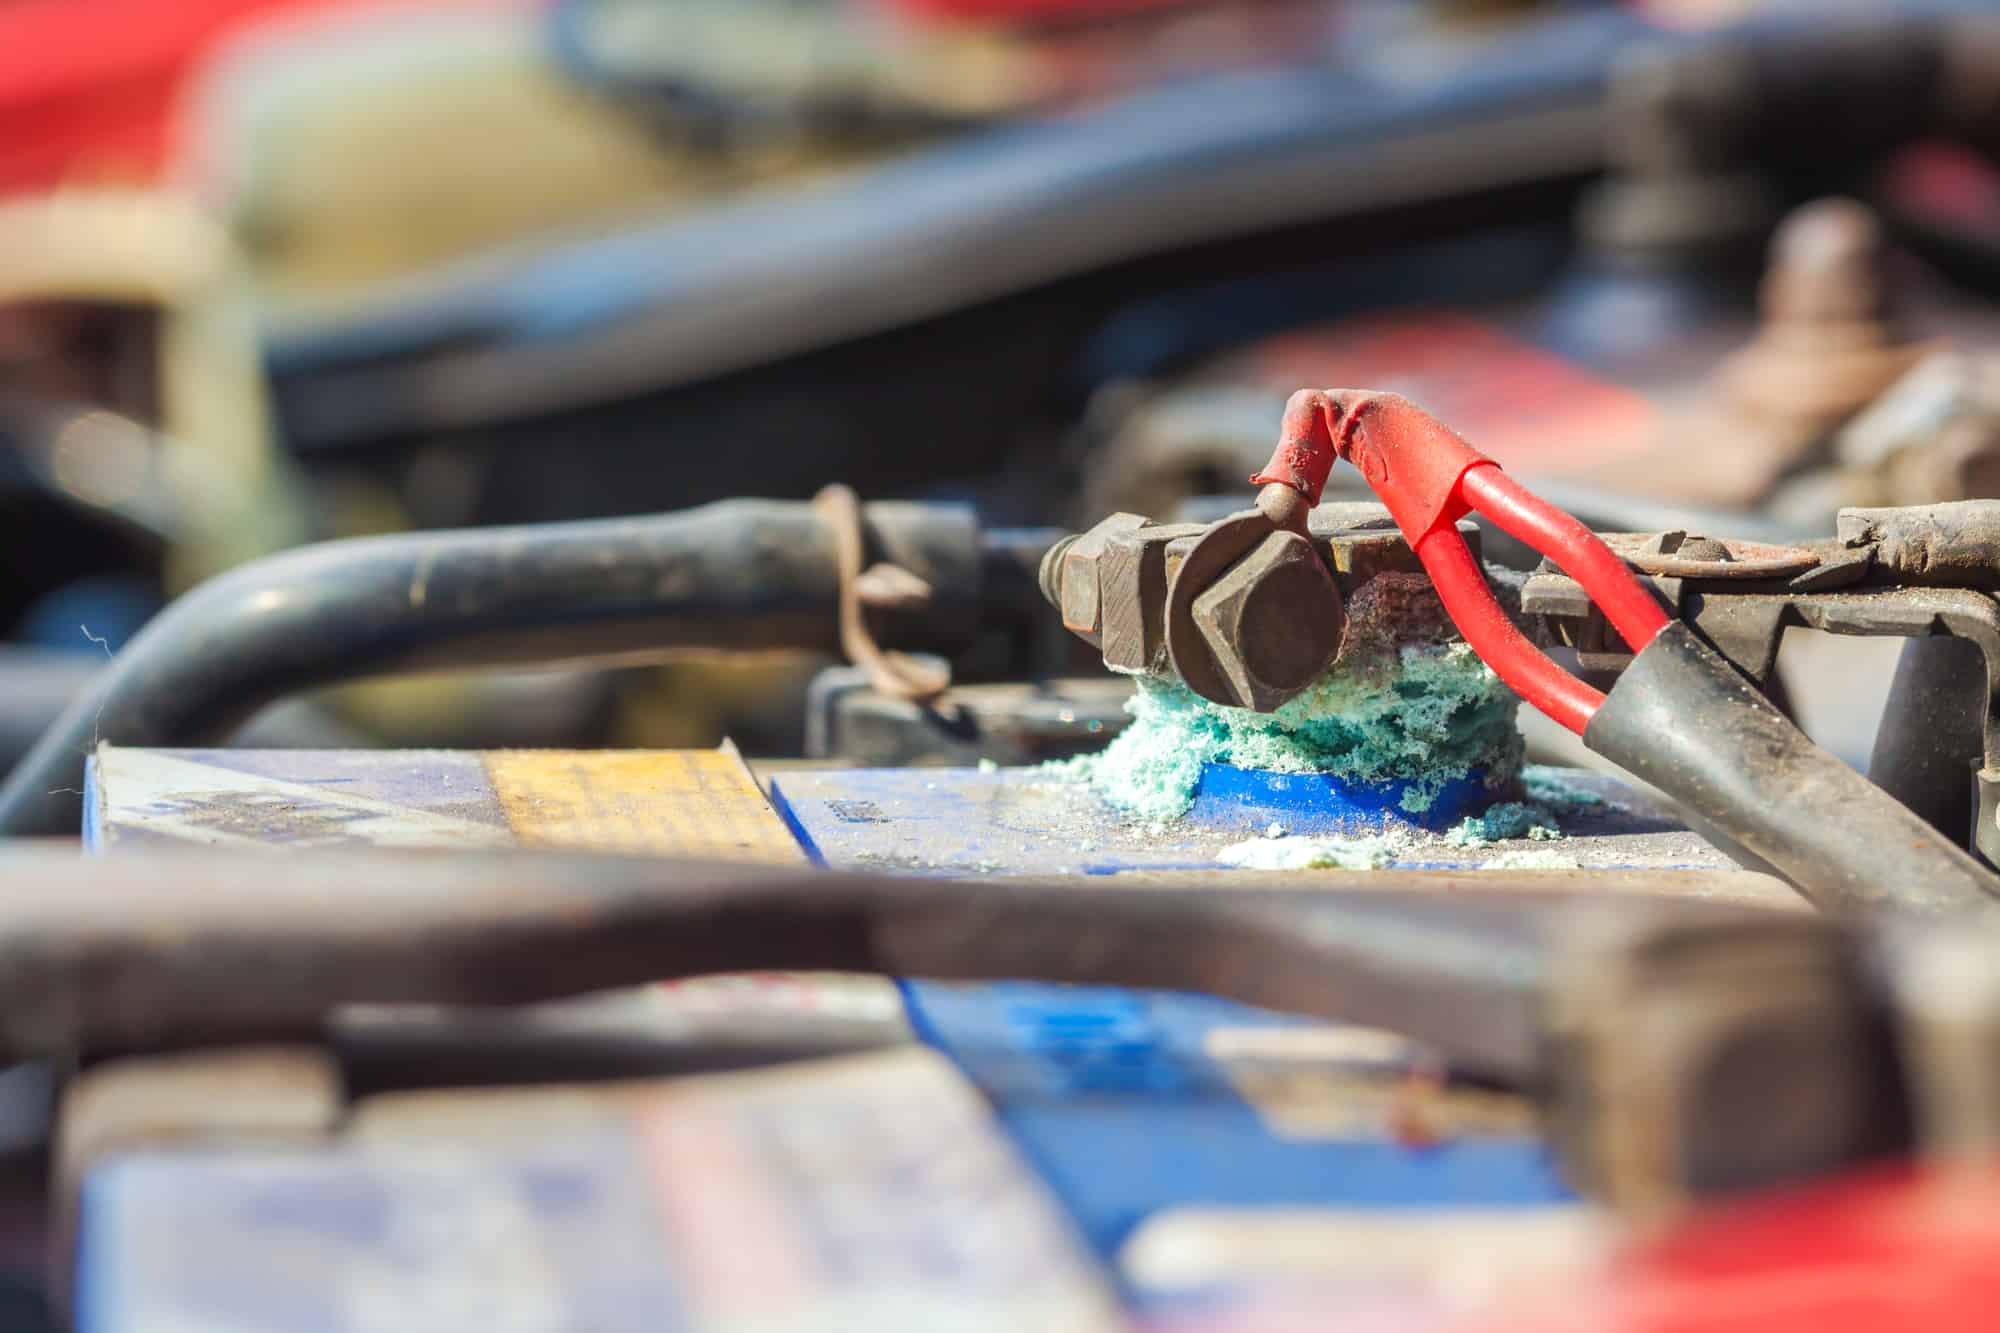
Before you store your batteries, you need to make sure that they are fully clean to prevent any unexpected damage from spreading.
This situation is usually quite simple to handle and doesn’t require a lot of excessive work.
The following steps should be more than enough to help out in this scenario:
- Carefully remove your battery from your golf cart and place it in your storage area
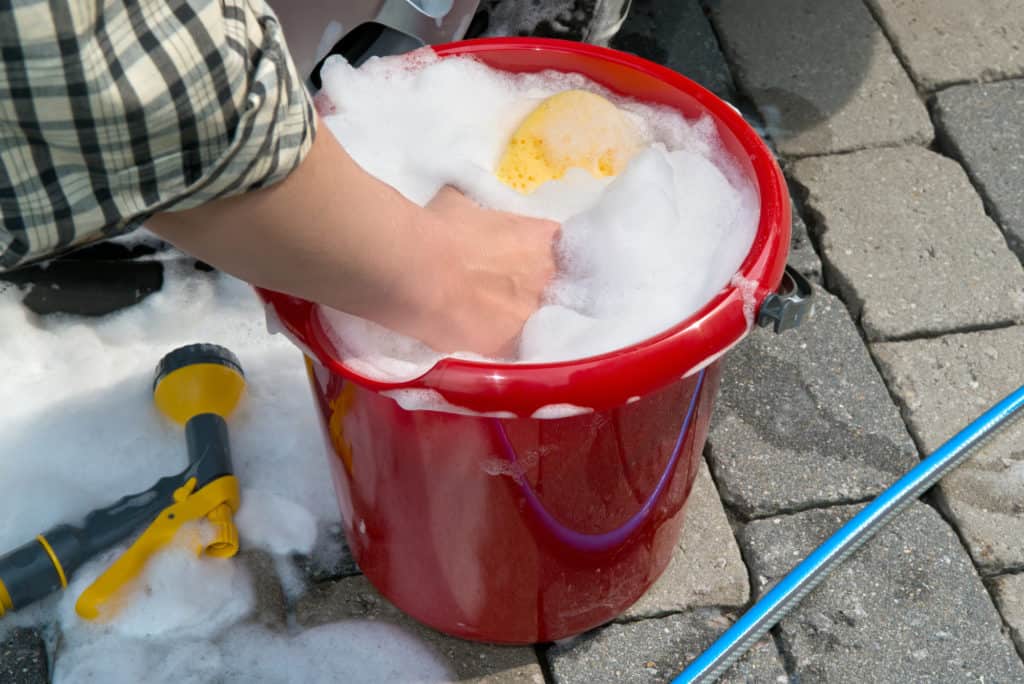
- Spray a battery neutralizer – baking soda and water – on the battery and scrub its surface
- Use a toothbrush to break away stain and any other dirt that may be on the battery surface
- Scrub the inside of the body panel walls to makes sure that you don’t miss any stains here
- Wipe the battery down with a dry rag to ensure that it doesn’t get too wet at any point
At this point, your battery is pretty close to being ready to store.
However, there are a few other steps that you need to take to ensure that it doesn’t run into any problems.
3. Inspect the Battery Structure
 “08/01/2009 – Batteries” (CC BY-NC-ND 2.0) by G A R N E T
At this point, it is crucial to inspect the battery surface to make sure that it doesn’t have any obvious damage.
The steps here shouldn’t take you too long to handle and include how you should:
- Check the surface of the battery compartment for any cracks or other types of damage
- Inspect the terminals to make sure that they are clean and attached properly
- Watch for any leaks of water or acid after the battery has been sitting for a short time
- Spray a bit of water on the surface and watch for bubbling to see other signs of leaks
- Wipe down the surface one more time to break apart any damaging elements on its surface
If your battery shows any signs of excessive damage, then it may be time to get it replaced – you don’t want to tolerate a damaged battery in your cart for too long.
However, if the structure seems fine and you have cleaned it off properly, you can move on to the next few steps.
4. Fill the Water Cells

Did you know that your golf cart battery has water throughout its cells?
If you didn’t, it is important for you to know when storing because you’ll need to fill them back up if they get dry.
Heat, in particular, can cause the water to evaporate from your battery cells and leave them in danger of getting damaged.
The following steps should help to keep your battery protected from this potential issue:
- Open the Top of Your Battery – Look down into the cells to see the water – there should be a line on the side of the cells that indicates how much water you need to add to the battery.
- Measure Out the Water – Use the line mentioned earlier to identify how much water must be added to the battery – you want to have the plates on the bottom of the battery covered with water here.
- Find the Best Water – Do not, we repeat DO NOT use tap water for your cells – this water has minerals and metals that may cause damage. Instead, use only distilled water that has been filtered properly.
- Fill Up the Cells – Slowly pour water into the battery at a controlled rate and stop once you reach the line on the side of the battery. Remove any excess water via a hose and if you add too much.
- Finish Up – Close the top of your battery and place it in your storage area – keep extra distilled water near your battery because you may need to fill it back up again during the summer storage period.
We suggest putting a small refrigerator – a portable one will do – in your storage area and placing the distilled water inside.
Though the water doesn’t have to be chill to protect your battery, placing it in a fridge keeps it from evaporating in an exposed area.
Make sure to check your water levels throughout the summer to avoid any issue – we’ll discuss more steps to take later on in this article.
5. Keep the Battery Charged
 After your battery is fully prepared and looks ready to store, it is crucial that you take the time to keep it charged up.
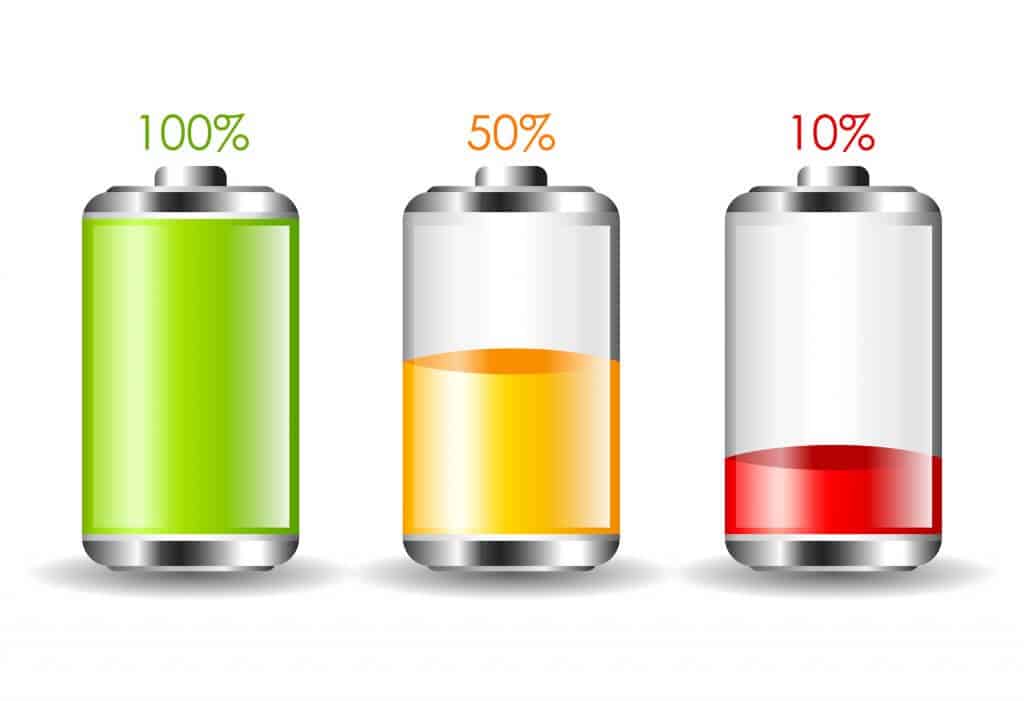
You want to charge it to its full level before you store it because this helps to keep the power level from dropping and damaging your battery.
However, you also need to make sure that you use a trickle charger to ensure that your battery stays strong.
The following steps should make it very easy for you to charge your battery and can be used on any cart model on the market today:
- Place your battery on a normal charger in your storage area
- Wait for the battery to fully charge – this may take a few hours
- Remove the battery and test its charge to ensure it is full
- Place the battery on a trickle charger in your storage area
- Regularly inspect the battery to make sure that it remains strong
If you don’t know what a trickle charger it is for a golf cart battery, it is a charger that provides a steady stream of electricity that doesn’t overcharge the battery.
Instead, it works to keep the cells active while they sit for extended periods.
This flow of electricity is often critical for any cart owner who wants to avoid damaging their cart and causing any damage to the battery as well.
Critically, you should also make sure that the battery never gets too hot during its charging period.
Temperatures over 90 degrees Fahrenheit may be too much for the battery to handle.
These temperatures are usually more common when you store a battery in a non-temperature-controlled room.
If you keep the temperature at about 70 degrees Fahrenheit, you should have no issues here with your cart operation and health.
6. Check Up on the Battery

Lastly, you need to make sure that you take the time to regularly check up on your battery to ensure that it is as strong as possible.
You don’t need to check your battery every day or anything like that.
This step is just a bit too much and can drive you crazy measuring the power level of your battery, making sure that the water levels are balanced, and performing other excessive steps.
Instead, we suggest that you check up on the battery at least once a week, though you may push this to once every two weeks or even once a month.
The schedule that you choose will vary depending on a few factors related to your battery.
By understanding these elements, you can make sure that you aren’t obsessing over your battery or leaving it to sit too long at the same time.
These factors include:
- The Age of the Battery – If your array is a bit on the older side, you may want to check it more often because it is more likely to run into complications.
- Discharge Rate – How quickly does your battery run out of juice when it is sitting? If you find that your battery runs out fairly quickly, you may need to check it more often.
- Water Evaporation – Your water levels should stay balanced in your battery for extended periods. If you find, however, that it evaporates relatively quickly, you may want to check it more often.
- Structural Problems – If you have any structural damage on your battery that had to be left for any reason, you may want to check them more often to keep them strong and secure.
- Temperature Changes – Make sure that you check your battery if the temperature suddenly swings towards very hot or surprisingly chilly at any time during the summer.
After you create a simple schedule of checking your battery, make sure that you stick to it to avoid any complications.
For example, you may want to set a day that makes sense for you, such as a Saturday or another day off.
By scheduling your visits in this streamlined way, you can make sure that you don’t trigger any damage to your battery that may be hard or nearly impossible to reverse.
If you don’t, you’re going to end up needing to replace your battery.


Leave a Reply