How do I Clean a Golf Cart Gas Carburetor?
Gasoline-powered golf carts have many parts that you won’t find on an electric cart.
For example, the average golf cart has a carburetor that helps to minimize pollution and keep your cart more efficient.
However, this part can quickly get very dirty if you don’t clean it regularly or follow regular maintenance steps.
And when it gets dirty, your cart’s efficiency will disappear in black smoke.
If you want to clean your gas carburetor to ensure that your cart runs well, you need to follow the process discussed below.
Though the exact details may vary depending on the design of your cart’s motor – which may vary depending on the brand – most of the steps should be similar.
If you don’t feel comfortable with this process, talk to a cart manufacturer or dealer near you.
Step 1 – Gather Up the Necessary Items
If you want to clean a golf cart gas carburetor properly, you need to take the time to gather a large number of items.
These tools can help make this process easier and ensure that things go smoothly.
The first item you’ll need is a spray carburetor cleaner.
This product will break apart grease, dirt, and other stains on your carburetor to ensure that it properly runs once you’re done.
Beyond this tool, you’ll also need items like metric wrenches, screwdrivers, utility brushes, and a few small plastic containers.
Each of these tools serves a specific purpose, including removing screws, collecting various small items, and further cleaning your carburetor.
You’ll also need a rebuild kit, a gasoline filter, and an air-filter cartridge to replace these items on your golf cart gas carburetor.
Thankfully, each of these items should be readily available from most golf cart dealers or even in many mechanic shops.
Take the time to find things that are specific to your cart to ensure that you get the best results for your cart.
Some manufacturers make their carts compatible with particular items and not with others, so read through your cart’s manual to figure out what items you’ll need.
Step 2 – Prepare Before Cleaning
Once you’ve gathered all the items you need to clean your carburetor, you need to do a few simple preparation steps to ensure things go smoothly.
Start by turning off your engine and letting it cool down for a few hours before you work on it.
If you haven’t run the cart in the last couple of hours, you probably don’t need to wait for the engine in this way.
Cooling down the engine ensures that you don’t get injured or cause any damage to the cart while you work.
Next, close the fuel-supply valve before you start to avoid any further complications.
This line will keep fuel from flooding on you while you work and can prevent contamination and other issues.
You will then disconnect the fuel line from the cart to further avoid this complication.
These simple steps should take no more than a few minutes to finish but are essential for your safety.
Step 3 – Remove the Air Cleaner
Use an appropriate box wrench to carefully remove the bolt holding the air cleaner from your carburetor.
This part is located near the back of this part and will quickly come off if you use persistent and careful pressure on the bolt.
Place all screws and bolts in the plastic container to keep them safe.
Carefully remove the air cleaner and then use a screwdriver to take off the float bowl.
This bowl will be on the bottom of the carburetor and will stick reasonably close to the unit before you remove the pan.
You must then carefully remove the main and idle jets from the carburetor – their location will vary based on your model, so keep your manual nearby to avoid confusion.
Step 4 – Clean the Float Bowl
Spray the inside of the float bowl with your cleaner and scrub away any buildup with the bristle brush.
Carefully pour any residue into another plastic container to ensure that you don’t damage your work area or cause any contamination problems.
Wipe down the interior of the float bowl with a clean rag and then tighten the idle adjustment screw with a flat screwdriver.
Take count of the number of turns it takes before it stops. Now, remove the screw and set it aside – the number of rotations you noted will be used later to put the screw back into place.
Step 5 – Clean the Carburetor Body
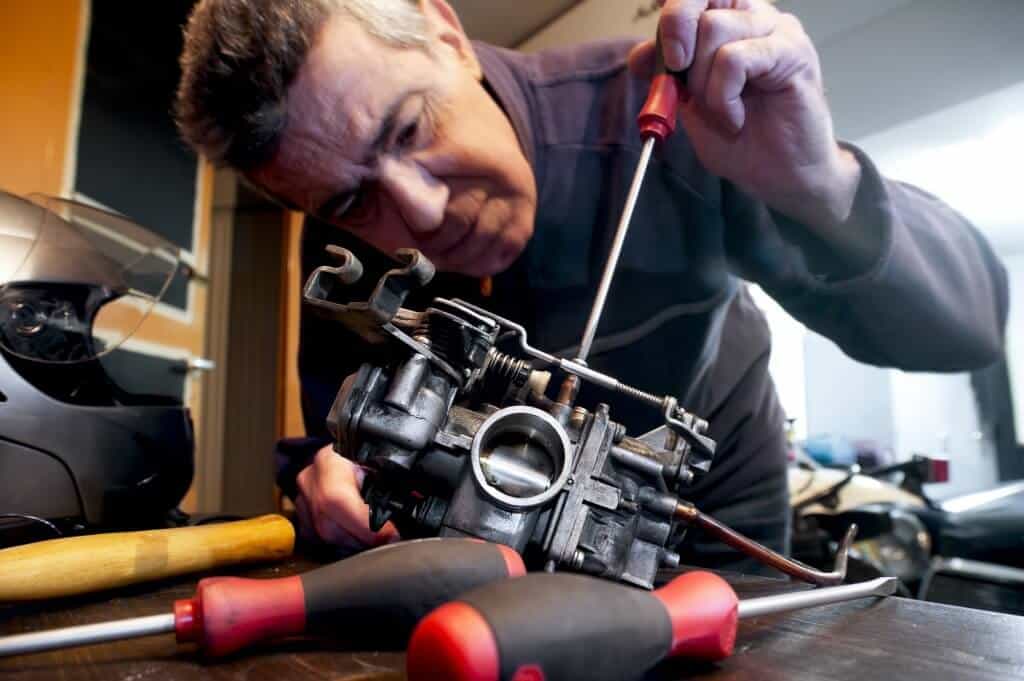
Now that your carburetor body is open, you can clean it properly. Spray the surface – both the inside and the outside – with your cleaner.
Make sure that you use the brush to break apart any grease, oil, or stains that are lingering on the unit.
Wipe away the extra cleaner when you’re done.
You must then set the spray can to the tube nozzle setting and carefully position it to clean the ports on your carburetor.
These include the jet ports, the choke plate, and the idle adjustment port.
These openings are relatively easy to find and should only need a few sprayers of cleaner. Wipe them down with your brush and then dry with another cloth to keep them clean.
Step 6 – Rebuild the Carburetor
At this point, your carburetor is clean but needs to be rebuilt using.
Open up the rebuild kit and examine the parts inside to ensure that you have everything you need.
Most kits should have a manual that lets you track these parts to ensure that you don’t lack anything.
Take the parts from the rebuild kit that you need – following the instructions on the manual – to carefully put your carburetor back together.
You use these replacement parts to ensure that the part is built as secure as possible.
Place the main jet and the idle jet from the kit back onto the bottom, tighten them with a screwdriver, and then put the idle adjustment screw back into the proper slot.
Tighten it up as far as it can go and then loosen the bolt the amount you calculated earlier.
Step 7 – Put Everything Back Together
After you have rebuilt your carburetor, you need to put the rest of it back together to get your cart ready for action.
For example, you need to set the float bowl spring back into the bowl and place this item back on the bottom of the carburetor.
Screw this part back into place tightly but avoid tightening too excessively or else you might strip out the screw and make the piece harder to attach.
Now, you need to put the replacement filter cartridge in the air cleaner and put the air cleaner back onto the carburetor body.
Reattach the fuel line and then turn on the fuel valve and your cart should be ready to go after you let the fuel circulate through the engine.
Make sure that you run it slowly at first and listen for any issues that could occur while you drive.
Thankfully, most problems should be minor and easy to fix. If you feel uncomfortable with this process, don’t hesitate to contact a professional to avoid serious mistakes.


Leave a Reply