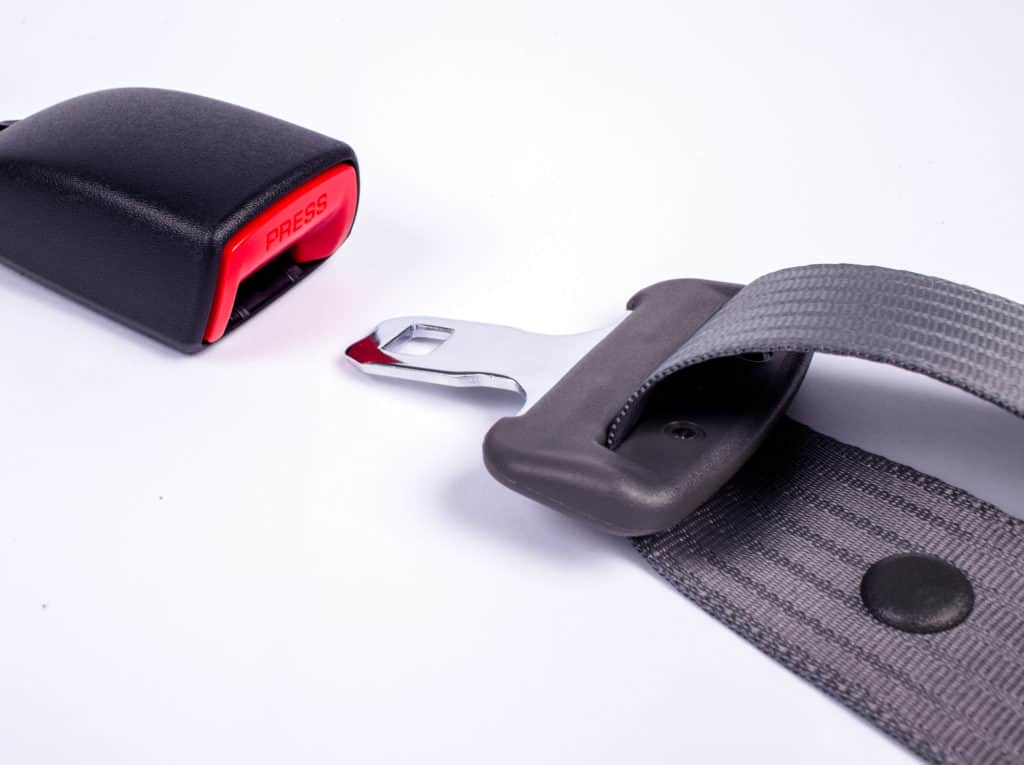
Seat belts in a golf cart make your ride a much safer one and protect you from potential flips and other dangers that may occur.
However, seat belts are not typically installed in golf carts and are often either considered a luxury item or something to install on your own.
As a result, it is important to consider the process of installing seat belts on your cart and how you can finish this process properly.
Thankfully, there aren’t too many steps you have to take to finish this job.
However, we’re going to break them down in depth here to ensure you have a better grasp of what you need to do.
If all else fails, call a cart mechanic to help, but you should honestly be able to do these steps without their help.
Instead, it is probably a good idea to call the experts if you make any mistakes with your installation and need a little help repairing your cart after this happens.
How to Install Seat Belts on a Golf Cart

Installing seat belts on a golf cart is a process which doesn’t take a lot of excessive work to handle.
It’s something you should be able to handle on your own without any difficulty.
However, you do need to make sure you fully understand the design and construction of your cart frame and attach the seat belts according to the suggestions below.
Just as importantly, you must make sure you research whether it is legal for you to install seat belts on your golf carts in your state.
Some states do not allow this installation because they argue that carts are not strong enough to support the belts, specifically in a crash.
However, that all depends on how you install the belts, where you attach them to the frame, and many other factors which can be unpredictable.
Talk to your state representatives or other legal experts about whether or not your cart’s seat belts are safe to ensure you don’t break any laws by accident or get into any legal trouble.
Also pay attention to the tools and measurements listed below. You need to use the proper equipment to avoid issues, as well.
Step One—Gather Up Your Tools
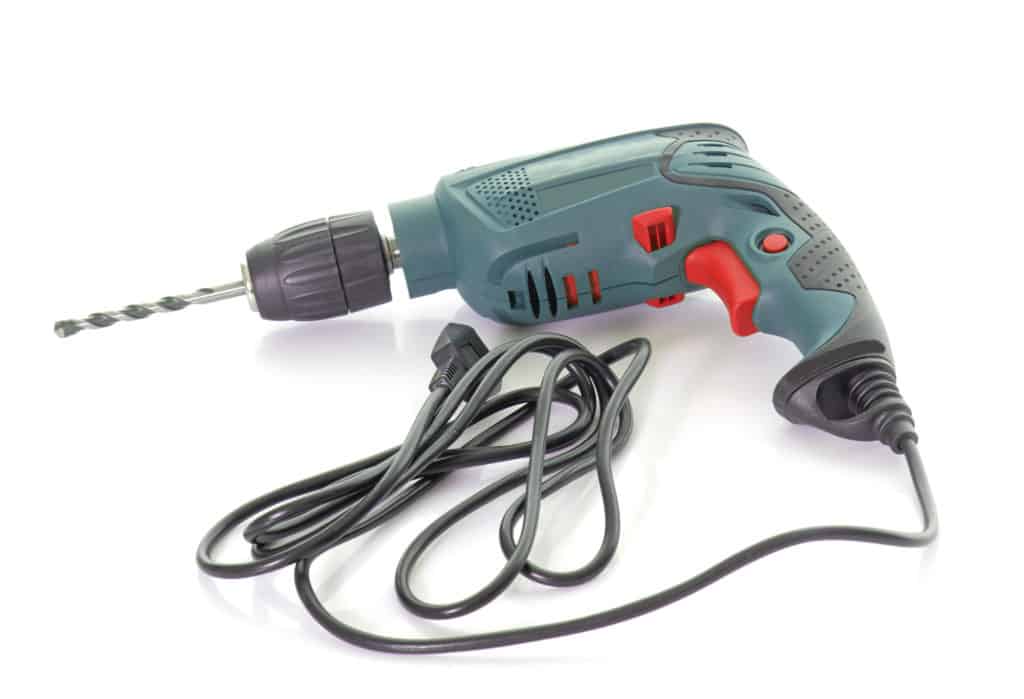
Just like with any type of mechanical work, you need to make sure you gather up the proper tools to upgrade your cart.
The tools you use will vary depending on many different factors, including the type of cart you own and the process needed to upgrade your cart’s frame.
Typically, though, you’re going to need just a handful of different tools to add seat belts to your cart.
The differences mostly lie in the size of the washers and other attachments to your cart.
Let’s break down the list of required tools to give you a better idea of whether or not you have the items you need or if you need to go on a shopping trip to upgrade your repair and installation process.
First of all, you’re going to need an electrical drill with a strong and fully charged battery or a long power cord attached to a proper extension cord.
You want a drill you can easily handle and one that can drill through metal and other types of strong materials to ensure it operates properly.
Try to utilize a portable drill instead of a corded one whenever possible.
This helps to decrease the chance that your cords will get tangled as you work.
When all else fails, though, you can use whatever drill seems the best for your needs and integrate it into your operative process to ensure it goes smoothly.
Next, you’re going to need a good drill bit set that is adaptable and includes many different multi-sized bits you can use for your drilling.
The sizes will vary depending on the type of kit you own. In the steps below, we’ll go into more depth on which are the best ranges of sizes for you.
Thankfully, your kit should include both standard and metric bits, so if there is any discrepancy between your mounting kit and our instructions, you should have little difficulty adapting.
If you don’t have a drill bit set, make sure you pay extra for one that includes standard and metric bits.
Doing so will make sure your future projects go smoothly.
Make sure you also have a 3/8 drive ratchet or a size that is similar to that and various wrenches that are appropriate for this process.
You should have at least a handful of these tools in your garage if you ever do upgrades to your cart or other vehicles, but make sure you pay attention to your options to avoid confusion.
Lastly, it is also important to gather up safety gear to protect yourself and others while you work on your cart.
You don’t need too many items to keep yourself and your cart safe.
You should park your cart in a contained area, like a garage, and on top of a large sheet to catch any items you may drop.
Then, you need to make sure you put your cart in Park as you work, turn off the ignition, and put blocks behind the wheels.
These steps ensure that you don’t end up getting rolled over by your cart or causing any damage to it if it somehow gets out of control at any point.
You’re also going to need a good pair of gloves and some safety goggles as you work to protect you from any potential issues.
These items help keep you from developing any blisters on your hands as you work and also prevent eye damage that may be quite painful.
At this point, you’re just about ready to get started, so turn on your favorite tunes, set aside an hour or two of your Saturday, and get to work!
Step Two—Lining Up Your Seat Belt Bracket
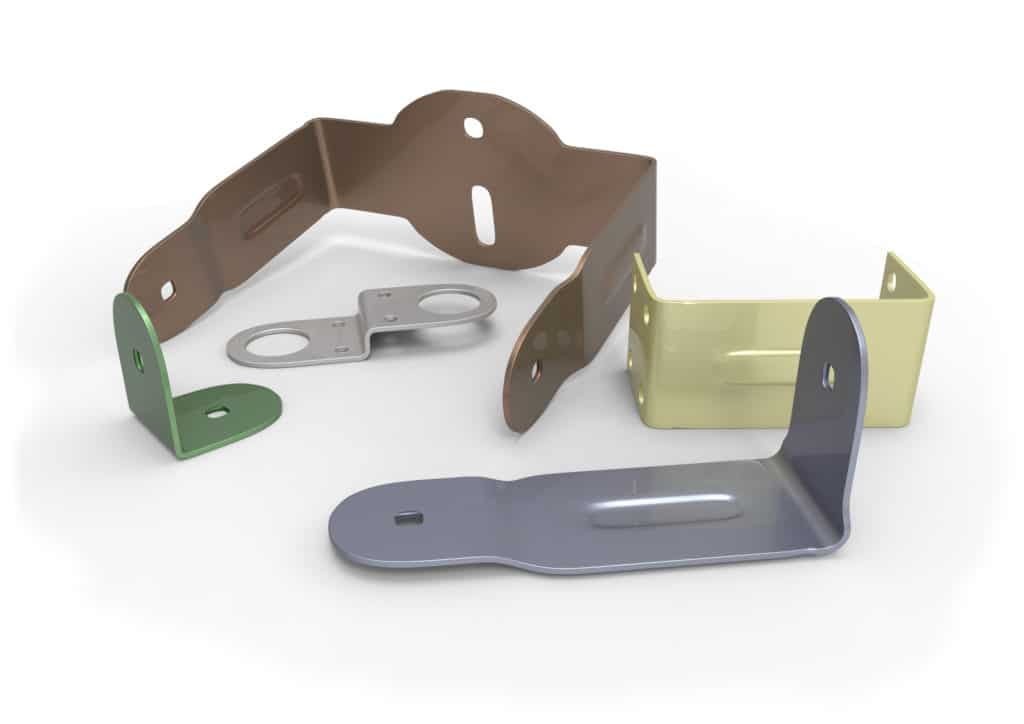
The next step in this process is lining up your seat belt bracket in such a way that it is supported by the frame of the cart and strong.
Typically, you’re going to have to move your seat back support up a little bit so you can have easier access to it as you work.
Look at the edges of your seat back support.
Are there any bolts holding it down to the frame that need to be removed?
Use your wrenches to take these bolts out, carefully sizing up these bolts as you do to ensure you can properly remove them without any serious issue.
If you find that there are no bolts on the seat back, you are in luck because that means you can just pull the seat forward without doing any extra work.
After you have pulled the back forward, you can place the seat belt bracket—which should have been included with your kit—on the frame and adjust it so that the short end is facing forward.
You want to make sure the short seat belt bracket is in front of the seat belt support and adjust the positioning of the bracket until this is the case.
You may need another person to help you with this process because they can hold the bracket in place as you drill out the holes.
In some cases, you may even need a third person to hold the bracket on the frame, though the bracket may sit comfortable on the cart if it is designed for it.
Make sure you always purchase a bracket that is designed for your specific cart to ensure that you get it lined up properly.
Thankfully, you should be able to find one of these brackets in your local golf cart shop without having to do a lot of excess work.
Step Three—Attaching the Bracket
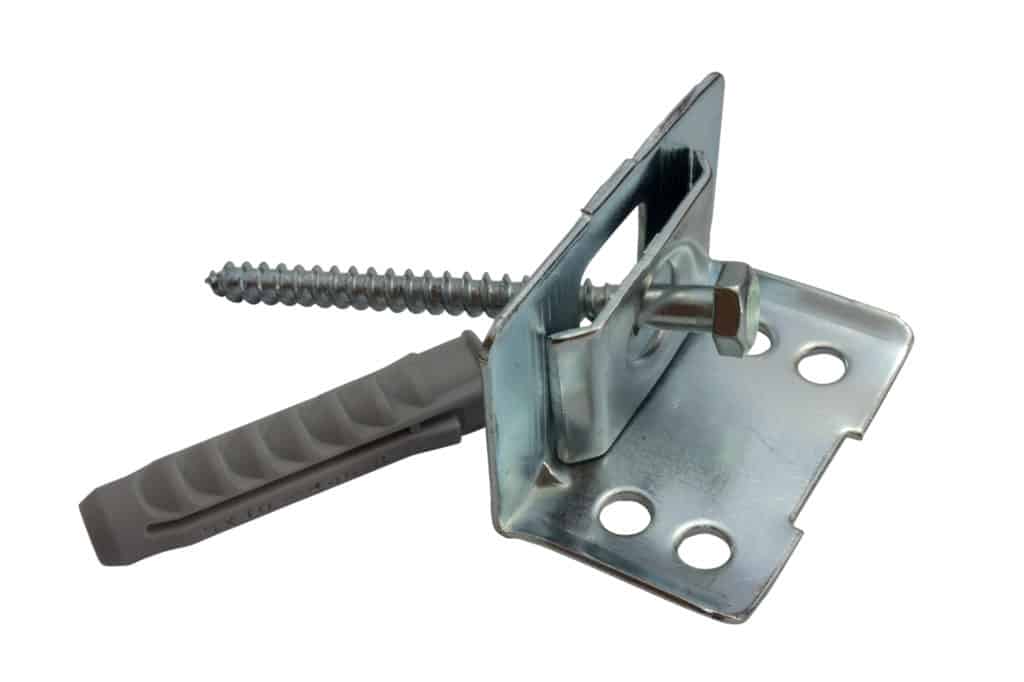
Once your bracket is properly in position, you can use a series of different bolts, washers, and nuts to hold the bracket down.
We suggest you use four M10X60 bolts at the proper bracket holes—these should be very obvious on the frame—along with eight M10 washers and four M10 nuts on your frame.
Your bracket is likely to come with these attachment items, though some models may not have them if you buy a bracket on the used market.
Start out by drilling holes into the four attachment spots on the bracket using your electric drill and the appropriately sized bit.
Check the bit description to see if it is suitable for your M10X60 bolts.
You should be able to find the right bit in the metric sizes.
After the holes are properly drilled out on your cart’s frame, you can place a M10 washer on the end of each bolt, screw the nut into place, and then add a secondary washer beneath it.
This extra step helps to make sure you can easily loosen or adjust your bolts via the nuts, while the washers protect the nut and the frame from damage.
Tighten each of these bolts into place one at a time, and tighten them fully in a clockwise motion.
By this, we mean put each bolt into place and slowly tighten them evenly to hold the bracket in place.
This staggered tightening process ensures that you don’t put too much strain on the frame of your cart or the bracket, protecting it from serious damage.
At this point, your bracket should be firmly in place and strong on your cart’s body, protecting it from shifting or sliding while you drive your cart.
Step Four—Attach the Seat Belts
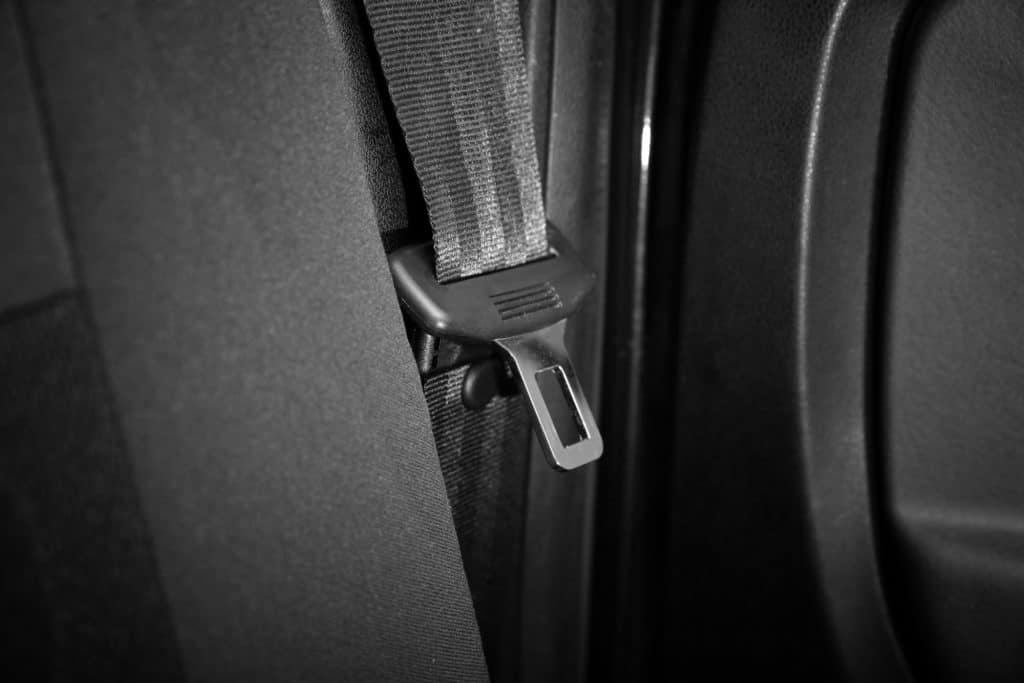
With your bracket fully attached and in place on your cart, you can now start to attach your seat belt to the cart using the properly supplied tools.
You’re going to need two 7/16 flange bolts, four 7/16 washers, and two 7/16 nuts.
Again, these items should be included in separate plastic bags with a new seat belt bracket kit.
If for any reason your bracket kit did NOT come with these items for your cart, it shouldn’t be too hard to find a cart supplier who has them for you.
Make sure you tell the manufacturer or mechanic what brand or model of cart you own to ensure you get the best results.
Now, you need to find each bracket end–which should be easy to spot on the bracket because they’ll be the only place you can attach your seat belts–and slide the belt and the rest of its mechanics onto them.
Once you have these belts in place—making sure you eyeball their balance between the vertical and the horizontal sections to keep them in place—you should use your bolts, washers, and nuts the way that we discussed in the previous section.
Make sure you tighten them up using the same even method.
Doing so helps to keep them from getting too tight on your brackets.
At this point, you have everything in place but your lock buckles, which you will add on the mounting plates of your cart using the steps outlined below.
After you have fully installed your lock buckles, you’re going to do a brief test of your cart’s seat belts to ensure they are comfortable and feel safe for you when you drive your cart.
Step Five—Adding Your Lock Buckles
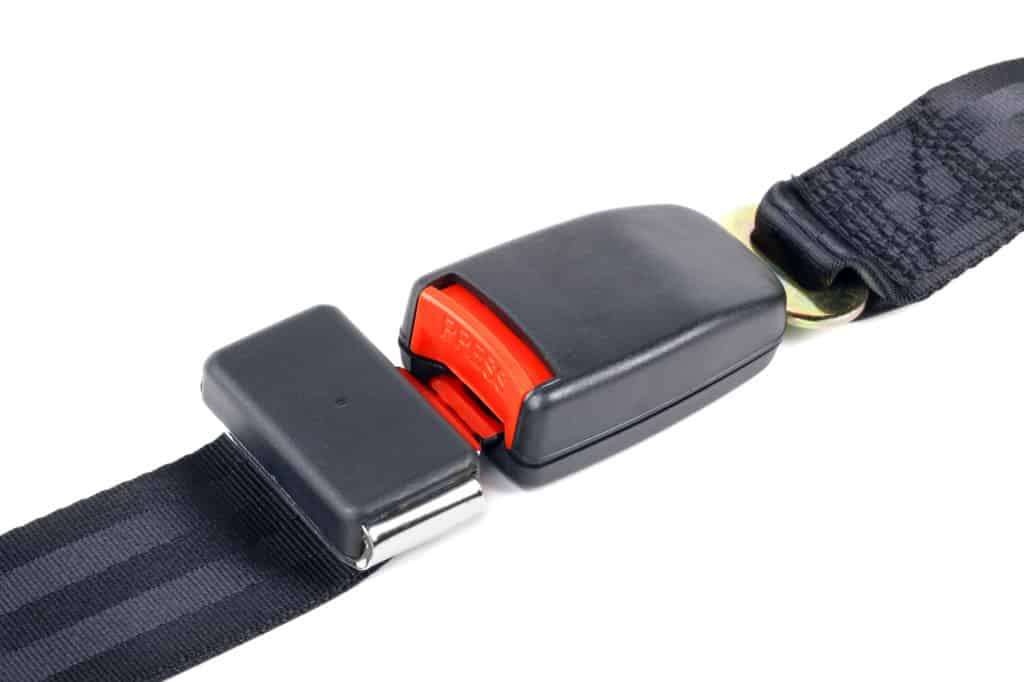
Check your cart seat belt brackets and find the inner mounting plates at the bottom of the bracket.
You should notice a hole where you will screw in your bolts.
These should be pretty obviously where you are going to place your lock buckles, as they are going to be towards the bottom of your bracket’s body and where you’d imagine placing the buckles.
You’ll use two 7/16 bolts, four 7/16 washers, and two 7/16 nuts to attach your lock buckles into place on your golf cart’s bracket.
Attach the locks to your bracket using the methods outlined above.
Your cart’s seat belts are now installed.
After you have your lock buckles in place, you need to make sure you test them to ensure they don’t have any issues.
Get in your cart and put on your belt, removing the blocks before you start, and put the key in the ignition and the cart into forward.
Start up your cart and drive it as fast as you can, stopping as sharply as your brakes allow you to once you’ve reached a good top speed.
Did your seat belts lock when you hit the brakes in this way and keep you from moving forward after you came to a stop?
If so, your seat belts are probably safe and don’t need any adjustment.
If you noticed any movement in your seat belts, you will need to adjust them.


Leave a Reply