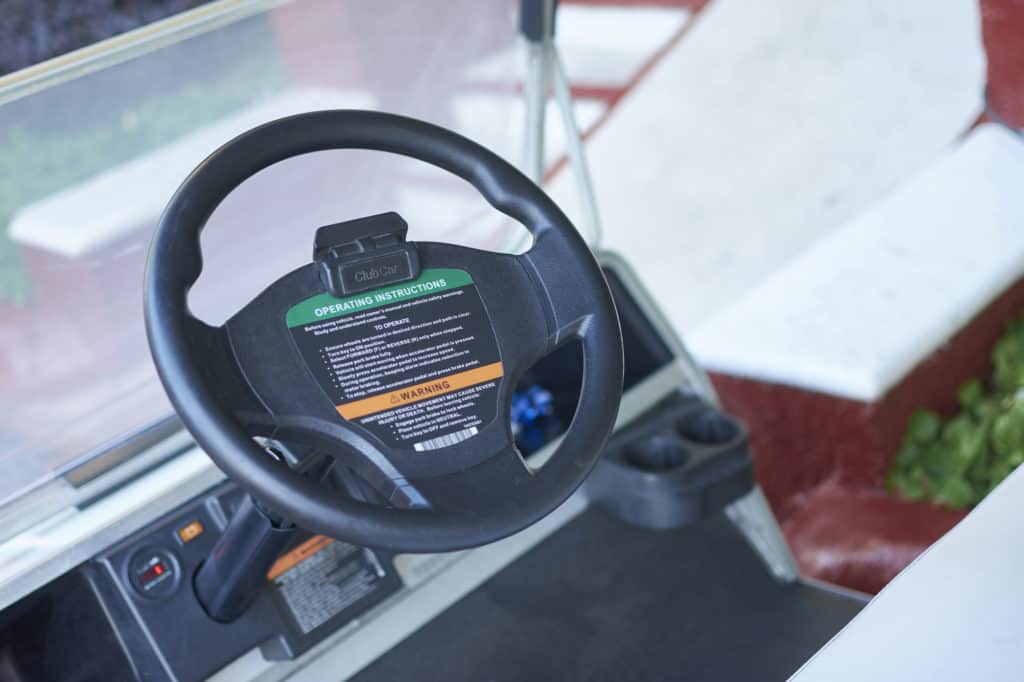
Some types of golf cart repairs or adjustments require a bit more mechanical expertise than others, so much so, it may seem too hard to do.
For example, you may want to shorten your golf cart’s steering wheel column, a process which can be more complex than you may think.
The reasons for shortening a column vary, depending on the person and the unique needs of their specific carting needs.
Some must want a cart that has a steering wheel closer to their hands to make it easier to handle and more in control.
Others may be tweaking the cart to make it more suitable for younger drivers who might be handling the cart on private property.
Whatever the case, it is critical to ensure you understand a few different aspects of this process to ensure you get the best results for your cart.
How to Shorten a Steering Wheel Column on a Golf Cart

If you want to shorten a steering wheel column on your golf cart, you’re going to have to understand some pretty complex processes.
First of all, you’re going to need to know how to remove the steering wheel and the column before you do any shortening.
Then, you’ll need to understand how to cut off the metal from the column and balance it in such a way that it doesn’t end up causing any issues.
Then, it is critical for you to know how to weld the column back into place, a process which requires a steady hand and a good eye.
After that, you’ll have to balance the column and fix any problems with the driving situation.
All told, it should take you a full afternoon to do this type of repair, so make sure you’re ready to dig into this situation for the best result.
Be sure to call a mechanic if you make any mistakes and you have no idea how to fix it.
Step One—Removing the Steering Wheel and Column
Getting at your steering column requires you to remove your steering wheel first, which is probably one of the easiest steps in this process.
We’ll give you a very detailed outline of how to handle this process below.
Make sure you collect the proper tools, such as various types of screwdrivers, wrenches, and more to get the best results.
Make sure you have a container to place any nuts and bolts which may come off of your cart at this time, as this can ensure you are satisfied and don’t run into any operational issues with your cart:
1. Remove any screws, nuts, or bolts that may be holding your steering wheel’s center plate in place. Some carts have a snapping mechanism you just need to unlatch.
2. Find the center shaft nut between the center of the steering wheel and the column and use an adjustable wrench to loosen this nut. You can expect to adjust to a size of at least 15/16-inch.
3. Loosen the nut until it is flush with the steering shaft of your cart. You don’t need to remove this nut because it will be a potential danger if you do.
4. Sit down on the driver’s seat and place your feet on the dash below the steering wheel. Put your hand on the steering wheel and tap the column a few times with a metal punch.
5. Move the steering wheel as you tap the column, wiggling it back and forth and using pressure with your knees to rock it back and forth to loosen it from the splines.
6. Once the wheel is loose, you can remove the loose shaft nut with a pulling device and take off the wheel. Your steering column is now exposed.
7. Pull the shaft up as far as you can and use a cutting tool to make a clear cut through the surface. Move around the shaft in a straight line to cut off the portion you plan on shortening.
As you can see, you’re going to be cutting into your shaft in a way which may feel very uncomfortable for you at first.
However, this is the easiest way to remove your shaft and shorten it. Some may want to get beneath their cart’s hood by removing the top chassis plastic.
This step is possible and allows you to remove the shaft via loosening the nuts and bolts that hold it to your axle.
Doing so gives you easy access to your whole shaft.
That said, you’re going to be cutting the shaft no matter what step you take to remove it, so you might as well do whatever feels most comfortable for you and your repair skills.
Step Two—Shortening the Shaft
At this point, you have easy access to your shaft and can adjust it in any way that you see fit.
The following steps will require you to do some cutting, so make sure you wear safety gloves and goggles.
You’ll also be welding, so wear a welding face mask and a welding apron to avoid getting burned.
If the following steps seem too hard for you to do, reach out to a mechanic who can handle it for you. There’s no shame in asking for help because it can keep your cart operating well.
1. Put a metal-cutting blade on a handsaw or a jig saw—whichever you feel more comfortable using—and make sure to tighten it securely onto the saw body.
2. Measure the length you want to cut off of your shaft, draw a line across its surface to create an easy guide, and place it on sawhorses to make it easier to cut.
3. Move slowly as you cut because you want to avoid making any mistakes. Some may want to use a few helpers on each end to slowly turn the shaft as you cut.
4. Take the extra piece you cut off of the shaft and throw it away. You won’t be using it anymore and it will just get in the way.
5. Pull the staff up out of the cart and put the shortened shaft onto it. Put chamfers on each side of the shaft to steady it and make it easier to weld.
6. Use a spot welder—while wearing a mask—to connect the shaft pieces. Make sure to move slowly but steadily to keep your weld strong and consistent.
7. Grind the surface of the weld down to the surface of the shaft—as close as you can—and push the shaft back down into the cart.
8. Place the steering wheel back on the column and hold it down with a nut, using the wrench to push it down and keep it stable.
At this point, you may feel confident with your shortened shaft and think it is okay to start driving your cart.
You may be right. There are times when this process goes smoothly right away and there is almost no adjustment that needs to be made.
However, this isn’t always the case. Some may find that they need to tweak or align their steering wheel on the shaft to ensure it is stable and strong without any issues with balance or control.
Replacing and Aligning the Steering Wheel

After you have put your steering column back together and shortened your shaft, you need to reinstall the steering wheel, as mentioned above.
However, some may not take the time to straighten out the shaft, or they might put the wheel on in such a way that their steering wheel is misaligned.
This situation is not a major one but can cause driving issues.
For example, you may struggle to keep your cart driving straight if your steering wheel is not in alignment or you haven’t turned it properly.
It is critical to know how to correct this problem to keep your steering wheel and your shaft working together as one.
This step isn’t as hard as you might think, but it does require some work.
Thankfully, you don’t have to cut or shorten the steering shaft or anything like that to get good results.
All you have to do is take off your steering wheel at the proper position and put it back on properly.
Steps involved with this process are outlined below and should be easy enough for anybody to do:
1. Turn your steering wheel as straight as you can to ensure the wheels are straight and in the proper position. Even if your steering wheel is out of alignment, it doesn’t matter.
2. Loosen the nut on the steering shaft between the steering wheel if it is turned heavily one way or the other. Don’t remove the nut just yet, though.
3. Use a rubber mallet on the back of the steering wheel to pry it off of the frame. Light taps should be more than enough to get it to pop off here.
4. Lubricate the steering shaft where you will place the steering wheel again, and add oil to the interior of the screw shafts on the steering wheel.
5. Count the number of threads on the steering rack where they come into contact with the ball joint. You must have an equal amount on both.
6. Adjust the threads as needed depending on where the imbalance lies. Make sure the jam nuts stay in the proper position as you turn the shaft.
7. Place the steering wheel back on the shaft and tighten the nut in place, holding the wheel as you would when it was straight on the road to keep it straight
8. Turn the wheel to see how the wheels on your cart react. If you have performed these steps properly, your wheels should turn with the cart smoothly and easily.
Test out your cart at this point to see how well it rides.
You shouldn’t have any issue with it at this point if you have adjusted your steering properly.
However, you may need to repeat these steps if the steering still feels wrong and inaccurate.
Make sure you carefully tweak the positioning of your steering wheel as you do so.
Don’t make drastic changes all at once because these may end up causing more issues.
Instead, move more like one thread at a time to keep the adjustments accurate and beneficial.
At this point, your steering wheel should be back in proper working order.
Make sure that you also check tie rods, your bearing slope, and other elements before you put your cart back into normal operation, as these may affect the steering alignment.


Leave a Reply