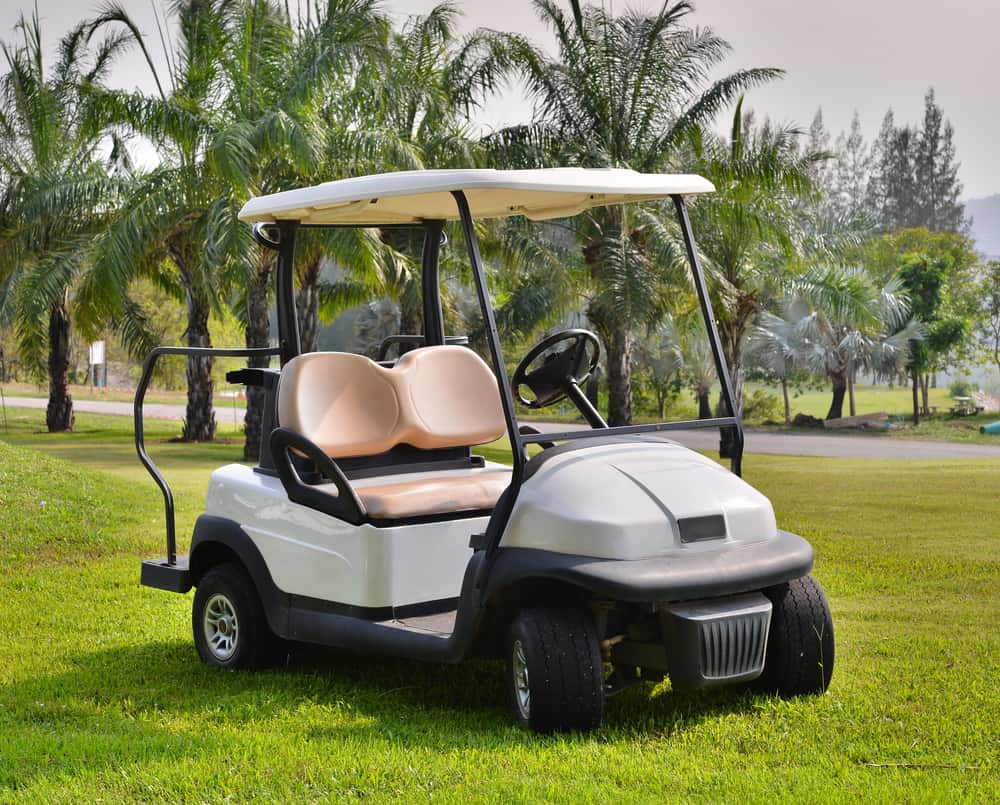
Cart owners may feel uncomfortable handling some types of repair processes on a Club Car because they are of such a high quality and in the higher price range.
However, these cart models can be surprisingly easy to work on in many ways and with minimal difficulty if you are careful.
For example, many cart owners may find that removing the rear axle from their Club Car is an involved but not impossible task.
Often, this process is necessary for various types of damage, which we will discuss below to give you an idea of when you need to try out these steps.
Just as importantly, we can also provide you with information regarding the tools you’ll use in this process and any differences you may notice between different cart models.
Most of the time, the axle removal steps outlined here should be good for various models of Club Car carts, meaning you shouldn’t have too much hard work to do here.
Make sure you feel comfortable with these steps before you try them because getting halfway through without being sure of yourself may end up costing you a lot of cash when you need an expert to do the fixes for you.
How to Remove the Rear Axle on a Club Cart
The Club Car Rear Axle Removal Process
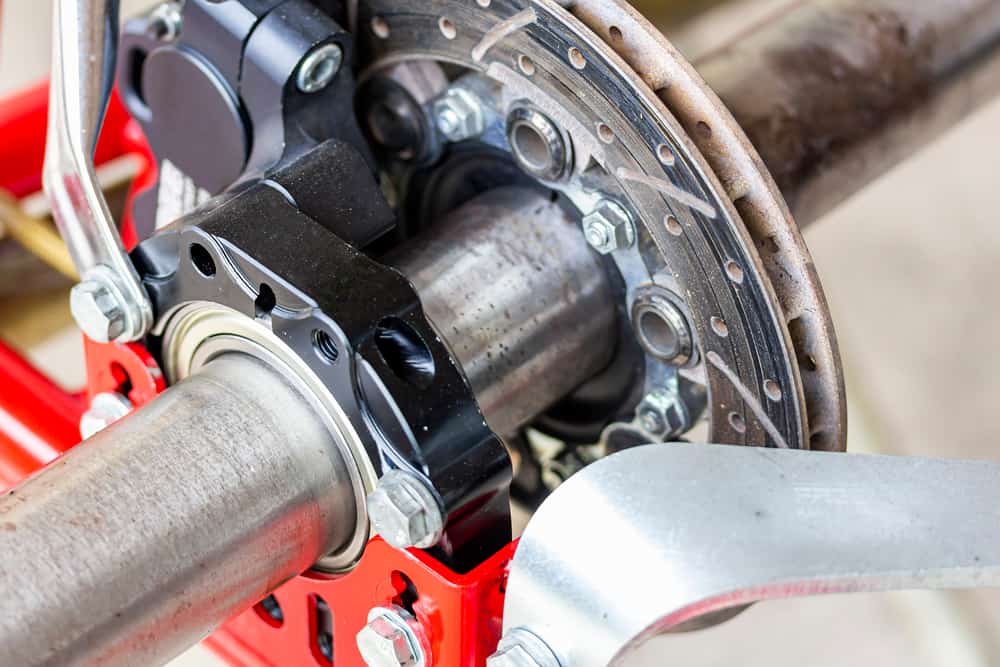
Removing a rear axle from a Club Car cart isn’t drastically different from the process used for a Yamaha or E-Z-GO model.
However, the steps do vary depending on the overall design of the golf cart used, which isn’t too different between Club Car models.
The instructions we’re going to list here are specifically for a Club Car DS rear axle, but they can be tweaked as needed for other models.
The steps here include parking the cart, carefully removing the back wheels, and loosening several attachment items in the process.
Before we jump into those steps, we’re going to outline a few of the important tools you’re going to need for this process:
- A strong slotted screwdriver or a set of screwdrivers with varying slot sizes
- A three-quarter inch (19 millimeter) socket for removing bolts
- A floor jack for lifting your golf cart off the ground
- A set of internal retaining ringer pliers or a set of 90-degree C-clip pliers
- A small sheet you can place on the ground where you will be working on your cart
- A container for holding loose nuts and bolts as you work
- A few cement blocks to place in front of and behind your front wheels
- A hammer to help remove wheels later on in this process
Once you have gathered all of your tools, you can get started on this process.
Start by finding a place where you can work on your golf cart in peace.
We suggest a garage or a shed which is large enough for you to park your cart and move around with ease.
Space of at least three to five feet is necessary around the perimeter of your cart to allow you breathing room as you work on the cart.
Next, on the ground where you are going to park the cart and work on it, lay a sheet that is a few feet wider and longer than your cart.
You want this sheet on the ground because it will provide a little padding for your body and keep you from getting stains on your clothes.
Place your small container near where you plan on working on the cart’s axle, keeping it off to the side for easier access later.
Now, you can bring your golf cart into your work area and position it on the sheet so that it is centered for easier access.
Put the cart into park mode and then place the cement blocks in front of and behind the front wheels to prevent it from moving.
Disconnect the battery cables to prevent any shock.
Though the risk of getting a shock is low when working on the axle, it is impossible when the battery is unhooked.
Step One: Taking Off the Wheel Cover

At this point, you need to find the wheel cover on the rear wheels and use your slotted screwdriver to remove it properly.
Typically, there should be a few slotted areas where you can slide this screwdriver beneath the cover and carefully pry it off to get easy access to the wheel.
Don’t force the cover off with a lot of pressure.
Instead, use gentle pushing and wiggling motions to get it off.
Eventually, the cover should come off with little trouble and you can place it to the side, near your container, while you work.
You will have to put the cover back on later when you are done, so make sure you are prepared to handle that step later when it comes down to it.
Now that you have removed the cover, you need to place the jack underneath the back end of your golf cart and position it underneath the chassis.
You want to find a position which is connected to the vehicle and is strong enough to withstand the pressure of lifting.
This spot is usually somewhere near the axle, appropriately enough, which should be fairly easy to find with a little bit of positioning.
Jack the cart up off the ground so you have several feet of room underneath it where you can work and lie as needed.
Step Two: Loosen the Connecting Screws from Each Wheel

Find your socket wrench and carefully fit it to each of the connecting screws on the wheels on the back of your cart.
These screws should be positioned in the center of the frame to hold the wheel onto the axle and to keep it turning.
Slowly turn the screw as you move to make sure you don’t take it off too quickly.
Typically, you want a slow removal to prevent your wheel from falling to the ground with a thud.
Once the wheels are loosened in the center, you need to start focusing on the rest of the screws on the wheel, which are positioned along its perimeter.
Carefully remove these screws by loosening each of them a little at a time and evenly across the wheel surface to avoid excessive tension anywhere on the cart.
You may have to follow a specific guideline for this process, so find your handbook and follow the steps they suggest.
After you have carefully loosened and removed the screws, place them in your storage container and close the lid to prevent them from spilling.
Remove all the screws from one wheel first and then take the wheel off the frame of the chassis, using a small hammer if needed to loosen it up.
Take off the other wheel using this same process and place them below the chassis of the cart in case it falls.
Step Three: Remove the Brake Drum

At this point, you need to focus on removing the brake drum from the cart to ensure that your axle is easier to take off without any problems.
Start by identifying the brake drum on each side of the axle, which should be a part that is fairly large and located near your brake assembly.
Use your screwdriver to carefully detach this part from its position on the axle and place it to the side to avoid any damage.
Perform this removal step on each side of your cart’s rear axle, lying on your back and carefully working as you do to avoid getting hurt.
Pay attention to the position of the cart as you work and keep your body perpendicular to the jack to avoid hitting it by accident.
The wheels should protect you if the cart falls, but you may want to have a second person there as you work to spot any potential issues with the jack.
You may need a second person to help you remove the brake drum, as well, because some may find them awkward to take off while lying on the ground.
Some may struggle with the part’s weight, but they aren’t generally one of the heaviest items on your rear axle.
Once you have it off, though, you are getting much closer to having your rear axle ready for removal and replacement, as needed.
Step Four: Remove the Clamp Spring and Then the Axle Assembly

You’re pretty close to removing your rear axle at this point, but there are still a few parts which must be taken off before you can remove it.
The main part you’re going to remove is the clamp spring, which is a small spring that holds the axle down.
That’s why you’re going to need your internal retaining ring pliers or 90-degree C-clip pliers (the latter in case there is no spring but a C-clip instead).
Start by carefully fitting the pliers on the spring and loosening it slowly, making sure to avoid letting it come entirely loose all at once.
Place one hand on the spring as you loosen it and feel how the tension changes in your hand, and make sure you’re ready to grab it when it is fully loosened.
You may want to wear a pair of gloves during this step, though you probably won’t need any gloves if you remove a C-clip, as these don’t have the same type of tension.
After you have removed the clamp spring of the C-clip from the axle, you can carefully pull it down from the chassis of the cart.
You’re going to need to get out from underneath of the vehicle and have your second worker help you pull it down and out.
Some may be strong enough to handle the weight of a full rear axle without strain, but most are going to need a little assistance to avoid dropping it.
When You Need to Remove the Rear Axle
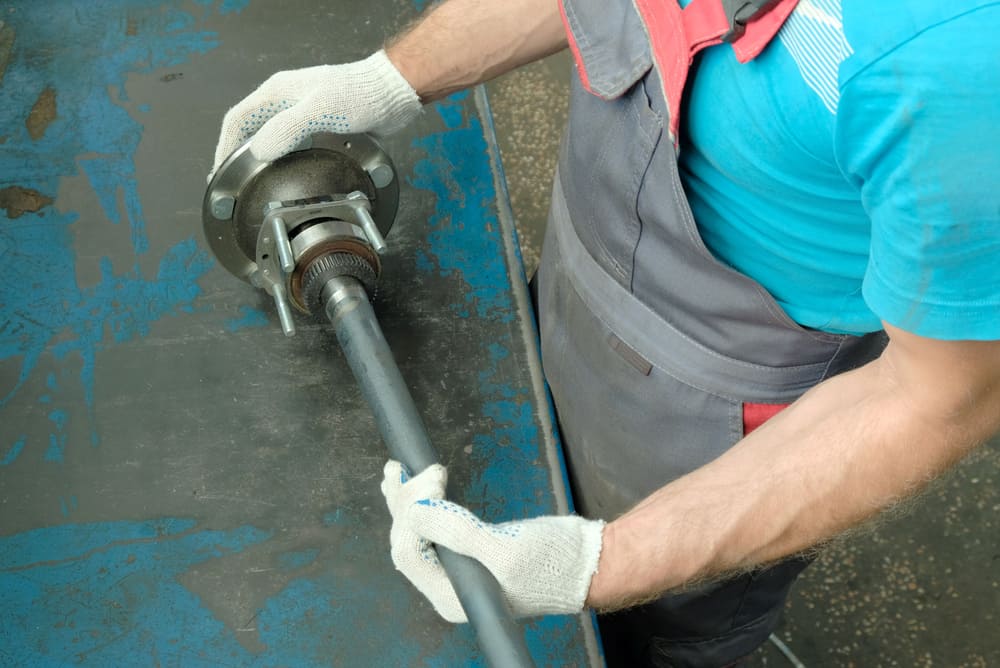
Typically, you will need to remove your rear axle when parts such as the bearings start to go bad, which is usually a pretty obvious issue.
You’ll notice a very loud noise coming from the axle assembly as you drive, which may start out as a whine and then progress to a grinding sound.
This grinding noise is the bearings inside being ground up by the wheel, which can cause damage to the bearings and even the axle itself.
Though you may be able to remove the bearings instead of the full axle, by the time you notice a grinding sound and a shaking throughout the cart, you’re going to be in trouble.
You may be able to help out with this problem before the bearing gets too bad by applying some transmission oil to the bearing.
Instead of using normal lubricant, this option helps to provide a stronger level of lubrication which you can use to keep your bearings strong.
This application should buy you a little time while you decide whether you want to replace the whole axle or just the bearings on the axle instead.
However, this step isn’t usually enough to stop a bearing that is about to fail, so it may be necessary to either remove the axle using the steps above or hire a professional to help.
These experts can use a stamp to remove the retainer and the bearing and replace it with a new one, saving your axle and avoiding expensive replacement processes.
Use this option if you don’t feel comfortable replacing the entire axle or if you just want to change up the bearings on the exterior.
That said, you may also have to remove your axle if it just gets too old and no longer runs properly, a problem that has many causes.
For example, there is a chance that rust and decay on the undercarriage of your cart could cause damage to the chassis.
When this happens, the rear axle could end up shaking like mad and could cause a variety of problems which may threaten your cart.
In some cases, the rear axle could even wear down to the point where it falls off of the cart, putting you in a pretty frustrating position.
If you find that your rear axle has reached this point, you need to perform the removal steps above and carefully inspect the various elements of its construction.
For example, pay attention to where the axle attaches to the chassis of the cart to see any spots where the damage may have become hard to repair.
Typically, you’re going to run find yourself in this position if the cart is a little older and the holding elements have worn down through standard wear and tear type issues.
When this happens, it is critical to either get your axle replaced or to talk to a professional who can provide the steps needed to help you out.
Professional axle removal and replacement does provide you with the assurance that you won’t run into any problems and that your cart will run as smoothly as possible once finished.
Putting an Axle Back on a Cart
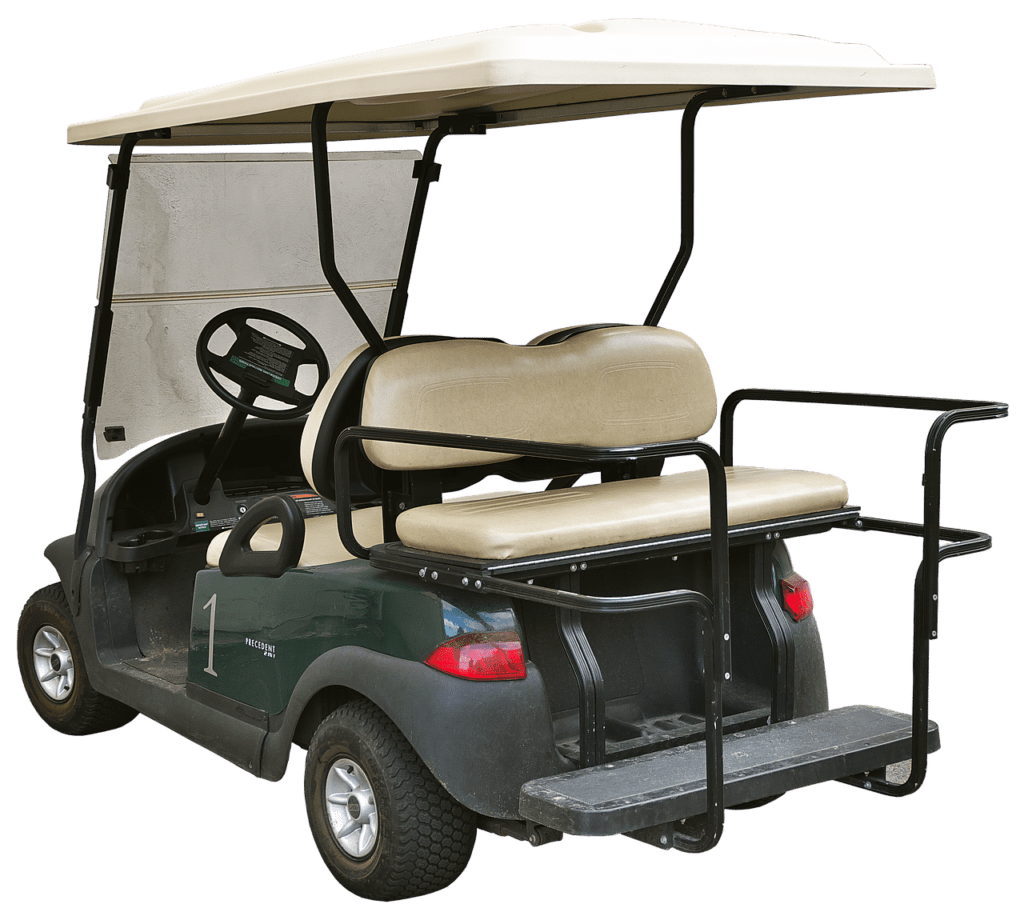
After you have removed your rear axle from your Club Car cart, it is usually quite easy to install the replacement.
That said, you are going to need your second worker available to help you with steps like lifting the axle up and making sure it is stable as you attach back to the cart.
In many ways, just reverse the steps described above, so we aren’t going into as much detail as we did in that section:
- Have two or more people hold the axle in place as you get beneath the cart.
- Put the clamp spring or C-clip back into place on both sides of the axle.
- Place the wheels back on the new axle and hold them carefully in place.
- Screw the screws back into the wheel using the proper order suggested by your manual.
- Make sure that each screw is tight on the wheel before moving on to the next steps.
- Slide the wheel cover back over each wheel to protect them from damage.
- Lower the jack and remove it from the back of your cart.
- Take out the bricks from the front and back of your front cart wheels.
Make sure you test drive your cart a little to see how well the rear axle moves and to ensure that the wheels are properly balanced.


Leave a Reply