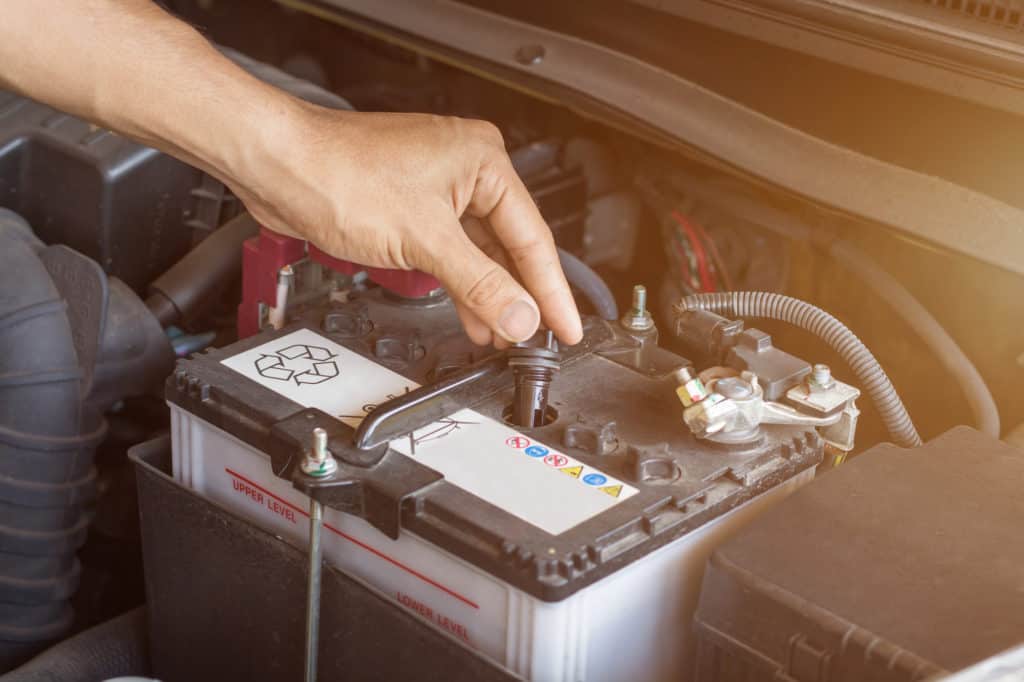
The water in your golf cart’s battery is critical for ensuring that it properly charges, produces a potent level of electricity, and lasts as long as necessary for your carting needs.
Therefore, it is important to know how to check the water level in your battery and to fill it up when needed to ensure it stays fully operational.
This process is something you can do on your own. You won’t need expert help to figure out how to read your water level or add more to your battery.
Please note: You should ONLY use distilled water when adding water to your battery, whether it is a cart battery or one for your automobile.
We have stressed this fact many times elsewhere on this site but want to make sure readers understand this idea because non-distilled water can damage your battery and even cause a fire.
Distilled water from any supermarket will do the job for you, so you don’t need to get specialized distilled water from a carting shop.
How to Properly Check Battery Water Level in a Golf Cart

According to most battery experts, your golf cart water should be about one-quarter inch below the top of the fill well.
Another way to gauge this level is to make sure the water covers your battery cell plates but doesn’t go too high above them.
It should just cover them up without making them disappear.
The fill well is where you pour the water into your battery.
You can measure this amount in a handful of different ways.
In most cases, your cart’s battery should have a fill line that you can see, which should give you a good feel for how much water you need to add.
This fill line is located on both the outside and the inside of some batteries, but it may only be on the inside of others.
Let’s take a look at the most common way to check your battery water levels, particularly if you don’t have a clear exterior on your battery.
If you do have a clear exterior—rare but possible on some cart battery models—all you need to do is look at the fill line on the outside of your battery as you fill it with water.
If you have too little water here, pour in more until you reach the fill line or don’t pour in any if your water level is at a reasonable level.
If you have a non-clear battery and you need to check its water levels, follow the process below to get the best reading for your water levels
Step One—Clean Your Battery Exterior
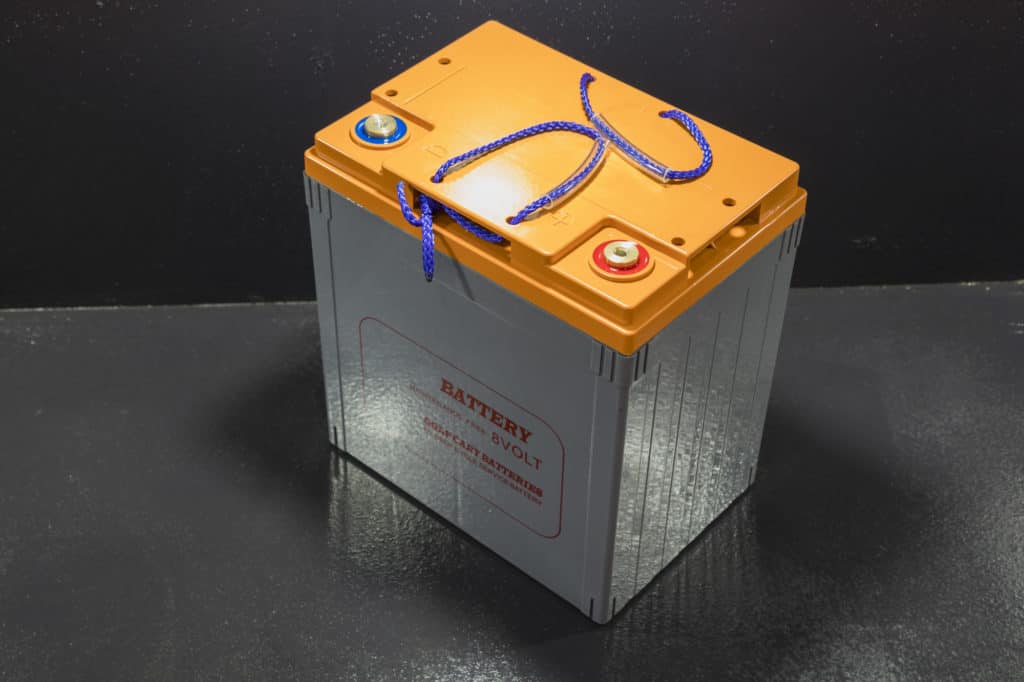
Before you check your cart’s battery water level or add any more distilled water to its interior, you need to make sure you clean the surface of the battery to avoid any issues.
This step is critical because dirt, debris, oil, and any other items may fall into the cart’s battery while you pour the water.
Once inside the battery, these items can cause a lot of damage to your cart and its cell which may make it fail or cause other issues.
Thankfully, cleaning the surface of your battery is a fairly simple process and is one that shouldn’t take too long to complete.
Follow the steps outlined below to get a better idea of what to anticipate from this situation and how you can keep your cart running as smoothly as possible:
1. Find an ammonia-based window cleaner in your home or purchase one at a store. This type of cleaner is appropriate because it can manage grease, grime, and corrosion quite easily.
2. Spray the cleaner on a cloth rag and let it soak into the cloth a little before you clean. Never spray directly on the cleaner and avoid paper towels. We’ll discuss why below.
3. Focus on any dirt you find on your battery, particularly in areas that may be corroded, as ammonia cleaners can help break apart some rust and minor corrosion issues
4. Wipe the whole top surface of the battery, paying extra attention to the areas around the caps where you’ll be pouring the water. This is where grime is most likely to fall into the battery.
5. Use a dry cloth towel to wipe away the ammonia cleaner and scrub down the surface to make it more presentable and safer to use.
6. Use a baking soda and water mixture to scrub over the battery surface again, particularly for areas of heavy corrosion which may need special attention.
7. Wet the rag and scrub the battery until you’ve covered the whole surface. Use another dry cloth rag to wipe away the residue completely. Make sure you have NOT left any behind before you start pouring.
Why don’t you want to use paper towels when cleaning your cart’s battery surface?
Why are low-fiber cloth rags a better choice?
First of all, paper towels are more likely to degrade and disintegrate when you are wiping down the surface of your battery with them.
This disintegration is going to leave behind a lot of annoying residue which could potentially fall into the cart’s battery, causing issues with its operation.
Low-fiber cloth towels are preferable for a similar reason.
They won’t leave behind stray fibers that may fall into the battery and cause issues.
You need to make sure you completely wipe away all ammonia and baking soda residue because these have a way of speeding up corrosion and making your battery run less effectively.
When your battery is fully cleaned and you have carefully managed all of these issues, you can then turn to checking the water levels in your battery.
Step Two—Checking and Filling Your Battery
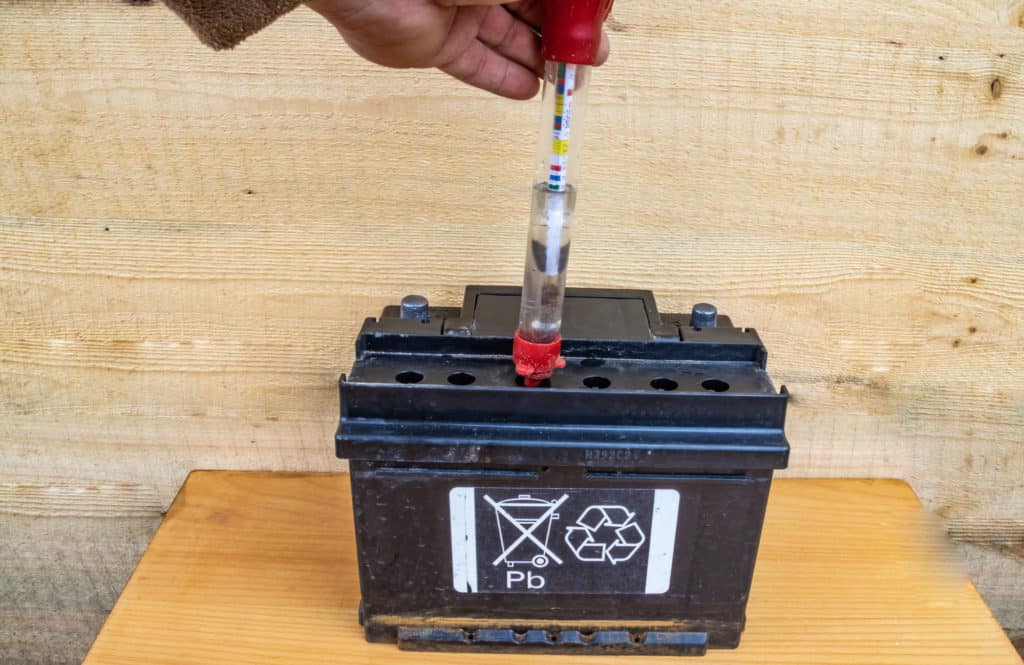
Now that you have cleaned the surface of your battery, it is time to check and, if needed, fill your battery.
In some situations, you may have to do no more than make sure your water is at the proper level for your battery’s needs.
Often, there is no issue with the water level in a golf cart battery, and you won’t have to refill or remove any water to keep it operating smoothly.
More often, though—especially if your cart has been sitting for a while—you may find that you need to adjust your cart battery’s water levels.
These steps are all covered below, including what to do when your cart battery’s water level is too low or too high and must be adjusted:
1. Locate the ports on top of your cart’s battery—two small rectangular tabs that sit on top—and use a screwdriver or a similar tool to pry open the top of these ports
2. Inspect the holes beneath these ports—there should be anywhere from two to four—and wipe them down carefully with a damp sponge to remove any stray residue
3. Look down into the cart battery holes to see each of the cells. You can use a small flashlight to shine a little light into an adjacent hole to illuminate the one you are inspecting.
4. Check the level of the water against the fill line in the battery cell. Is it close to or equal to this line, above it, or below it? There are steps to take in each scenario.
5. If your water level is close enough to the fill line—no more than a sixteenth of an inch—above or below, you are probably safe to close your battery and take no more steps.
6. If you see any metal cell showing above the surface of your water, slowly pour in a small amount of distilled water until you reach the fill line. You may need a second person to spot the levels.
7. When your water is too high above the line, you need to remove water using a turkey baster or a similar device until it gets back down to the proper level.
8. Once your water level is balanced, you need to close the surface of your battery and perform this check on the rest of your batteries.
Why do you have to remove water if the level is too high?
Overfilled batteries may cause an excessive amount of electrical flow in your battery and cause just as many issues as too little water.


NEED A PICTURE OF WHAT THE FILL LINE LOOKS LIKE