Your golf cart’s battery system is critical for its operation, whether you have a gasoline-powered model or a full-electric option.
However, your battery can wear down or even die on you and leave you in a tough spot.
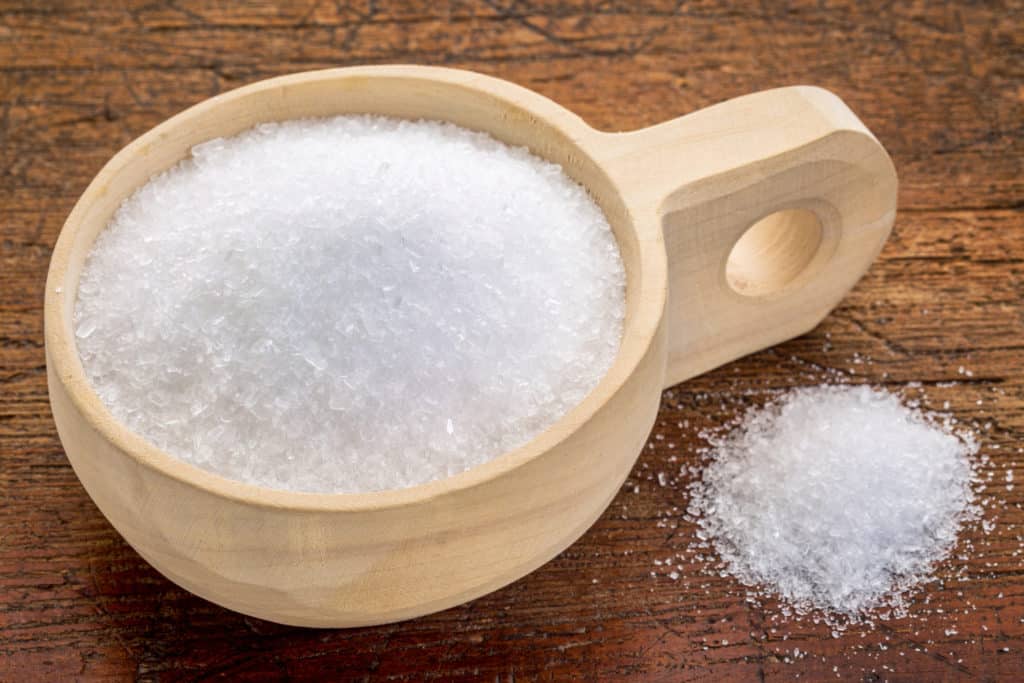
However, there’s a cool trick that’s been making the rounds lately online – using Epsom salt to restore your golf cart battery.
Here’s how you can do this and yes – this DOES work!
It’s wild but your batteries will get an extra charge and run longer, though not forever.
Table Of Contents
How to Restore Golf Cart Batteries With Epsom Salts (Step-By-Step)
1. Prepare for the Process
When working with car batteries – particularly when opening them up in this way – you need to make sure that you prepare properly to avoid any problems.
Remember – car batteries have acid in them and can be dangerous if you spill them on yourself or experience any other issues.
As a result, safety gear is an absolute necessity for those in this common situation.
The first step to take is to put on a good pair of protective gloves that won’t wear down too much if you spill acid on them.
Thankfully, battery acid won’t burn through your gloves THAT quickly.
You should be able to put on a pair of cloth gloves and be safe.
DON’T use plastic gloves, here, because they will burn away under battery acid because they are too thin for that type of protection.
Beyond that, you should wear a good pair of thick safety goggles designed for auto work and make sure that you carefully remove the battery from your cart.
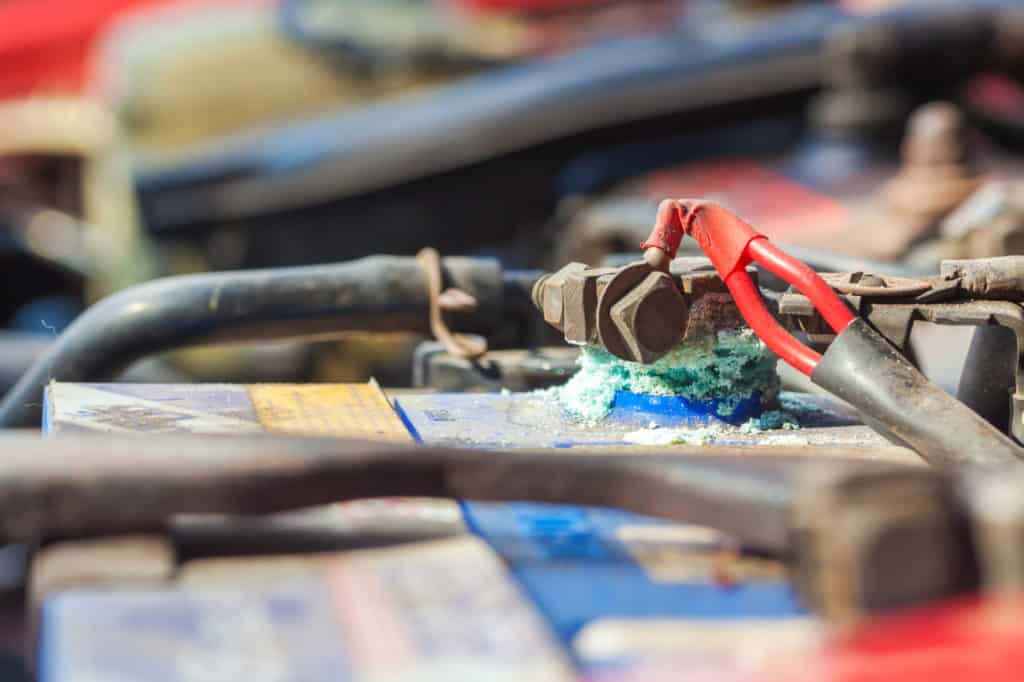
Start by taking the negative wire off of the terminal – or terminals, if you are removing multiple batteries – and then the positive.
Place these to the side and label them, if necessary to ensure that you don’t make mistakes hooking your cart back up.
2. Preparing the Battery
After you get the battery out of your cart, place it on a flat table or another table area where you can work without being disturbed.
We suggest a garage or a shed with a locking door and a window with a screen.
Open up the window to get air into the room but keep the screen shut to keep pests out.
This air flow helps to keep you from experiencing any adverse reactions if the battery acid is potent in smell.
Now, take a flathead – or standard – screwdriver and carefully press its tip beneath the caps on the end of the battery cells.
These cells cover up the battery acid storage area, so you must be careful with this process.
If you pry too hard or shake the battery, the acid may fly up and cause some damage.
Thankfully, it shouldn’t be too hard to pry these open without causing any difficulties.
Once the caps are off, you should take a device like a turkey baster or a controlled suction device and remove half of the battery acid from the battery.
Pay attention to the level of the acid as you remove it to make sure you don’t get rid of too much at once.
Place this removed acid into a glass container – glass is strong enough to resist wear and tear from battery acid, making this an easy step to take.
3. Mixing the Epsom Salt
Now, comes time to mix up your Epsom salt and some distilled water.
Okay: so how does this help to recharge your battery?
Well, the battery acid in your cells may end up getting old and no longer holding a charge.
When this happens, you can remove about half of it – as you have done already – and replace it with an Epsom salt and water mix.
Salt is an electrolyte and will distribute electricity cells.
Remember, though – this trick won’t restore ALL batteries that have died.
For example, a battery with a problem that is not related to the acid – such as concerns with the terminals – won’t be affected by this process.
However, when you do it with a battery that does need a new charge, you can get months and even a year of life out of the battery, depending on a variety of different factors.
So, mix together eight ounces of Epsom salt into two quarts of water.
Stir it together very well with a spoon until the salt is fully dissolved.
You don’t want bits of salt lurking at the bottom of the container – if you see these after the water has settled, shake it up and stir some more to break it apart.
At this point, your water should be fairly salty and ready to pour into the battery.
And ALWAYS, we repeat, ALWAYS use distilled water and NEVER tap water – tap water can damage your battery.
4. Filling the Cells Properly
At this point, you are just about ready to start filling your battery cells with your Epsom salt and water mix.
However, you need to make sure that you don’t just pour the water into the cells willy nilly from the bottle.
Instead, you need to be more careful with how you add it, using just as much as is necessary.
You also need to avoid any sedimentary salt that may still lurk in the bottom of the bottle.
Instead, you need to pay attention to the level at which your battery acid was at before you removed it – mark it with a pen if necessary.
Now, you use a different turkey baster or suction device – or clean out whatever you used to remove the acid – and use it to carefully put the Epsom salt and water mix into the battery.
Go slowly and make sure that your level doesn’t get too high on the battery.
The turkey baster should help here because you can take a small amount of acid and squirt it into the cells without using too much.
We know that it will take longer but you can concentrate on the liquid and avoid the salt sediment on the bottom.
In this way, you can easily fill up the battery and avoid any type of sparks or other issues that may occur if sediment is sent to the cell.
5. Charging the Battery Up
Connect the battery to your charging station and let it charge overnight to get.
At this point, you can take your battery off the station and hook it up to your cart.
Cross your fingers and try to start it up.
If it goes right away, your battery should be good for several more charges before you need a new one.
If it doesn’t start, you may need a new battery for your cart instead.
And when you’re done charging your battery, you need to call a local trash company or hazardous waste business and get them to either come and take your battery acid or take it to their facility. DO NOT dump your acid on the ground, in the toilet, in a sink, or in a trash.
This contamination is dangerous and puts you and others at risk in your area.


Leave a Reply