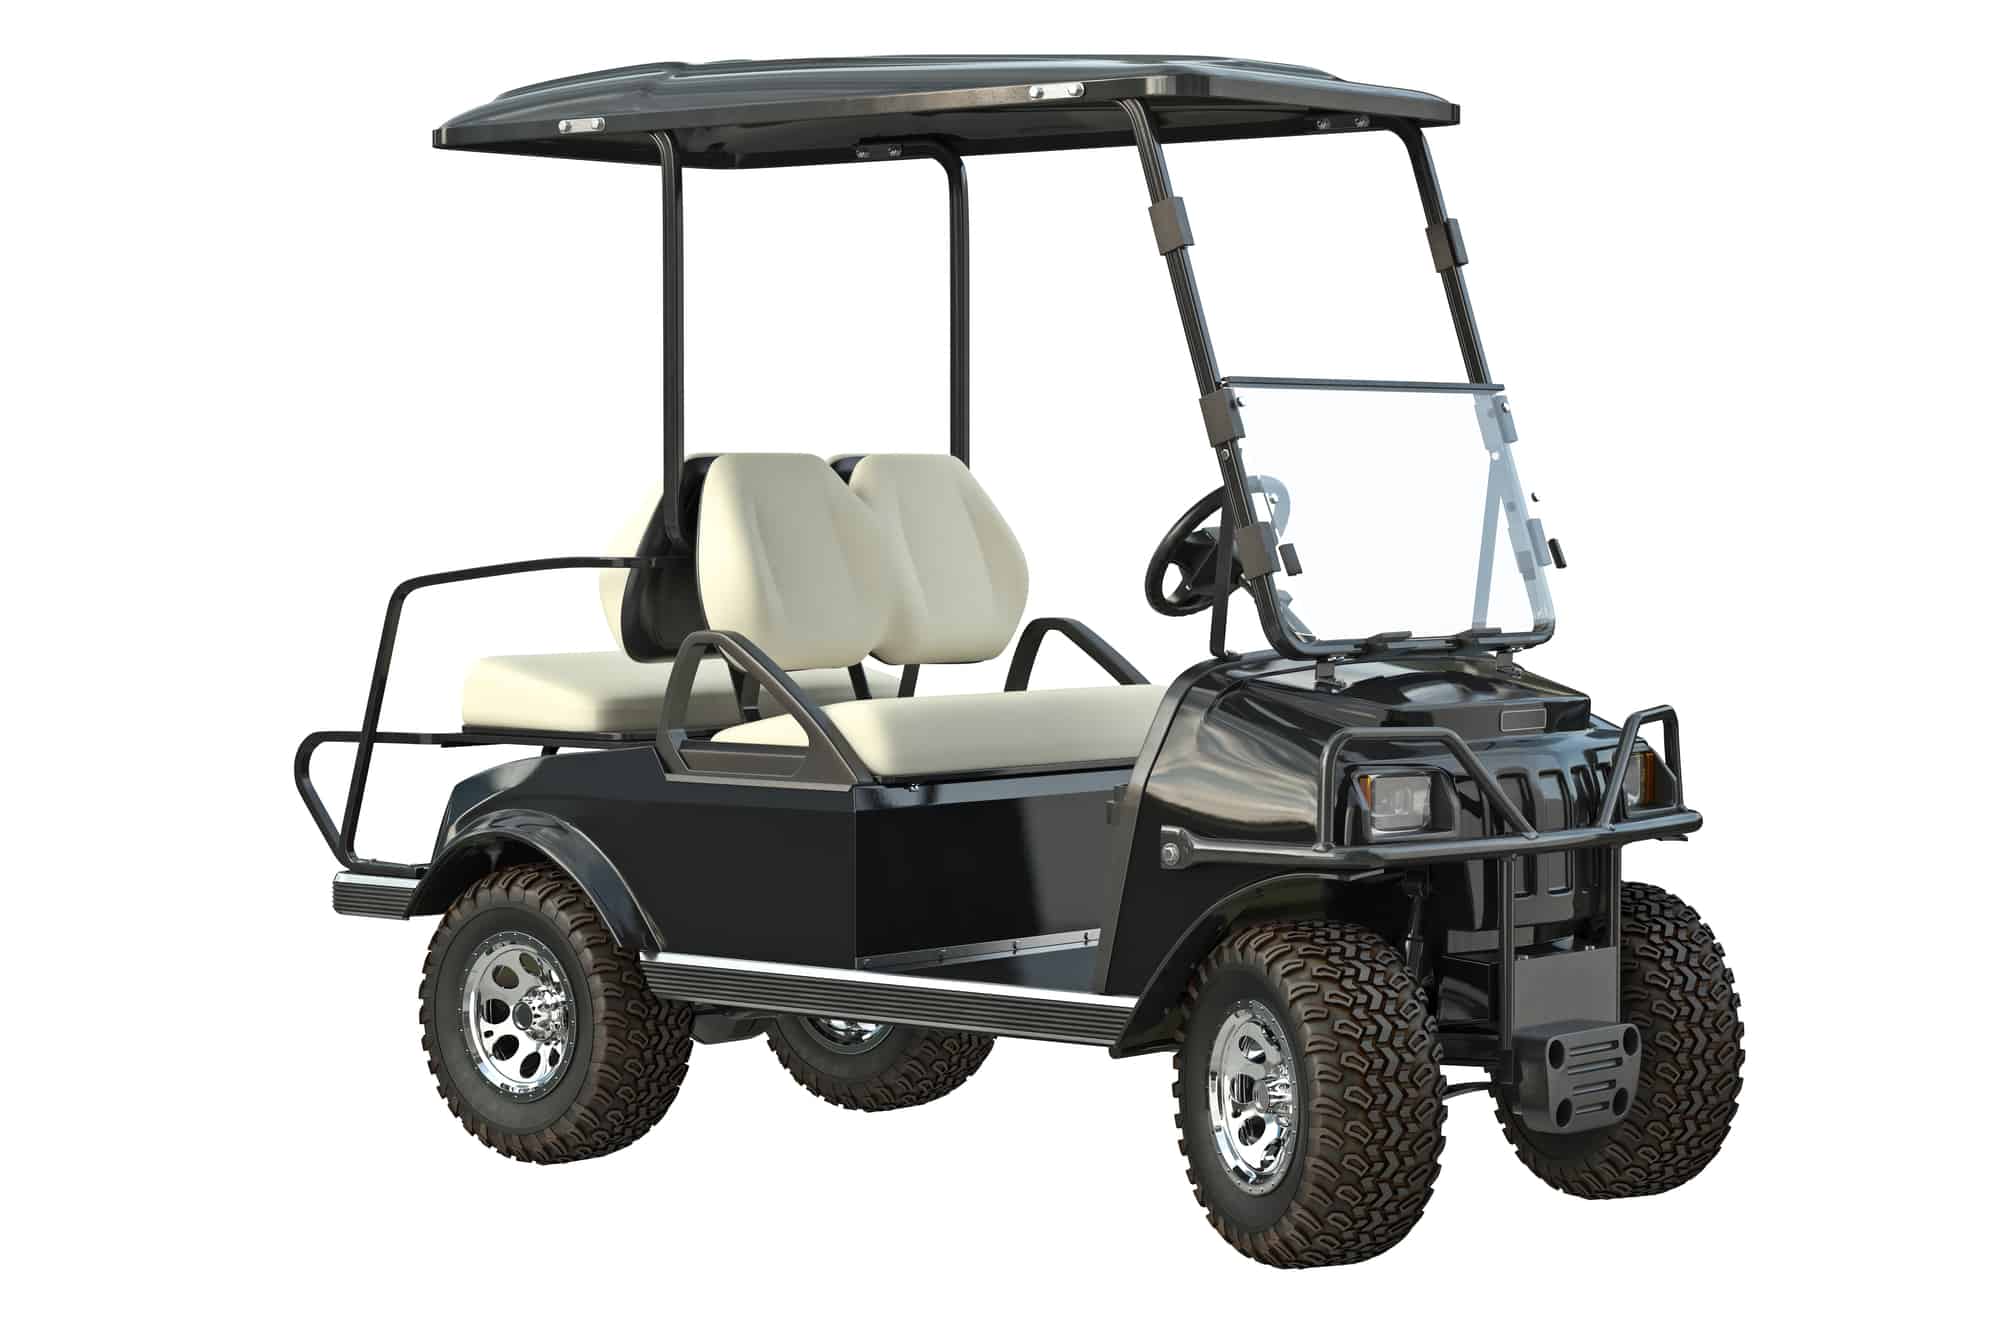
Headlights are becoming increasingly common in many golf cart models.
That’s because they provide a myriad of benefits that make them worth the installation.
And as these headlights run, they may end up burning out or getting damaged in ways that require replacement.
Thankfully, most cart owners shouldn’t have a hard time changing out these bulbs with ease and comfort.
The process here is by no means a major challenge and should provide you with the help that you need here.
The following information will help you change headlights in all three major carting brands – EZGO, Yamaha, and Club Car – and will explain the differences between the brands, as they occur.
Though there aren’t many variations between the different models or manufacturers, there are a few tweaks that must be taken into account to ensure that you don’t make a mistake installing your cart’s headlights.
Differences Between Headlights Based on Brands
Currently, there are three major manufacturers of golf carts on the market: EZGO, Yamaha, and Club Car.
Though two of these designers are owned by a larger parent company, they still provide the kind of high-quality cart design that they did before the buyout.
And the same goes for their headlights – each of these manufacturers has carefully balanced the different options that are available on the market and have created lights that will provide you with the help that you need to drive at night.
But why even have headlights on a golf cart in the first place?
Some carts are built without them because they aren’t necessary for riding on golf courses.
However, many models do have headlights, just in case people are golfing and it gets late.
And, of course, some owners add headlights and taillights to their carts to make them useful as low- or medium-speed vehicles.
And changing these headlights is designed to be easy, no matter what type of cart that you own or ride.
What about the process between the different brands? Is there any major difference between how you change headlights in an EZGO, Club Car, or Yamaha golf club?
Honestly, there doesn’t seem to be a major difference between these different replacement processes.
We’ve researched quite a different number of ways to install these headlights and we have yet to come across any that was drastically different in a way that needed to change up the steps that we’ve highlighted here.
That said, it is important to remember that there may be small differences between the interior design of many golf cart manufacturers and brands.
The changes may be quite minor and easy to ignore.
However, we will highlight a few differences in the steps below to give you an idea of what to expect between the different models.
There honestly isn’t much here – and we’re not going to discuss every model, either, because that would take up more room than we can write here.
As a result, it should be fairly easy for you to replace the headlights in your golf cart following these basic steps.
We have carefully researched all of the different steps and want to make sure that you get the best results.
Before you start, though, it is important to know how to find the proper cart headlights for your model and brand.
Thought the lights may be only different in minor ways, understanding these changes is critical for ensuring that you don’t make any installation mistakes during this process.
Finding the Best Headlight Options
Now, you need to understand what types of headlights are the best choice for your cart.
Typically, this is going to depend based on the cart that you own.
For example, EZGO carts utilize a light bar and a few other lights to produce a good range of lighting options.
They typically use LED on these carts, as well, which helps to keep the cost down a little.
Other carts have different options from which you can consider and which create different benefits based on the cart that you own.
For instance, Club Cars – especially the Precedent model – uses regular and LED lights, depending on what type of model you use.
Regular lights are good for those who want the most brightness but LED is a good compromise for efficiency.
They don’t drain as much electricity as regular lights and may last years longer, depending on the model that you use.
As a result, you may want to research this option for the Club Car or seek out one that is appropriate for whatever model cart that you own and ride.
What about Yamaha carts?
They typically utilize the same type of LED and regular lights but with slightly different designs.
Remember – the light that you purchase must be specific to the cart model you are upgrading.
This matching is important because some carts may seem to work with other types of lights but don’t have enough power for them.
So make sure that you talk to a cart shop about your lighting options before you make a purchase – they can help you find the model that works for you.
And should you buy new lights or used ones that have been pulled from older cart models?
That all depends.
If you have an older cart, your manufacturer may not even make lights for it anymore.
As a result, you’ll have to talk to used cart dealers to see if they have options that work for you.
The problem here is that your light may be old and end up wearing out sooner.
If you can get new lights, we always suggest going for them.
You’ll pay more money but you’ll get a longer-lasting and stronger light.
The Replacement Process for All Carts
As mentioned previously, the differences between most golf carts when changing headlights is minor.
Not that there are no differences but more that the differences between manufacturers aren’t significant enough to break down into separate sections.
It is true that Club Car tends to use light bars instead of individual lights.
And it is also true that the battery power of each cart will be different and change how you replace and upgrade your cart’s lights.
That said, we can briefly touch on these differences when they come up and create a more general replacement process that is easier for just about anybody to understand.
We have split this process into two different sections: replacing the bulb and the total headlamp.
We’re going to focus on the bulb, first, because this is by far the easiest thing to do.
If changing the bulb doesn’t fix what is wrong with your headlights, you can move on to changing the whole lamp.
And if this doesn’t help, contact a professional right away to learn more.
Problems That Impact Headlights
Golf cart headlights are designed to last for years and typically take quite some time before they end up burning out.
However, there are still times when these lights may end up needing to be changed.
This situation typically occurs due to a handful of different problems.
Understanding just what causes the need for headlight replacement should make it easier for cart owners to keep their cart maintained and avoid any serious issues that may trigger problems with a cart’s operation on the road.
The most obvious problem that you’re going to notice with your headlights is when they burn out.
Thankfully, this problem is one of the easiest to manage and doesn’t require a lot of difficult repair processes.
Most cart owners shouldn’t have a hard time swapping out their headlights in this situation.
The sections below will give you more insight into this process, including any differences between the three major brands that you need to fully understand before you start this process in full.
However, there may also be issues that occur that cause your headlights to stop working.
Electrical shorts, problems with the lighting coupling, and much more may all occur.
When this happens, the best choice is to just replace your headlights completely.
We’ll discuss this process, as well, to give you a better idea of what to expect.
And remember – we’re going to discuss how this process may differ in minor ways between the different manufacturers of golf carts.
How to Replace Golf Cart Headlight Bulbs
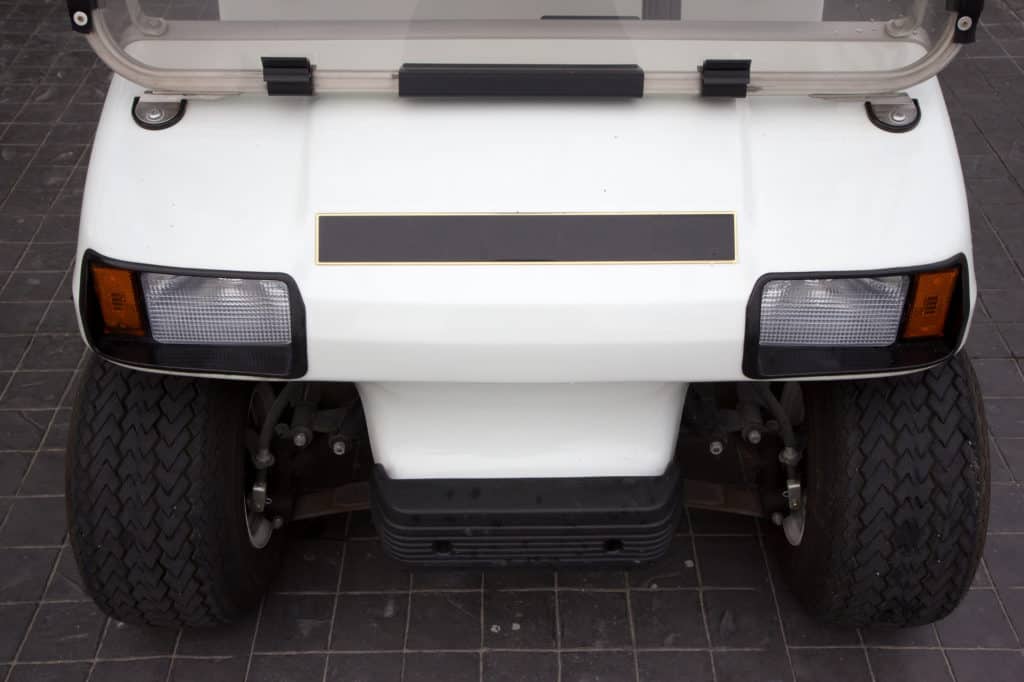
1. Removing the Lens Cover
The first step here is by far the easiest – removing the lens cover.
However, this step will vary depending on your model.
For example, most EZGO carts have a light bar that requires you to carefully snap the holders out of their sockets along the length of the bar.
Use your fingernails or a screwdriver to perform this step and place the cover to the side to ensure that it doesn’t get in the way as you work.
However, Yamaha light covers are usually individual and may have screws along the sides that hold the cover down.
Find the appropriate screwdriver head – for a Yamaha, it is usually a Philips but may be standard on some models – and remove the screws.
Take off the cover and place it to the side, putting the screws in the cover to keep them in one place.
Avoid tipping over the cover to avoid issues.
As for Club Car models, they usually use clips and are quite easy to remove.
That said, you may also run into screws, here, depending on the model.
And some Club Cars use both light bars and individual headlights to produce a good look.
Remove the covers that you need to work on and place any holders, clamps, or screws inside of the cover to ensure that they don’t get lost as you work on the headlights.
2. Taking Out the Bulb
Now, you’ll have to remove the bulb from its socket to ensure that you get the best results in this situation.
Again, you probably don’t have to do a lot of work here – some lights may pop right out with a tug, particularly on EZGO models with a light bar.
Don’t pull too hard, though – if the bulb isn’t coming out with a light tug, then there’s a good chance something else is holding it down.
Usually, you’ll have to turn these bulbs counterclockwise to get them out of their stem.
Most of the time, you’re going to see this type of bulb in individual lights, as you would on a Yamaha or Club Car model.
However, even some light bars have this type of turning bulb, so make sure that you wear gloves to get the best grip and friction that you need to take the bulb out of the socket smoothly and efficiently.
You will know when your bulb is ready to remove when you hear a “click” as you turn it counterclockwise.
You’ll also notice that the bulb feels “loose” in its socket now.
At this point, you can take out the bulb and change it with a new one.
However, we’re going to include another step on how to handle these bulbs to ensure that you don’t cause any problems with the old or new ones.
3. Handling the New Bulb
As mentioned previously, you need to be wearing a pair of gloves when you’re handling old and new bulbs.
Though gloves aren’t as necessary for old lights as they are for new ones, they still benefit you when used this way.
For example, gloves – or a soft cloth – on a new bulb helps to give you more friction and minimizes the risk of the bulb shattering in your hand and cutting you if it does.
And if the bulb does shatter, the gloves or the cloth will stop you from getting cut in an uncomfortable way.
As for the new bulb, you need to make sure that you don’t get any oil on the bulb when handling it.
When we say oil, we’re talking about not only oil from the cart – if it is a gas model – but the oil on your fingers as well.
You may not notice that oil but everybody has some on their hands.
This oil is a problem because it has a bad way of working its way down to the connectors on your bulbs and causing a malfunction.
That’s because it can trigger electrical issues that make your bulb run poorly or even short out.
So always make sure that you’re wearing gloves to avoid any complications.
If you do touch the bulb with bare fingers, wiping it down with a cloth can help prevent any problem.
4. Putting the New Bulb Into Place
After you’ve removed the old bulb and set it to the side, you can place your new bulb into its holder.
Push it gently and wait to hear a click – you may need to turn the bulb clockwise to hear this click.
Once the bulb is properly in place, you can test it by turning on your cart and switching your headlights on.
If they do work, carefully put the cover back into place over the bulb and screw it back down or add the connectors to hold it down.
Do this for every headlight that you have replaced to ensure that you don’t run into any electrical problems.
How To Change A Golf Cart Headlamp
The following process is one that you can use on all three golf cart models to change the headlamp.
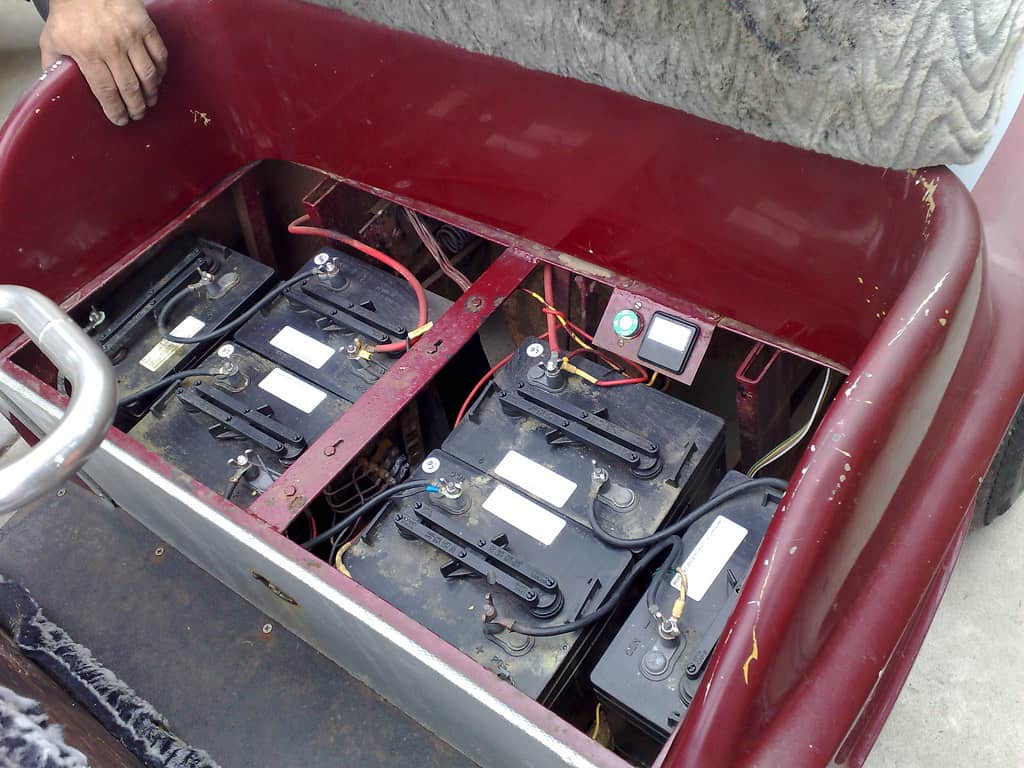
It doesn’t require a lot of careful work but you should make sure to keep the cart off and the battery unhooked as you work to avoid shocks.
1. Preparing Your Cart
When working on your headlamp, you need to make sure that you prepare your cart to keep it safe from any issue.
The easiest part of this process is to lay down a sheet that goes a few feet beyond the edge of the cart.
Take this step to catch any item that may fall from the assembly as you work on it.
Now, park your cart and place a comfortable cushion near where you plan on working.
You need to be at eye level with the headlight to get the best results.
And while you may not be working that long, there’s nothing wrong with a little comfort while you sit and work on the assembly.
Where should you park your cart while you work on it in this way?
We suggest a garage or a small shed where you can control what comes in and out of the shed.
Doing so will help to minimize any potential problems.
2. Removing the Headlight Assembly
Now that you’re ready to begin working on your cart’s headlights, you must know how to remove the headlight assembly.
This process isn’t too complex, thankfully.
However, it does require you to examine the cart light very carefully to ensure that you don’t make any mistakes as you work.
For example, you need a screwdriver – usually a Philips in all carts, though standard options sometimes do pop up – to remove the screws holding the assembly to the cart.
You’ll usually find these at the four corners of the light on most Yamaha and EZGO carts, with Club Car using more to hold it down.
Take these screws and place them to the side for now – if you have a pocket that you can seal, put them here to get the best results.
Now, carefully pull the headlamp assembly off of the frame as far as it can go.
There will still be some wires, here, that you’ll need to remove before changing the light.
3. Detaching the Wiring
At this point, you’re holding a headlamp assembly in your hands.
You may or may not be able to place it on the ground, depending on the length of the wires.
Many Yamaha carts have wires long enough for this step.
However, Club Car and EZGO may require you to have somebody hold the assembly.
Whatever the case, look at the back of the headlamp to find the wiring clips.
These are the same on all manufacturers’ carts, so you shouldn’t have a hard time with it.
Hold the clips and carefully pull them away from the back of the lamp to remove the wires.
Tape the clips down until you’re ready for the next step.
4. Adding the New Headlight
At this point, you’re ready to add the new headlight to your cart.
Have your worker take the old headlight somewhere safe or take it there yourself if working alone.
Now, take the new headlight assembly out of its box wearing gloves to avoid any issues that you may cause with greasy hands.
Carefully untape the wire clips and place them back onto the new headlight in the same way you did with the old headlights.
Carefully slide the headlight assembly back into the hole where you removed the old one and attach it with the screws or clamps – you should have enough to do this if you bought the right light.
Now, turn on your golf cart and switch the headlights on to see if they work.
You should get an immediate bright light if it does.
If it does not, take the assembly out again and check your wiring.
If your wiring is proper but your lights still don’t work, talk to a mechanic right away.
Leave a Reply
You must be logged in to post a comment.