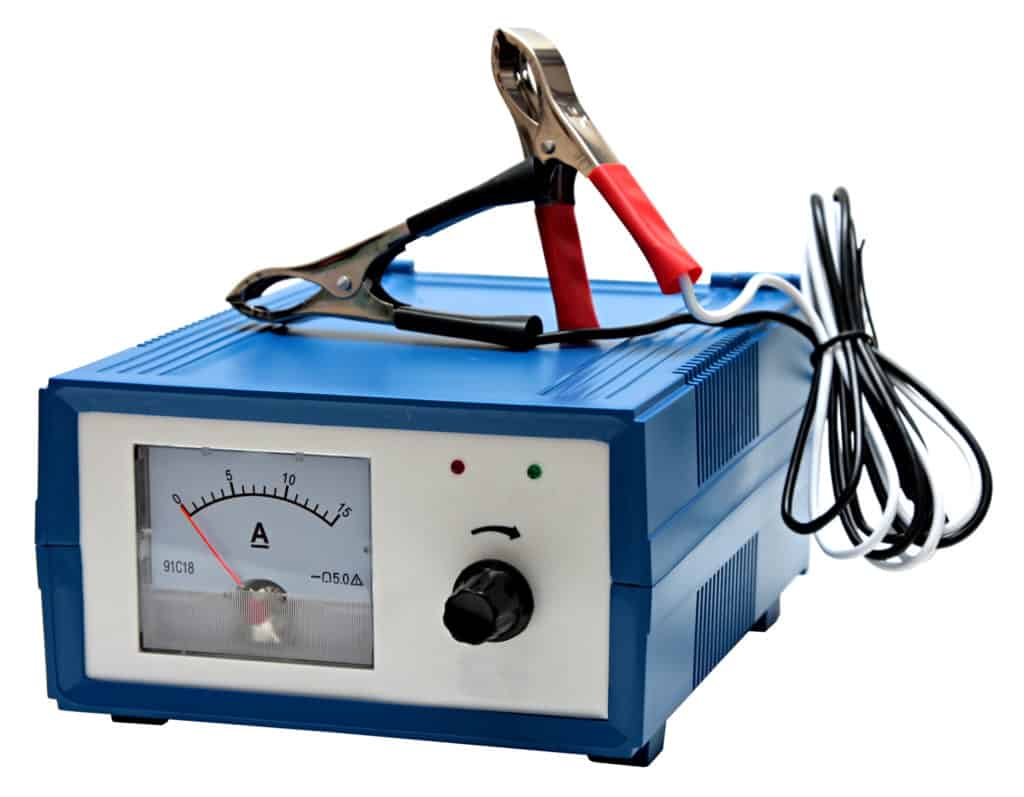
Trickle chargers are a unique battery charging option designed to provide a sustainable charge over an extended period.
They are not designed for fast charging but for long-term storage situations and those moments when you need to keep your battery-powered up for a long time.
Using these chargers is fairly simple and doesn’t take a lot of excessive work or planning.
You do need to be careful about when and how you use these chargers, though, because they may not be right for every situation.
Thankfully, there isn’t too much you need to know about how they operate to ensure they work smoothly for your cart’s operational purposes.
The following guide should tell you everything you need to know about how to use one of these chargers, including the best times to add one to your cart to keep it operating smoothly and efficiently.
How to Use a Trickle Charger with a Golf Cart

Trickle chargers are designed to prevent the danger of overcharging by turning off the moment a battery has reached a full charge.
It then provides a steady stream of electricity to your battery which keeps it charged without causing any damage.
Most of the time, people use these types of chargers if their cart is going to be stored for an extended period.
Here is the basic operating procedure for hooking a trickle charger up to your cart and what you need to do to keep it running smoothly.
Step One—Make Sure the Battery is Safe to Charge
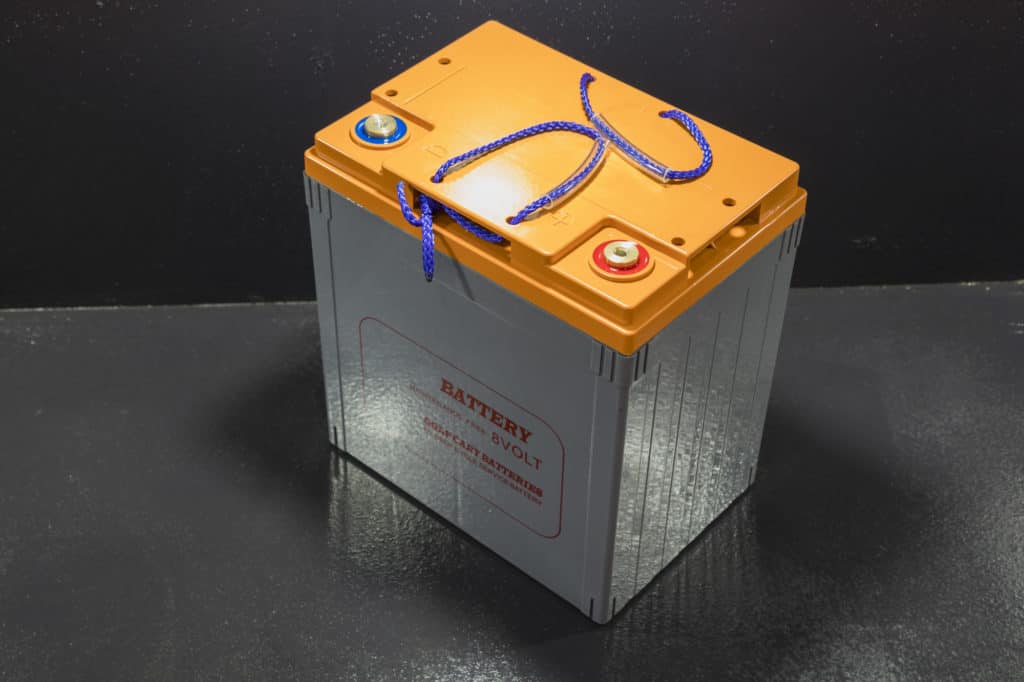
Start out by making sure you take many precautions to keep your cart and yourself safe as you work.
For example, you may want to park your cart in a closed area, such as a garage, where you can close the door and keep it safe from various types of water or weather damage.
Make sure you seal up the room ASAP to keep out any problematic weather issues.
If there are windows, make sure they are closed as well.
Remember, you’re going to be parking your cart here awhile, and you need to make sure it is safe to do so.
Try to have a small vent open in one of the windows, though, before you plug in the charger.
That’s because the charging may create a small amount of hydrogen gas which can build up over a period of time.
This gas may cause you to become lightheaded or create a significant fire risk, and you won’t be able to smell it or detect it.
Furthermore, you want to make sure you turn the key off in the ignition of the cart and that you keep your charger unplugged for now.
In a moment, you are going to plug it in, but for now, you need to keep it unplugged to avoid unnecessary charging dangers.
Lastly, you need to make sure your storage area is clean of debris and isn’t somewhere an animal like a mouse or a raccoon may end up.
Use exclusion techniques on the exterior of the shed to keep out animals and protect your charger.
This step is critical because you want to make sure your cart’s battery or charger doesn’t get chewed.
Doing all of these things will not only keep the battery from getting damaged but also ensure that a fire doesn’t occur, something that can be severe if you aren’t careful with your battery and the way you have charged it at your home.
Step Two—Make Sure the Battery is Properly Grounded
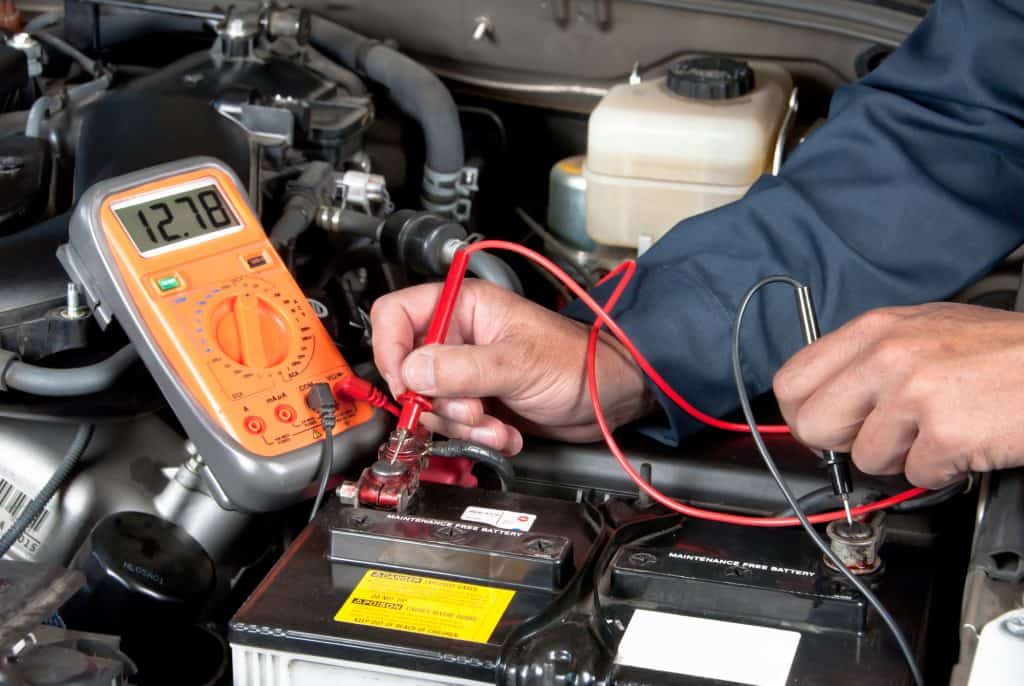
Your battery is going to be getting both positive and negative electrical energy as it charges.
This helps to build up its strength and its charge and makes it more useful.
With a trickle charger, this approach is particularly important because it helps to prevent any sparking or other dangers.
However, it is important to ground your charger first.
Failure to do so could cause the charger to send too much power or to cause electricity to spread to areas you don’t want it to go.
Thankfully, grounding your battery is easy and shouldn’t take a lot of difficult work to accomplish.
Start by finding a bare metal spot on the frame of your battery or a large bolt to which you can attach the battery while you are charging it.
Make sure you clean off this area to ensure that dirt, grime, and grease don’t cause any complications with your charging.
Don’t use a negative terminal on the battery because you may end up causing a fire or an explosion if you aren’t too careful.
This issue isn’t too much of a big deal, thankfully.
Take a wire from the negative terminal of the battery and run it to the area where you want to ground the battery.
Use a rubber clip to hold the wire down to this metal piece.
Rubber stops the flow of electricity and will keep you from getting shocked when you take the clip off after the battery is done charging.
Now, you can start taking other steps to charge up your battery with the trickle charger.
The rest of these steps are going to be even easier.
Step Three—Attach Your Battery to the Charger

Now that your battery is properly grounded, you can attach it to the trickle charger.
There are a few ways you can do this step.
Some people take the battery out of the cart and put it on a safe stand with an insulated bottom.
This step helps if you don’t have a storage shed or barn where you can store your cart for an extended period of time.
Thankfully, you can also attach your cart’s battery to a trickle charger when it is in the cart if you want.
That all depends on whether you have a place to put your cart and if you feel comfortable taking any more steps to keep it operating smoothly for your needs.
Take the red clip from your battery charger—the positive wire—and attach it to the red or positive terminal on your cart’s battery.
Clamp it tightly down to keep it in place without any issue.
After the positive cable has been successfully added to your cart’s battery, you can take the black or negative wire to the negative terminal on your cart’s battery ground location.
Make sure you attach the charger to the ground location instead of the terminal.
Note: It is possible to skip the grounding step but isn’t always a good choice for many carts because it may cause issues.
Check each of these connections to make sure they are as strong as possible and haven’t slipped.
Remember, they’re going to be sitting for some time, and you want them to stay tight and secure.
Step Four—Turn on and Track the Charger

At this point, you are ready to turn on your charger and see what happens.
In most cases, your charger is going to start producing a steady supply of power that is quite easy to keep operating.
Turn the battery to the “On” position and read the amperage meter on your charger.
If your battery is very low on charge, you can keep it on the trickle charger, and it will charge back up and stay strong.
If you find the battery is already fully charged or mostly charged, you may not need to charge it up.
Make sure your connections are properly set before you take this step, though, to ensure you get the best results for your charger.
Then, you can turn it on and leave it alone to charge properly.
Now you can mostly leave your charger alone because your battery will reach its top charge and will safely stay there without issue.
Some chargers can stay plugged in this way for months without experiencing any complications.
Others can only be connected for a few days without causing damage.
These are usually higher-output battery chargers which must be watched carefully.
Even with lower-amp chargers, you may want to check periodically with your charger to ensure that the battery remains fully charged and isn’t low on power.
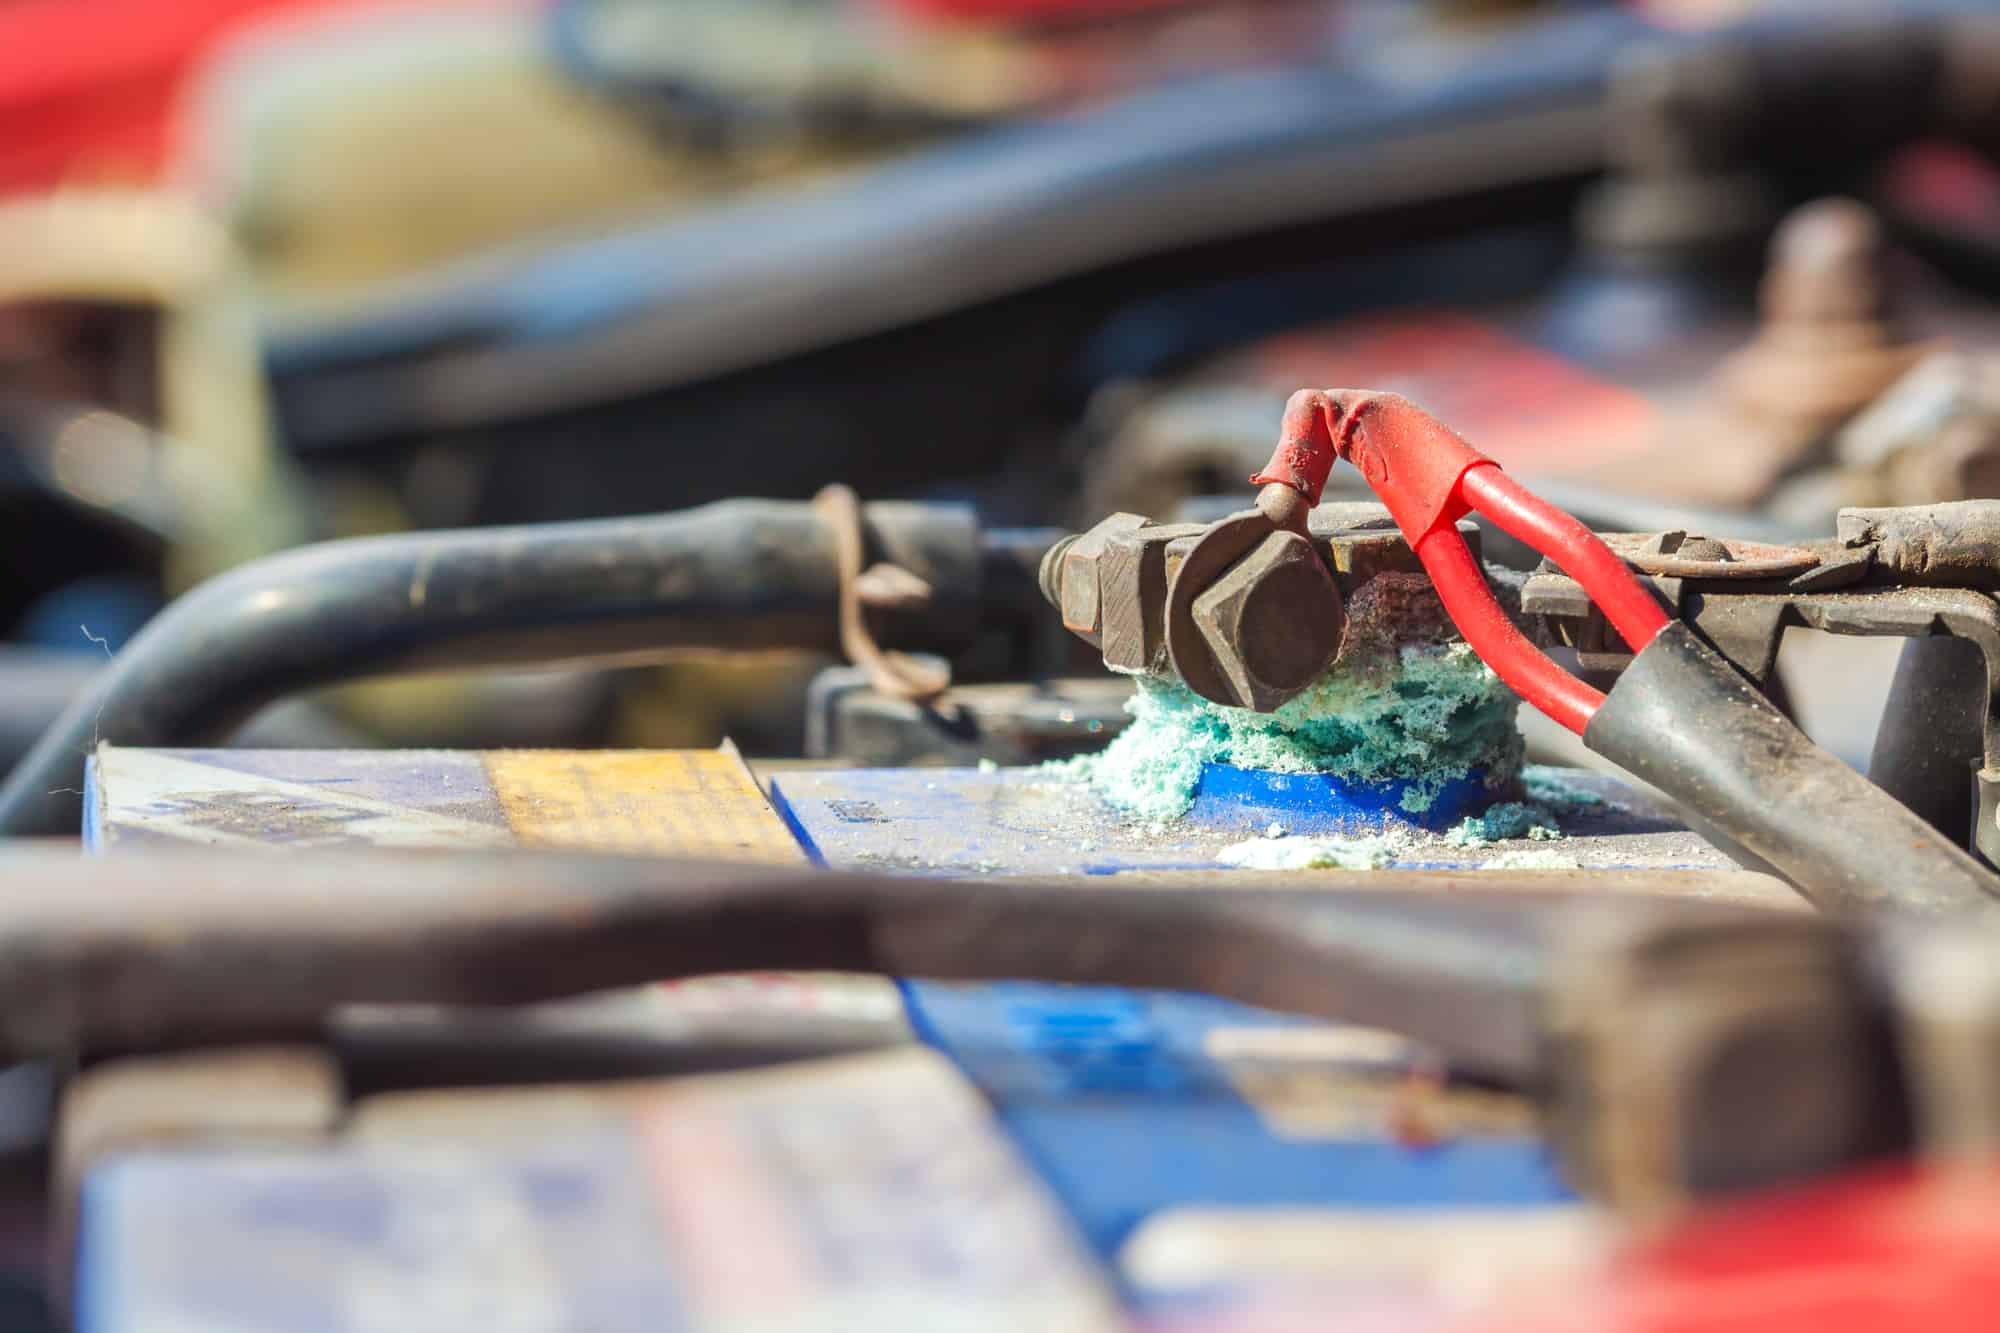

Question: Since the batteries are all “daisy-chained” do you just attach clamps to the ‘first’ battery?
If the answer is yes, will a 1.5 Trickle charger be enough for all 6 batteries (6-6volt batteries).