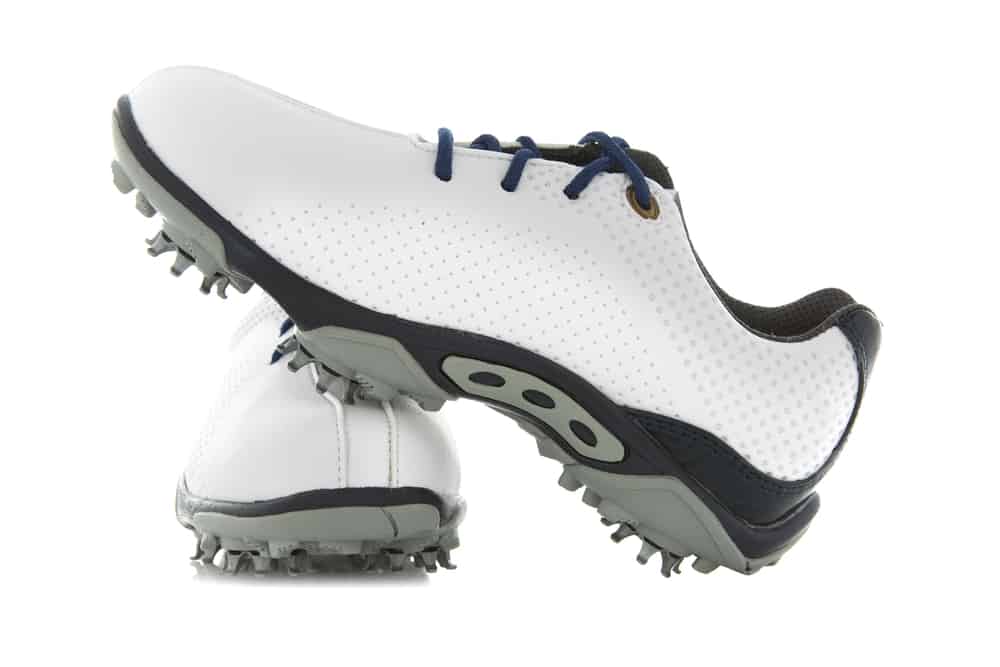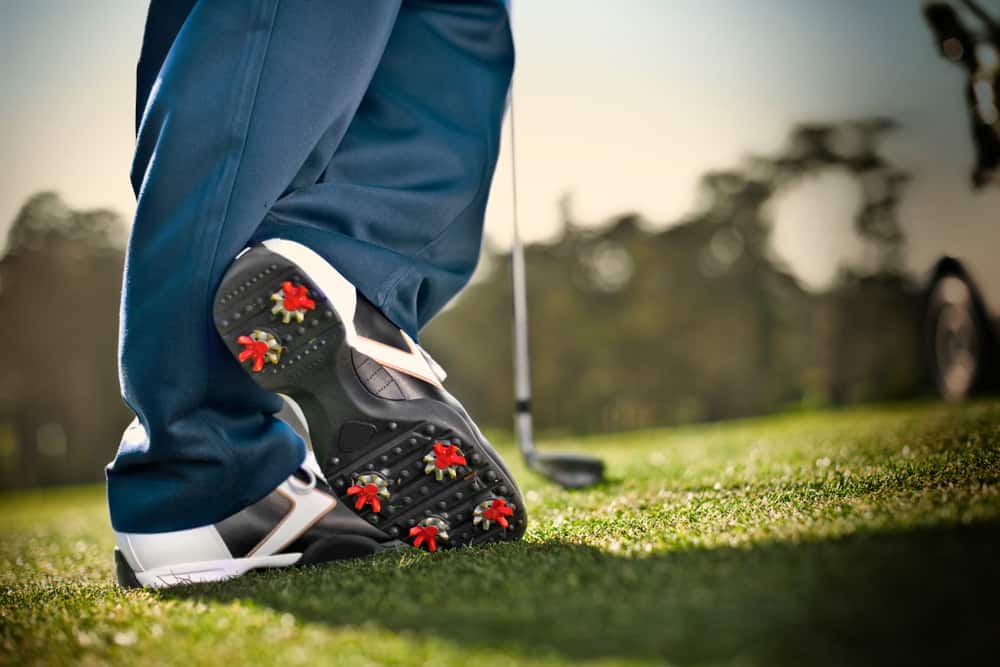
The spikes on the bottom of your golf shoe allow you to have balance and stability while on the golf course.
Sometimes shoes are going to outlast the spikes on the bottom.
Replacing golf spikes is a fairly common practice, and you should know how to do it if you own golf shoes.
You can usually take your shoes to a local golf club to have the spikes changed out for you.
However, it is much cheaper to be able to complete this project on your own.
Here is our step-by-step guide for removing golf spikes.
How to Remove Golf Spikes (Step-by-Step Guide)

Here are the five basic steps for removing golf spikes and putting your new ones in.
Sometimes a golf spike will get stuck, and when that happens, this process becomes a bit more complicated.
However, if your shoes are newer and have not been used all that much, you should have no trouble removing them.
Step 1: Gather All Supplies
The number of supplies you will need will depend on the types of shoes you have and how stuck your golf spikes are.
In general, it is good to have your golf shoe spike wrench, a flat head screwdriver, WD40, and a towel as well as a dry rag.
You will also want to make sure that you prepare an area to complete this process.
If your spikes are a bit stuck and you wind up having to use WD40, you will need to be careful where you spray this.
We like to work on a towel when changing spikes because quite a bit of dirt and sand usually comes out as you complete the process.
As clean as your shoes are, chances are there is still some dirt stuck up under the spikes.
Step 2: Clean Your Golf Shoes
Before you start trying to remove the spikes, it is a good idea to clean your golf shoes.
Cleaning gives you better access to the golf spike and allows you to grab the spike with the wrench a little more easily.
Another reason you will want to clean the shoes is so that there is less mess and residue all over your hands.
The bottoms of your golf shoes are pretty dirty.
Not only have they stepped across those pristine fairways, but chances are they have traveled in some mud, some sand, and across fertilizer as well.
It is essential to wash them well before handling them and working with them to remove the spikes.
While you are washing the shoes, you can also get a better look at the condition of the spikes, which may give you an edge when it comes time to remove the spikes.
Step 3: Remove Spikes, Work on Stuck Spikes
Use a golf shoe spike wrench to twist your golf spikes to see if they can come out.
You will want to turn the spike counterclockwise to get it to pop out.
If the spike seems like it is stuck, try to start wiggling it both counterclockwise and clockwise.
Sometimes this can be enough to loosen the spike and then allow you to get it out of its position.
This process using the wrench should work on most golf spikes.
However, if you happen to have a spike that it is not coming loose, you can then use your WD40.
Carefully spraying with WD40 is a great way to help to loosen the spike.
You don’t need to coat it with WD40, as a light spray should be enough to help loosen things up.
Unfortunately, you are going to have to work a bit with the stuck spikes.
You will have to be forceful and work to get them out without damaging the shoe.
Step 4: Removing All of the Spikes
If for some reason, there are still a few spikes that are stuck in your shoe, you are going to have to get a bit more involved with getting them out.
One thing you can do is use a screwdriver to try and pry them out.
Alternate between the screwdriver and the wrench to see if you can get the spike to move at all.
Any type of movement is going to help to get you closer to your end goal.
Some golfers try all options but still end up with a spike that is stuck.
If this is the case for you, then you will need to grab a drill and start drilling the spike out.
Chances are, if you drill lightly into the spike, you end up breaking off pieces of it and pulling it out.
The most essential thing in this situation is to try to preserve the golf shoe.
Obviously, you won’t want to drill through the entire shoe, and you also don’t want to damage the receptacle for the spike.
If you damage this, then you won’t be able to put a new spike in when the time comes.
One thing to learn from this lesson is that, if you replace your spikes a bit more often, you will have a much easier time getting the spikes to pop out.
Step 5: Cleaning and Installing New Spikes
Once you are able to get all of the spikes out, you are almost ready to install the new spikes.
Make sure that each of the holes that will receive a new spike is completely clear of any debris or residue.
Usually, if you turn the shoe upside down, almost everything will come out.
Some golfers will take a vacuum to the bottom of the shoe and use that to suck out some of the dirt.
When the bottom of the shoe is completely clean, you can start to screw in the new spikes.
This helps to make sure that the spike gets a secure fit and will not come out after just a few rounds of golf.
We like the idea of starting fresh when you put new spikes in, and you should make sure that the job you do is one that holds up for quite some time.
After your new spikes are in place, you will then be ready to hit the golf course again.
Chances are you will feel a little taller and a little more capable than you did the last time you wore your golf shoes.
Are Golf Shoes with Spikes Worth It?

Changing spikes on golf shoes is not everyone’s favorite project.
The process takes a bit of time, and it can be a bit messy if the spikes are stuck.
The annoyance and expense of having to change spikes are partly why some people are switching to the spikeless golf shoe.
Of course, it has been many years since the metal spike golf shoes were legal to use on the golf course, but the soft spikes have been around for quite some time.
However, the newest addition to the world of golf shoes is the spikeless golf shoes.
These spikeless shoes have a strong rubber grip on the bottom, and they have a pattern that allows golfers plenty of traction.
The biggest appeal of the spikeless shoe is that you can wear it on and off the golf course.
Wearing this shoe makes it easy to show up to golf and run right out to the first tee.
If you need to stop at the store on your way home from the course, you can still wear these shoes.
Another great benefit of the spikeless shoe is that you will never have to change out the spikes.
Of course, this is going to be a bit of a positive and a negative.
The positive is that you won’t have to change spikes, but the negative is that your entire shoe could need replacement, not just the spikes.
Spikeless shoes tend to wear out much faster than the soft spike shoes.
Many times, this is because they are being worn daily and not just for rounds of golf.
Typically, golf shoes are worn for a few hours a week.
Some people may wear their spikeless shoes to work every day, and then this will cause them to need to be replaced rather quickly.
Most spikeless shoes are affordable and a good choice for a wide range of players.
Do PGA Tour Pros Wear Metal Spikes?

As most amateur golfers know, the old metal spikes are no longer legal to wear on golf courses.
This is because the spikes were causing damage to greens, and golf courses were finding that the spikes were doing more damage than they were worth.
Unless you are very careful about how you step with a metal spike on, you can scratch and tear the turf.
Once the turf is damaged like this, there will be quite a long recovery period before it is able to grow back.
However, there are some significant benefits to the metal spikes.
For golfers with very high club head speeds, the metal spikes help them stay grounded and in place as they swing.
A golfer like Tiger Woods generates so much power that the soft spikes or spikeless shoes would put him at risk for injury.
This is why the metal spikes are still acceptable on the PGA Tour.
Golf courses know that the pros wear them, and they prepare for the tournament accordingly.
One thing that is important to remember about these spikes is that you will not do much damage as long as you walk correctly with them.
Golf professionals and touring professionals know how to handle themselves on the golf course.
They know that they can’t drag their feet, and they are very aware of where they are stepping when they get closer to the hole.
As long as this is done, there are no real issues with the metal spikes.
It would be nearly impossible for golf courses to monitor the proper etiquette and technique for all guests on their course.
For now, the amateur is left with the choice between the soft spiked golf shoe or the spikeless.
It does seem as though more and more golfers and golf manufacturers are leaning towards the spikeless options.
Conclusion
Hopefully, you now feel like you have the information and resources you need to replace your golf spikes.
You will notice that this process is not all that difficult if you make sure you do it periodically.
If you leave your golf spikes in for years, you may have quite a lot of trouble trying to pull them out when the time comes.
Use our tricks for the stuck spike, and make sure you use plenty of force to wiggle the spike free.
Doing these things should cause almost any stuck golf spike to pop out and leave your shoe feeling brand new again.


Leave a Reply