
Sometimes the roof of your golf cart may need a good paint job.
Although this is something you can have a local golf cart shop do for you, it is not a challenging project to complete on your own.
Painting a golf cart roof takes a few simple steps and some prep work.
We have put together all the necessary steps to paint a golf cart roof, so you can get started on this project today.
How to Paint a Golf Cart Roof
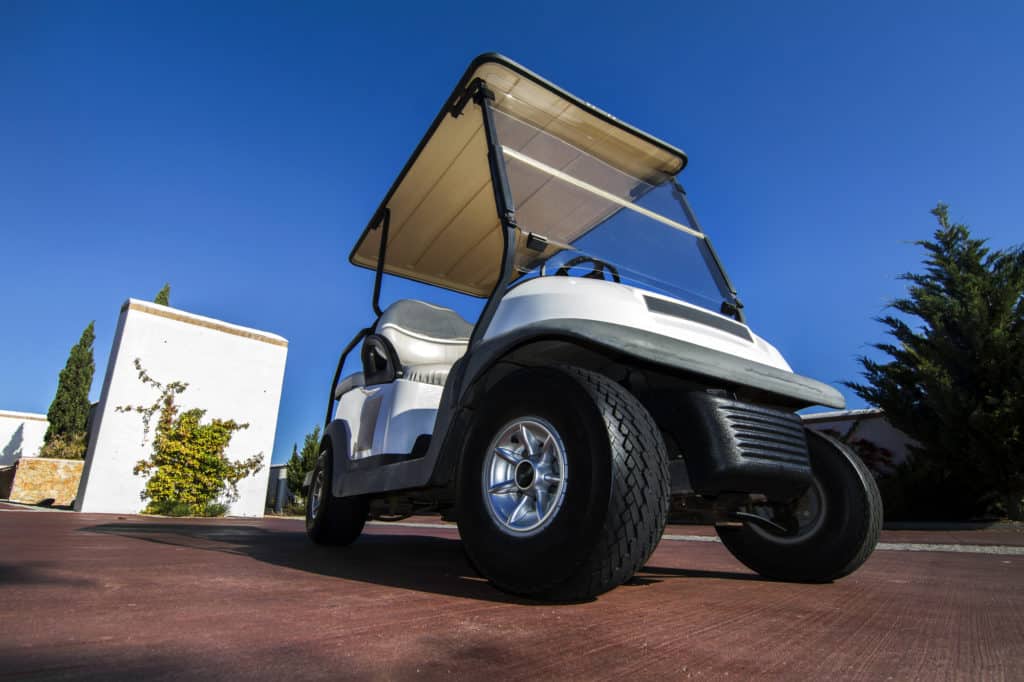
Step One: Prepare an Area to Paint
A golf cart roof or top needs to be spray painted.
You will need to set up an area where you can get this done.
If you have a workbench in a garage, this is the ideal setting.
You will not want to complete this project inside because there will not be enough ventilation with the spray paint you will need to use.
Make sure you protect the ground and area around where you plan to paint.
If you are going to do this in your driveway, that is a great spot, but be sure to put a tarp or something underneath it.
Painting a golf cart roof is a relatively quick project, but the drying process takes some time.
Wherever you plan on completing this, make sure you also have an area where the golf cart roof can sit and dry for a few days.
Step Two: Gather Supplies
You will need to have a few things before you start this process.
Although your needs may vary depending on the type of cart roof you are painting and the way you want it painted, these are the essential supplies.
- Dropcloth or tarp to put the roof on
- Sandpaper
- Spray Paint
- Proper Personal Protective Equipment
- Screwdriver and other small tools
Step Three: Remove Roof, Prepare it for Paint
As part of our supply list, we mentioned you would need a screwdriver.
This is to help you remove and reattach the roof of your golf cart.
You do not want to paint the roof of the golf cart without first removing it from your golf cart.
Not only will you potentially ruin other parts of your golf cart, but you also can’t do a perfect job with the top on.
There will be spots you end up missing, and the areas that need the most sanding and prep will not get what they need if the top is still in place.
Most of the time, a roof will come off the golf cart easily.
You should need some basic tools and the help of a friend to help you pop the roof off the top of the cart.
Step Four: Sanding
After you have the cart roof in your work area, you can start prepping it to be painted.
You will take sandpaper and start sanding the entire cart roof.
You do not need to do this with an electric sander. A piece of sandpaper in your hand works just fine.
Make sure you rough up all areas, but especially the areas that are going to get the most wear.
The handles are the spots you have to make sure you sand well.
If you don’t sand down the handles, when people start to use them, the paint will come off rather quickly.
You don’t want to have to repeat this process.
Don’t worry about scratching the cart roof. It may become slightly less smooth, but it won’t do any damage to the roof itself, and it will give it a nice textured look.
Once you have finished sanding the cart, you can wipe it off with a microfiber-type cloth to make sure it is clean and dust-free before you start painting.
Step Five: Spraying
Next, you will be able to start spray painting the golf cart.
You will want to use heavy-duty outdoor spray paint.
There is a product designed to spray paint the bed of a pickup truck.
This is a good quality for the golf cart roof as well.
It’s thick spray paint, and it covers quite well.
You will need about five cans of the spray paint to do the top of a standard cart.
The first two will do the first coat, the second two will do the second coat, and the last one is good to keep around for touch up.
Make sure you cover every area of the golf cart roof and both sides of it as well.
Step Six: Drying
The paint should only take about four hours to dry.
The problem is not how long it takes to dry, but how long it takes to set.
You will need to let the paint set for about three days.
Don’t plan on driving your golf cart around during this time.
We recommend that, after you let the coat dry for about four hours, you set the cart roof somewhere to set for the next few days.
If you know you won’t take your cart out at all, you can set the roof right on top of the cart to dry.
Step Seven: Reinstall
Do not attempt to reinstall the roof on the golf cart until you have finished letting everything dry.
If you start this process sooner, you could end up with paint chipping or peeling while you are putting the cart back together.
That will be an awful waste of your time and effort. It’s worth it just to wait a few days before you reinstall.
What Type of Paint do You Need to Use on a Golf Cart Roof?

When painting a golf cart roof, you will need to use an acrylic spray paint.
Any other type of paint is not going to stick to the golf cart for an extended period.
The excellent news about acrylic spray paints is that they are very easy to find at a local hardware store or home improvement store.
They come in a variety of different colors and types as well.
There is no question you will be able to find the color you need in an acrylic spray paint.
We do suggest using something a bit thicker that is intended for outdoor use.
The last thing you want to see is paint running off the side of the golf cart the first time you take it out in the rain.
Even if the heavier paint leaves a texture on the roof of the cart, that is not a bad thing.
You will barely notice the texture, but it will be more resistant to the weather.
Why Would You Need to Paint a Golf Cart Roof?

There are a few different reasons you may need to paint the roof of a golf cart.
The first reason is that your golf cart roof is starting to deteriorate or has stains on it.
Sometimes people will run into this issue when they have a golf cart cover installed for a long time.
When you remove the cover, there could be rust marks from zippers or stains that are very difficult to remove.
Sometimes a fresh coat of white paint can make the golf cart look new again.
Another reason you may need to paint a golf cart roof is if you are replacing or adding the roof.
Not all golf carts come with roofs.
If you want to add one to your cart, you may look for a used option.
If your cart is black with red details and you put a tan top on it, chances are the cart is not going to look great.
With a quick spray, you will end up looking like you have a brand new golf cart that came from the manufacturing matching.
Some people paint their golf cart roofs so that they blend in better with the environment as well.
If you are using your cart for hunting or offroading, you may not want it to stand out with a shiny white top.
This is where you can paint the top black or even do a camo design to it if you wanted.
Can You Paint a Golf Cart Roof with a Paintbrush?

This is a question people often ask because they don’t like working with spray paint.
Painting your golf cart roof with a paintbrush and liquid paint is not a great idea.
There are going to be a lot of brush marks, and you will not get a nice even coat like the spray paint will give.
Another reason you are better off using spray paint to cover the roof of the cart is that it is much faster.
The entire process of spray painting the top of your cart should take less than an hour.
It is not a large surface to cover, and the spray paint makes it very quick.
Can You Touch Up the Paint on a Golf Cart Roof?

If you would rather not get involved with the entire painting process and you want to touch up a few spots, you may be able to.
If you have ever sprayed your golf cart in the past, you probably have the paint you used, and this will be even easier for you.
If you have never spray painted your cart, then you will need to find an exact match for the paint color, and that will be a challenge.
One way to do this is to contact the golf manufacturer and see if they sell touch up paint.
If you are looking to fix a small mark or stain, you could probably use a little can of touch up paint.
This is one time it would be acceptable to use the paintbrush as opposed to the spray.
Most of the time, you will find yourself having to replace the entire top of the cart.
This is most common, and the only way to ensure the cart is going to match and look as it should.
Since this is not an expensive project and it only takes a few hours, it is worth it to give the whole roof a new coat of paint.
Conclusion
Hopefully, our step-by-step guide as to how to paint a golf cart roof has helped you see that this is a process you can handle.
Although it is possible to take your cart in and have this done, it will probably cost a few hundred dollars.
You can grab a few cans of spray paint, spend a few hours over the weekend, and have this project done for less than $50.00.
If you are looking to sell your golf cart, one of the things the buyers care about most is aesthetics.
If the roof of your cart is what makes it look dated, don’t be afraid to freshen it up with a new coat of paint.


Leave a Reply