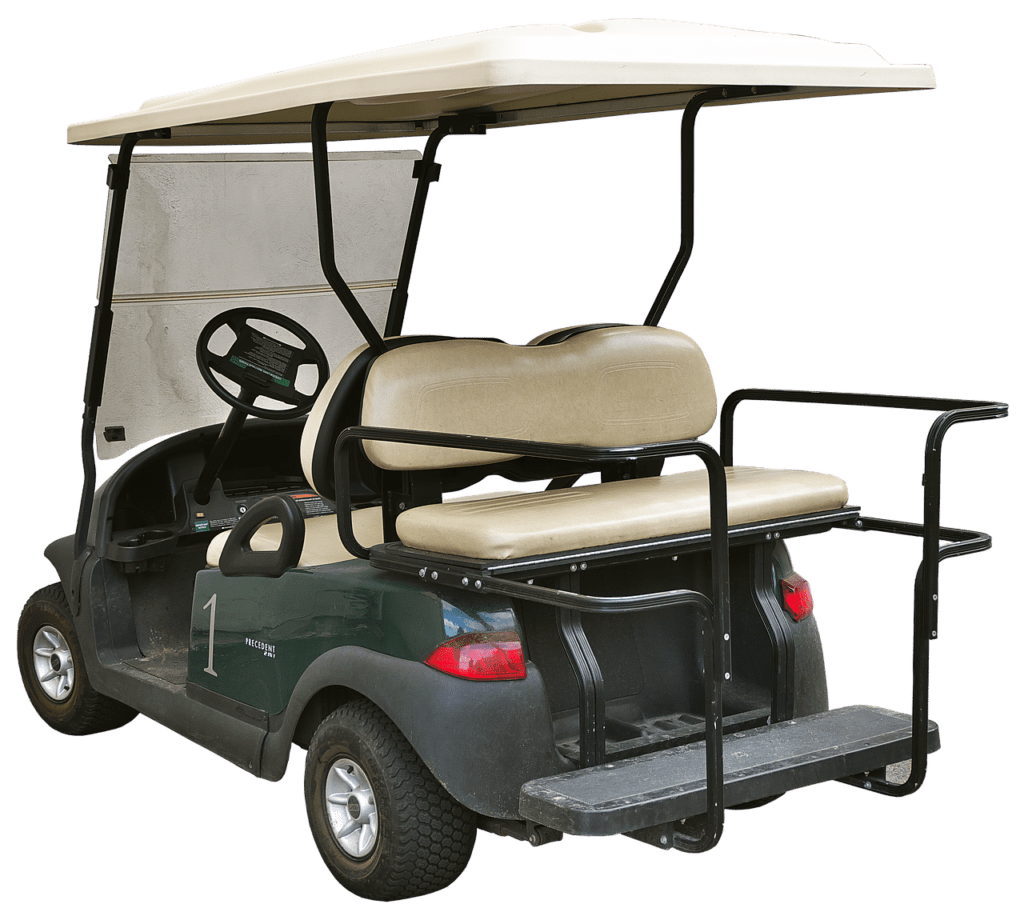
The average golf cart usually doesn’t have turn signals on it unless they are added later.
This lack of turn signals is due to the fact that carts are not considered true road vehicles.
However, upgrades to a cart can transform them into low- and even medium-speed carts.
If you are going for this type of change – or just want to make your cart safer – turn signals are a necessity.
Thankfully, many golf cart owners should be able to add turn signals to their golf cart with little difficulty.
This process is one that requires just a little knowledge of working with a handful of tools and how to safely connect wires to your cart.
If you follow the steps below, you should be able to get your turn signals hooked up and wired and operating properly on your golf cart in no time.
How to Wire Turn Signals on a Golf Cart

Items You’ll Need

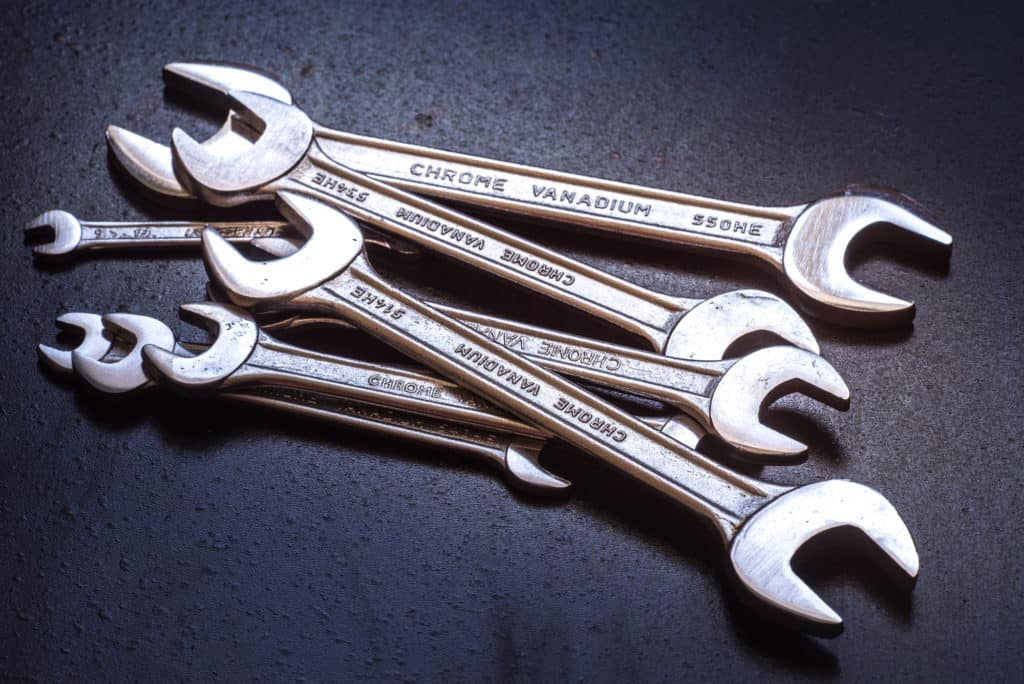
When wiring up turn signals to your golf cart, you’re going to need a myriad of different tools.
Each of these tools is designed for a specific purposes and helps wire up your turn signals in a few different ways.
For example, the full list of items that you’ll want for this installation process include the following items in order of when you’ll likely use them:
- Wire strippers and cutters
- Pencils or pens
- Electric drill with a bit set
- Screwdriver with appropriate screws
- Turn signal wires – available at golf cart shops
- Turn signal lights – also available at golf cart shops
- Three-way switch designed for this purpose
Now, as you can imagine, each item here has a pretty obvious use.
For example, you’re going to need wire cutters and strippers when working with the wires for your lights.
You’ll be using quite a large amount of this wire – we suggest at least getting 30-40 feet or so.
If you have extra, you can save it for if you need to replace the wire at any point in your cart’s life.
And you also need to make sure that you check your cart and the turn signals to make sure that you have the appropriate screwdrivers, drill, and bits.
There should be screws already on the body of your cart that you can use as a guide for this process.
They’ll typically be quite easy to spot and should give you an idea of the size and type of screws and screwdriver that you’ll need here.
Note: you’re going to be working on the electrical system of your cart, here, so you need to make sure that you feel comfortable with this process.
If you have never worked with electrical systems or wired any type of vehicle before, you may want to consider having somebody do this step for you.
However, we also think that it is surprisingly easy for many people to do without a lot of help, too.
Video Example of Installation on a Club Car DS with RHOX Plug & Play Harness
Harness Product Link http://www.rhox.us/pc_product_detail.asp?key=BD57C6478A02465DB041AAC23CE14463
LGT-132A Deluxe Turn Signal & LGT-107A Column Cover on a Club Car DS from RHOX Garage on Vimeo.
Video Example of Installation on E-Z-Go RXV with RHOX Plug & Play Harness
Harness Product Link http://www.rhox.us/pc_product_detail.asp?key=BD57C6478A02465DB041AAC23CE14463
LGT-132A (T3) RHOX Deluxe Turn Signal Switch on an E-Z-Go RXV from RHOX Garage on Vimeo.
The Wiring Process
By now, you should be ready to start wiring up your turn signals to make your cart safer to use.
There are several steps here that you need to follow to ensure that you get the best possible results.
For the most part, these steps aren’t going to require a lot of mechanical expertise.
However, they may require you to take some steps that may feel somewhat beyond your safety boundaries in some ways.
You’ll be approaching this process in a few different stages.
In the first, you’ll be putting the signals on your cart and then connecting the battery to the wires.
These steps are mostly quite short but do require you to take your time and use a schematic of your cart to avoid any complications.
If you follow this setup, you shouldn’t have any difficulty getting turn signals on your cart with relative ease.
Step One: Cutting the Wires
The first step after collecting your tools is to cut four six-foot lengths of wire from your spool.
Measure these out using a tape measure and then cut them from the spool.
Make sure that they are about the same length by laying them next to each other and trimming away any excess.
Then, you need to use your wire strippers to remove wire coverings from both ends of each wire.
You perform this step because you’ll be connecting the wires to the turn signals and the batteries and you need to make sure that a connection is made.
Please note that when you add turn signals to an electric cart, they are likely to drain the battery a little more quickly than you may want.
The extra safety is, to our way of thinking, more than worth an occasional extra battery charge.
Step Two: Mounting the Lights
Hold each of your turn signals up against the rear of your cart.
You need to choose a spot that is appropriate for installation, such as on the left and right of the rear.
Push your pencil through the mounting holes once you have the signals level and in place.
Color in these holes to identify where you will be drilling through your cart and mounting the lights when you are ready.
Once you have made these marks, you can use an appropriately-sized drill bit to cut into the surface of the cart.
At this point, you aren’t quite going to add the lights to the cart.
You are, instead, preparing the cart for the rest of the installation process.
You’ll also need to do this step on the front of the cart, as well, to make sure that you have them in the proper position for installation later.
Step Three: Adding the Wires
At this point, you need to carefully run a section of wire from the area where you are planning to add the turn signal on the left.
What you are doing here is running the wire through hole that you have drilled and taking it to your cart battery.
This process requires you to carefully pull the wire along the inside and underbelly of the cart’s chassis towards where you plan on mounting the switch.
If necessary, use your drill to create a pathway for the wire to go through the cart.
You probably don’t need to do a lot of drilling, here, as you should mostly have little difficulty getting to the switch area.
However, you should consult your cart schematic to get an idea of how the interior of the cart is laid out.
In this way, you can avoid drilling into any mechanical area that may get damaged and cause your cart to fail to run.
Step Four: Put the Lights Up
You’re just about ready to mount your lights at this point in the process.
You should start with your left turn signal simply because it is one of the easiest sides to mount.
Take the wire that you’ve run into your cart and attach one stripped end to the turn signal.
Make sure that it is carefully wrapped and in place before you try to mount the light – you may even want to use specialized electrical tape, if necessary, here.
Place the turn signal up into the hole where you drilled earlier and hold it in place with one hand.
Place screws in the case where the holes are indicated and carefully screw the light down properly.
Try to avoid screwing any one side too tightly – evenly tighten the screws in the holes in a clockwise pattern and you can avoid undue strain and pressure on the body of the cart and its chassis.
Now, follow this process for the right side of the cart, as well, and then move to the front to get the best results.
At this point, your lights are on the chassis of your vehicle and are just about ready to be wired up.
The first step in the electrical work is wiring all of the lights to the switch – if you pulled the wires towards the switch area, you are just about ready to go with this step.
Step Five: Wiring Up the Switch
Did you choose where you want your turn signal switch to go on your cart?
If not, you need to do that step right now.
Find a spot that makes sense for you when you are driving.
We suggest somewhere near the steering wheel – you may not have the handle that you’d want to use on a normal cart, but if you place the switch somewhere near your ignition, you should have little difficulty reaching it while driving.
Now, your switch has three positions that make it easy to use – left, middle, and right.
When in the middle, your switch won’t run electricity to any of your rights.
When turned to either left or the right, it will activate the appropriate light.
As a result, you need to drill a spot where you want to add the switch, and take the wires from your turn signals to the appropriate spot on the switch.
Thankfully, the manufacturers usually make this process quite easy to do.
Take the wires for the right side of your cart and take them to the right terminal.
Next, take the wires from your left side of the cart and attach them to the left terminal.
Make sure to wrap them carefully to hold them in place and use any tape that you may want to keep them extra firm on your switch’s terminals as well.
At this point, now, you are going to have to wire your switch up to your cart battery to make sure that it runs properly.
This step is fairly simple but will be broken down into a separate step.
After you’ve finished it, we’ll walk you through a testing process that you can utilize to ensure that you get the most out of your cart and that you don’t cause any electrical damage to the switch or lights.
Step Six: Wiring Up the Switch to the Battery
Now that your cart’s switch is properly wired to the lights and mounted in the cart, you need to take the power wire from the switch to your cart’s battery.
When performing this step, check the power level that the switch requires – anywhere from 8-12 volts.
If you have a gas cart, your single battery should be good enough for your switch.
With an electrical cart, find an appropriately-powered battery for the switch.
Take the wire from your switch and run it back towards your battery.
As in most golf carts, your battery setup is likely just underneath of your seat.
Use your drill to make a pathway, if necessary, under the chassis of your cart.
Tape up the wires, as needed, to hold them to the cart properly.
Run the wire towards the battery onto which you plan to hook to the switch of your cart.
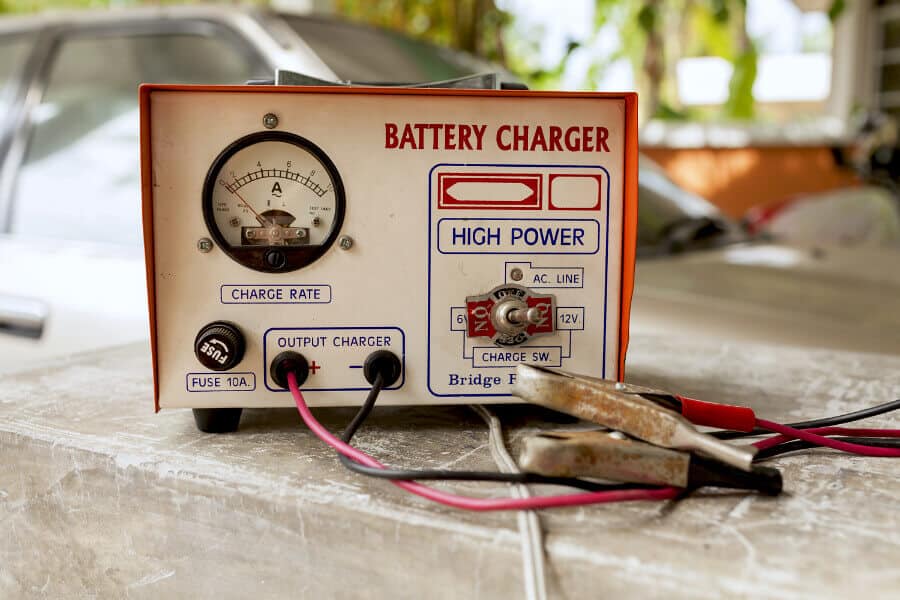
Wrap the negative wire from your switch around the negative terminal – with your cart OFF – and then do the same with the positive wire on the positive terminal.
Now, when you turn your cart on and flip your switch, you should be able to get the proper operation from your turn signals.
However, let’s do a quick test of your cart to see how well the turn signals are working.
Step Seven: Testing the Lights
The following process should help you get a good idea of whether or not your lights are operating properly:
- Start up your cart before driving
- Ride forward briefly and turn on your left signal
- Wait a moment and then turn on your right signal
- Have somebody watch from the front and back as you turn them on
Did your signals light up appropriately when you flipped the switch?
If so, congratulations!
You’re done with this part of the process.
If not, you may have wired something up improperly.
Get back under the hood and try again for great results.


Leave a Reply