
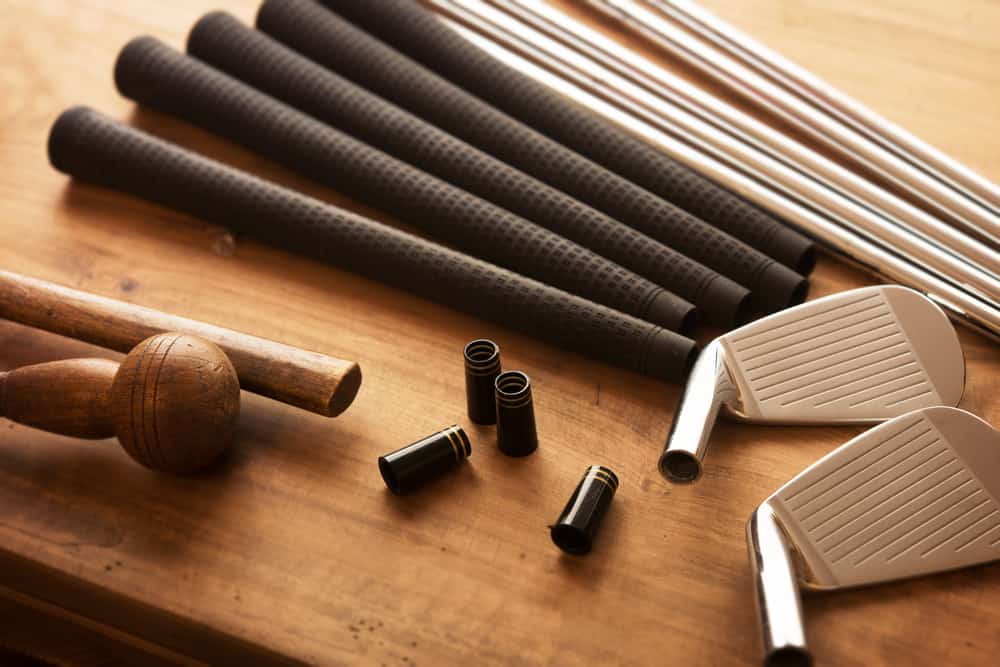
With golf clubs as expensive as they are, many players are trying to learn how to work on their golf clubs by themselves.
Having the ability to tinker with equipment and turn it into something new and more useful is undoubtedly a benefit.
The more you can learn about how to adjust your own equipment, the more money you can save on custom clubs.
Cutting down a graphite shaft is a bit trickier than steel.
There are a few specific things that you must do to make sure your graphite shaft does not get damaged or splinter during this process.
How to Cut a Graphite Golf Shaft (Step by Step)

You will need to follow these necessary steps to ensure that your graphite shaft ends up the right length and without damage.
Step 1: Gather Supplies
You are going to need some supplies to make sure that you cut your graphite golf shaft correctly.
One of the most important things you will need is masking tape.
The masking tape will help to make this a cleaner and safer project both for you and the golf club.
Here are the other supplies we recommend you gather before you start this project.
- Vise
- Hack Saw with Blade to Cut Graphite
- Dremel Tool
- Masking Tape
- Yard Stick, Ruler
- Marker
Step 2: Careful Measurements
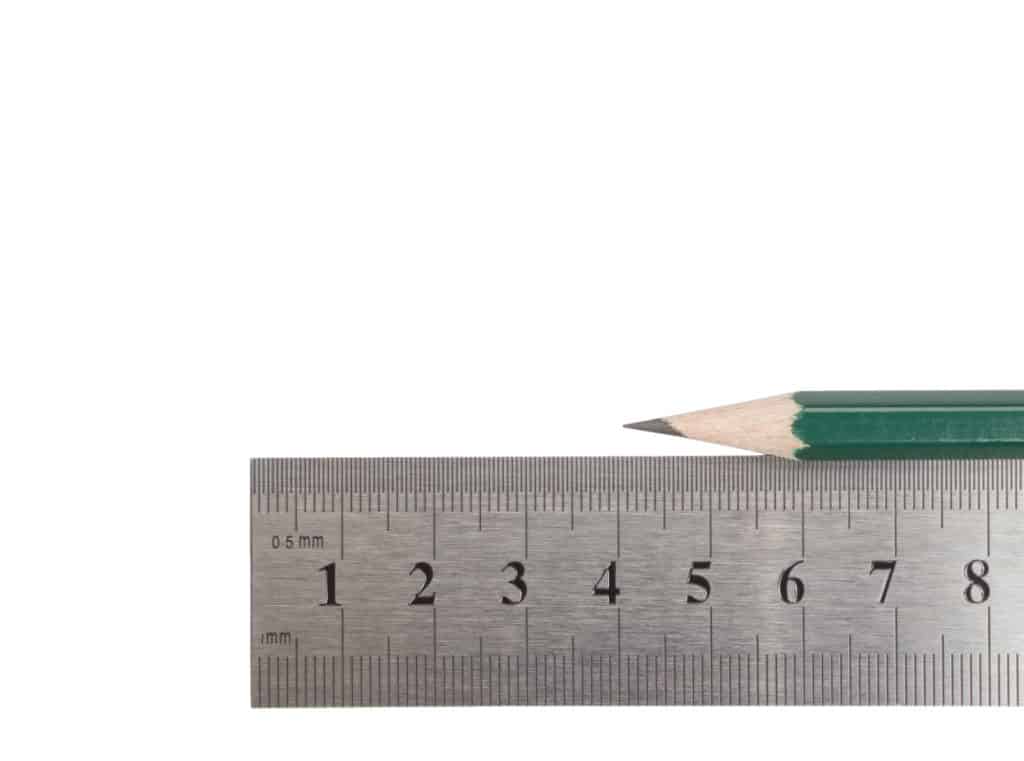
You will have to measure your graphite shaft carefully to make certain you take the proper amount of length off the club.
If you don’t cut the shaft correctly, you will end up in a bad situation of likely having to replace the entire shaft.
When you do your measurements, make sure they are precise.
When cutting graphite, you will only want to cut once.
The more times you cut the shaft, the greater the chance of a splinter or a break.
Instead, always make sure that the golf shaft is properly measured and marked so that you only have to do this once.
Understanding the basic lengths of golf shafts and what your shaft should be for your height will help you get this right the first time.
We’ve all heard the old saying, “Measure twice, cut once,” and this certainly applies with a graphite golf shaft.
Step 3: Tape and Mark
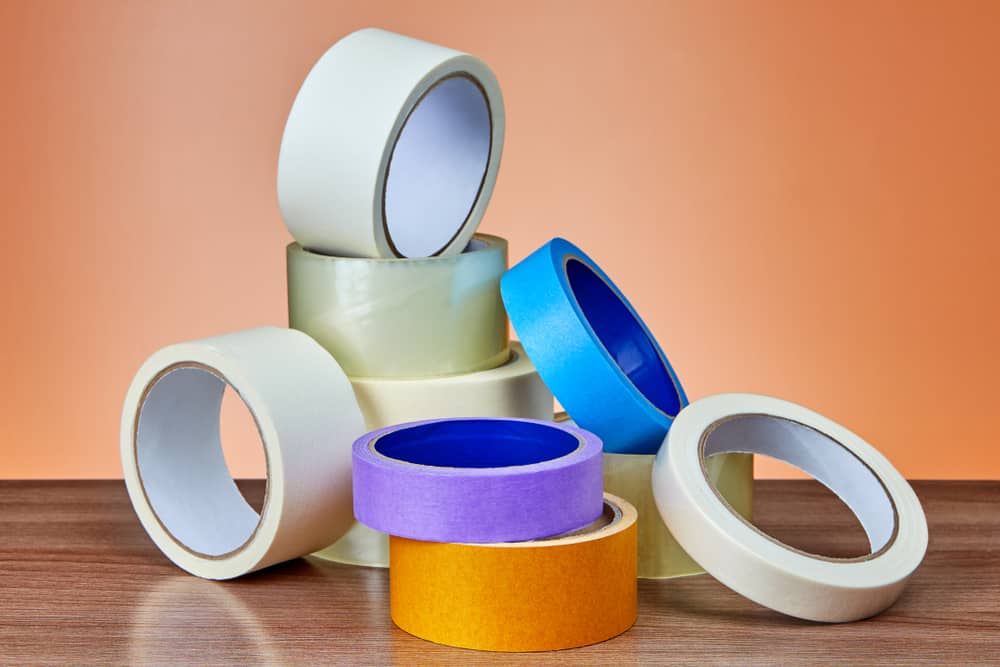
Once you have pinpointed the general area where you think the shaft needs to be cut, you need to wrap it with one layer of masking tape.
The masking tape must wrap around the entire shaft, but one layer of tape should be enough.
Make your mark on top of the masking tape where you want to cut the shaft.
When you cut a graphite shaft, you will cut through the masking tape and the shaft.
The concept behind this is that the masking tape will help to control fly away pieces, and it will provide the shaft with a bit more stability when it is cut.
If you don’t cut the golf shaft with the tape on it, you will have a complicated mess to clean up and, potentially, a splinter in the shaft as well.
Graphite pieces are dangerous to be around, and when you try and clean them up, they can get stuck in your hands.
As sharp as steel can be, most golfers will tell you that cutting a steel shaft is a bit easier than having to deal with graphite.
Once your club is taped up and marked where you need to make the cut, you can move on to the next step.
Step 4: Cut
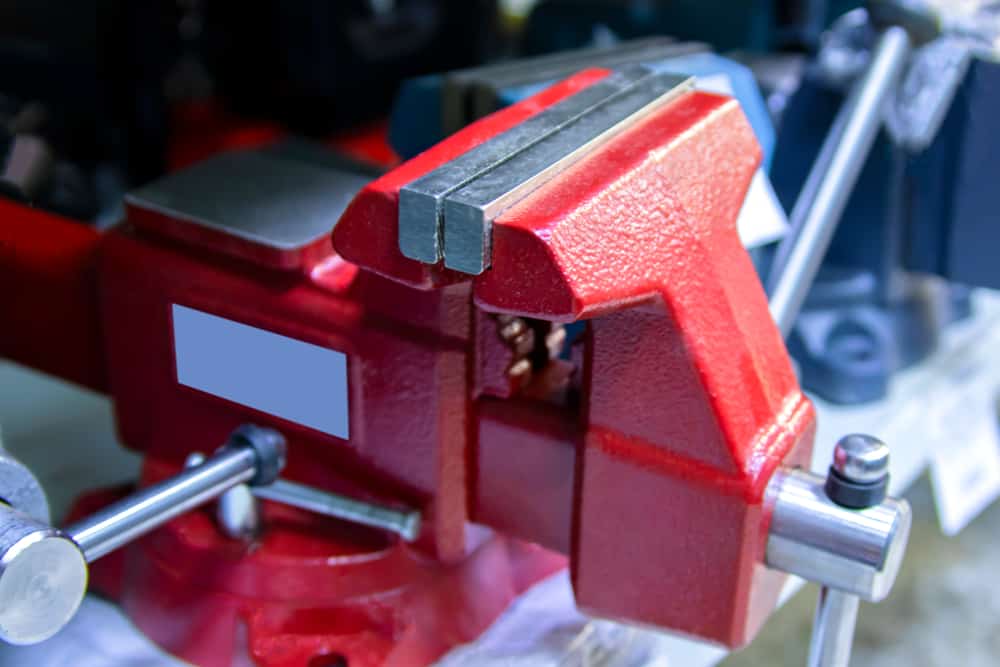
Now that you know exactly where to cut your shaft, you can position it in a vise.
The vise should have a protective grip on it so that the graphite is not sitting in the metal teeth.
A shaft that sits in these teeth could crack and be damaged when you tighten the vise.
Make sure you get everything secured and set so that there is not much room for movement when you start to cut the shaft.
You will then have a choice of a few different cutting tools.
Most people like to use a hack saw with a blade that can cut graphite.
Many golf club part manufacturers will sell blades like this, and they are usually easy to install on your current hack saw.
A typical hack saw blade is probably not going to do the trick.
Many people also use a Dremel-type tool.
With the Dremel, you can simply set the blade to cut through the graphite, and it happens quite quickly.
When you do cut the graphite shaft with the hack saw, you will want to move rather slowly.
Sawing quickly on the shaft can result in splintering or the shaft breaking into pieces.
This also depends on how close your cut is to the butt end of the club.
The cuts that are right at the very end sometimes are more likely to splinter because of the added pressure.
Overall, you should move through this process with care.
Graphite golf shafts are not cheap, and the last thing you are going to want to have to do is replace one because you were reckless in your cutting process.
When cutting the shaft, always make sure that you use a back-and-forth motion and don’t apply too much downward pressure to the shaft.
If the downward pressure is too strong, the shaft could snap or break off.
Step 5: Evaluate Cut and Check for Splinters

Once the shaft has been cut, you can remove the tape you had initially put on the club.
Check to make sure your cut is complete and that there are no cracks or splinters starting to make their way up the golf club.
Overall, the majority of golfers will find that the process went off without any issues.
Watch the end of the club because the tip of a graphite shaft is going to be quite sharp.
You may want to put a piece of masking tape around the tip of the club just to keep yourself protected.
This is important as the graphite splinters or scratches can be quite painful.
Once you know that everything is correct with the club and the way it was cut, you are ready to put your grip back on the club.
Follow the traditional process of replacing a grip, and you should be back out on the course again in no time.
Which End of a Golf Club Do You Cut?

If this is your first time tinkering with golf equipment, you may be unsure which end of the golf club to cut.
You will always want to trim the butt end of a golf club.
If you trim the tip, you will be taking away the connection point the club has with the club head.
As you have probably seen, golf shafts are tapered.
They are narrow by the club head and get wider at the grip end of the club.
If you cut the tip of the shaft, it won’t be able to fit into another club head.
Most tip sizes are standard depending on whether you are looking at a wedge, iron, hybrid, fairway wood, or driver.
This makes it possible to change shafts between clubs.
At the club’s grip end, you will see that the last few inches are all about the same diameter.
This makes it easy to remove an inch or so from a club yet still have no issues with a grip fitting securely on the end.
What Happens When You Cut Down a Driver?

If your driver is the golf club you are cutting down, it is crucial to know the implications of cutting down a driver.
A driver is considerably longer than something like your seven iron.
If you hold the two clubs up against each other, there will be about seven or eight inches of difference in length, depending on the types of clubs you have.
Certainly, this is quite a bit, and it gets many golfers thinking that their drivers are too long for them.
This is not the case.
The driver is long because it is intended to help players hit the ball further.
If you do think your driver is just too long for you, there is always the option of cutting it down.
When you cut the driver down, you will make it a bit easier to control and release, but it will also become stiffer.
The shorter golf shaft in the same flex will require quite a bit more clubhead speed in order to hit squarely.
If you take off a quarter inch or even a half inch, you may not notice all that much difference.
However, anything more than that will impact the way the club feels and how easy it is to hit straight.
Cutting down a driver shaft is a great thing to do if your game truly needs it.
However, most people who think they need their driver cut down really just need to learn to release their driver and swing with confidence.
Once they can do this, their drives will start going straight again.
How Much Does It Cost to Get a Golf Club Shortened?

If you decide that cutting down a golf club is a bit too difficult for you, then you may have to find a local repair shop that will do it for you.
The cost of cutting the shaft down will probably be about $15 or $20, and then you will pay an additional cost for a new grip.
Considering that graphite golf shafts can range from $50 to $500 dollars, it certainly can make sense to cut one down before you replace it.
Sometimes it is better to have a professional do this project for you.
If they agree to measure the club to make sure it is the right length for you, that is an even better situation.
Sometimes getting a shaft to the exact measurement takes a bit of work and time.
If you are uncomfortable with any part of this process, we highly recommend that you get the help of a golf club repair technician.
They have studied the impacts of cutting down a golf club and how your game could change from it.
Conclusion
Hopefully, you now feel a bit better about your ability to cut down a graphite golf shaft.
The process is not overly complicated, but there is quite a bit of chance for error.
If you are new to golf club repair and nervous about working with the graphite, leave this job to the professionals.
Also, make sure cutting the shaft down is the best solution for your game.
Remember that, when you change the length on a golf club, there are other specifications that are also impacted.
Understanding all the ways your golf club will change is essential to your success.


Leave a Reply
You must be logged in to post a comment.