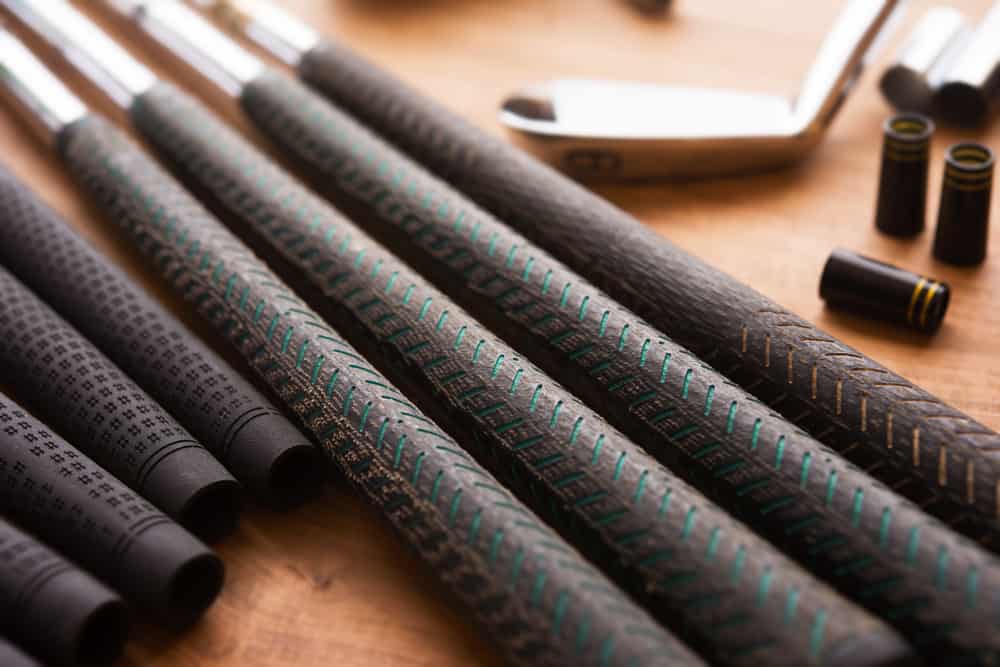
When you look at most instructions for changing your golf grips, they will include using a vise.
A vise makes things easier and allows you to make sure your grip is perfectly straight.
However, you will not always have access to a vise.
It is certainly not impossible to change your golf grips without a vise.
As long as you follow the proper steps, you should be able to complete this process with ease.
How to Change Golf Grips Without a Vise (Step by Step)

Every person will have their own way of changing golf grips, but this is probably the most efficient and safest way to complete this process.
1. Gather Supplies
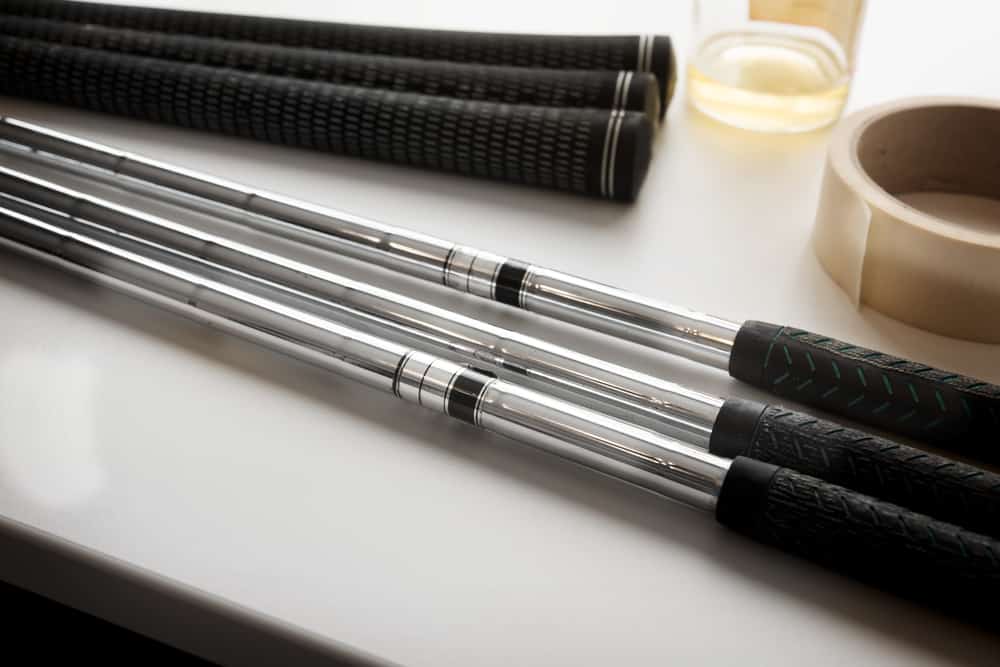
Even though you won’t be able to grab a vise for this project, there are some other materials you should have in place.
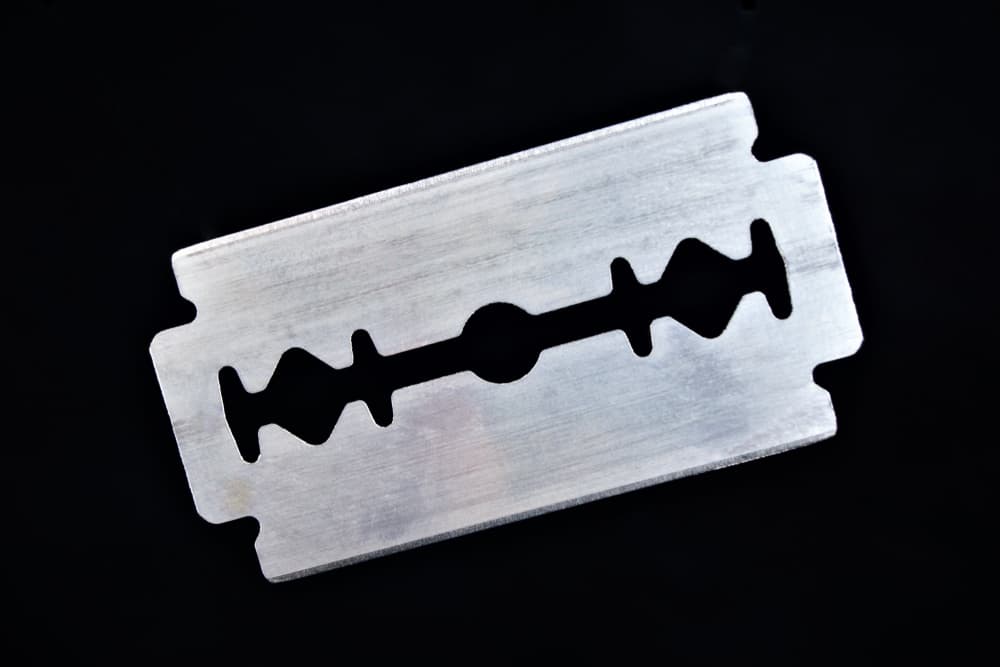
The first thing you will need is a hook or razor blade to help you remove the old grip.
In addition, you will need a rag or two as the grip solvent tends to spill and get all over things.
To avoid this, you can use a rag to wipe things down.
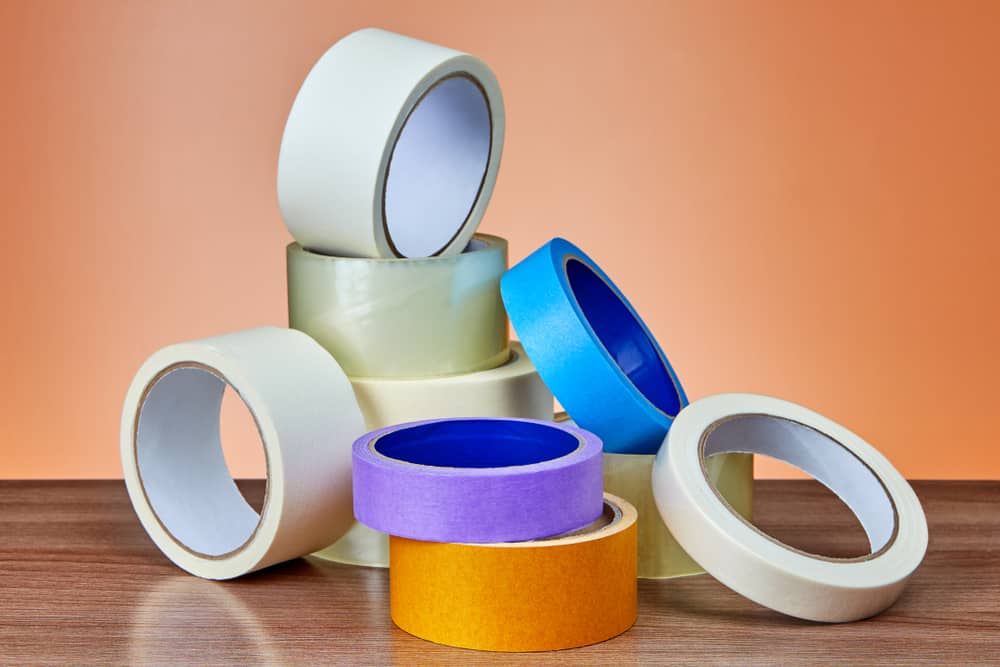
Tape is another item you will need.
When you are regripping, you have to use double-sided tape.
One side will adhere to the grip, and the other to the shaft.
It’s a good idea to work in an area where you are not worried about the ground under you.
Sometimes the grip solvent will spill, and it tends to smell and stain as well.
Changing grips is something that you should do in your garage or outside, not in your home.
Once the supplies are gathered, you will be able to move to the next grip.
2. Remove Old Grip
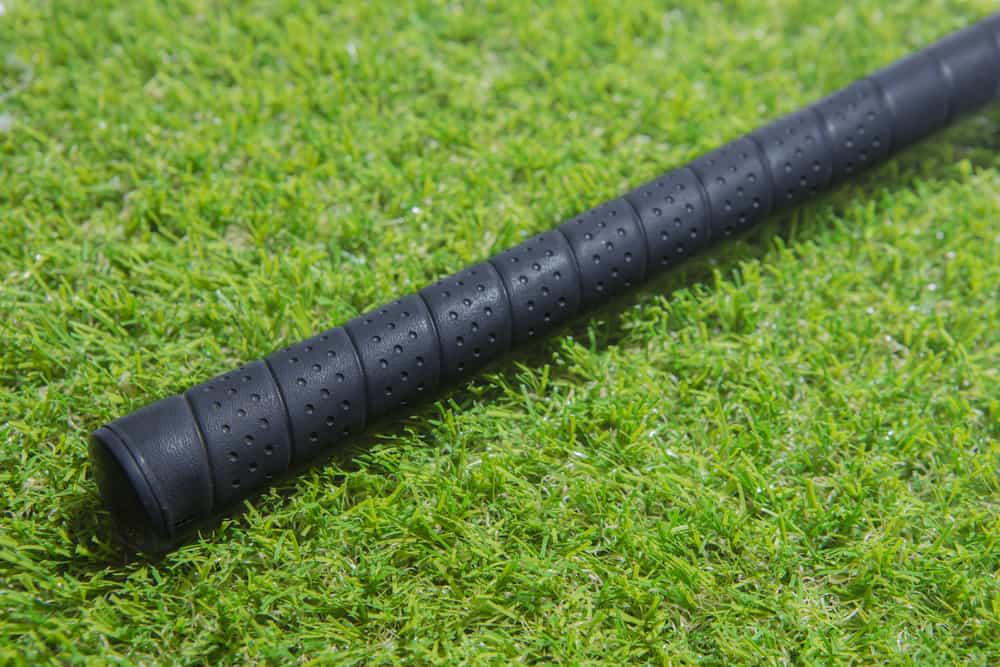
The old grip on your club now needs to come off.
If your grip is in bad shape, you may notice that it is already starting to come off.
If this is the case, you can start to grab at the grip more and pull it away from the shaft.
Removing the old grip is not usually difficult, but it can be troublesome if your grip is melted onto the shaft or if it’s a brand-new grip.
A brand-new grip on the club will have lots of glue still in place, and it will be a bit difficult to take off.
With the hook or the razor blade, you will start at the bottom of the grip and start to cut a rip in the grip.
You can then grab this and start pulling the old grip off of the club.
Once the grip is pulled far enough, it should just pop off the top of the club.
Removing the old grip can get difficult when it has melted to the club, but you can scrape this off with the knife or a scraper.
Always try to push the knife away from you while you use it so that it doesn’t slip up and cause you any injuries.
If you play with graphite shafts on your clubs, be careful that you don’t scratch the graphite shaft with the knife as you remove the grip.
3. Prepare the Top of the Shaft

Once the grip is removed, you can analyze the top of the club and see the condition it is in.
If the grip has old tape on the top, you are going to want to remove this tape.
Old tape can throw off the grip’s overall width at the end if it is not fully removed prior to putting the new grip on.
It can take a bit of time to remove the grip, but you should be able to do it with some grip solvent or soap and water.
Again, you must be careful with this process if you are working on a graphite shaft.
Although it is a bit frustrating, all of the tape should be off before placing the new grip on.
4. Add Tape
Once the old tape is off the club, you can start adding the new tape.
Most golfers will do one layer of double-sided tape up the end of the shaft.
If you have thicker hands and you need extra layers of tape, you can add them accordingly.
Once the grip has been placed evenly across the shaft of the golf club, you can remove the outside layer.
The outside layer of the tape needs to be exposed before you can add the grip solvent.
5. Grip Solvent
This part of the process will vary depending on who is changing the grip.
We like to add grip solvent to the inside of the new grip.
Put one finger on the hole of the top of the grip, fill some grip solvent into the other side.
Now cover up the other end of the grip.
When you do this, you can shake the grip solvent around to make sure it is covering the entire inside of the grip.
Take the leftover grip solvent and pour it out into a sink or another container.
Since you don’t have a vise to work with, you are going to need to act quickly after you get the inside of the grip wet.
6. Add the New Grip
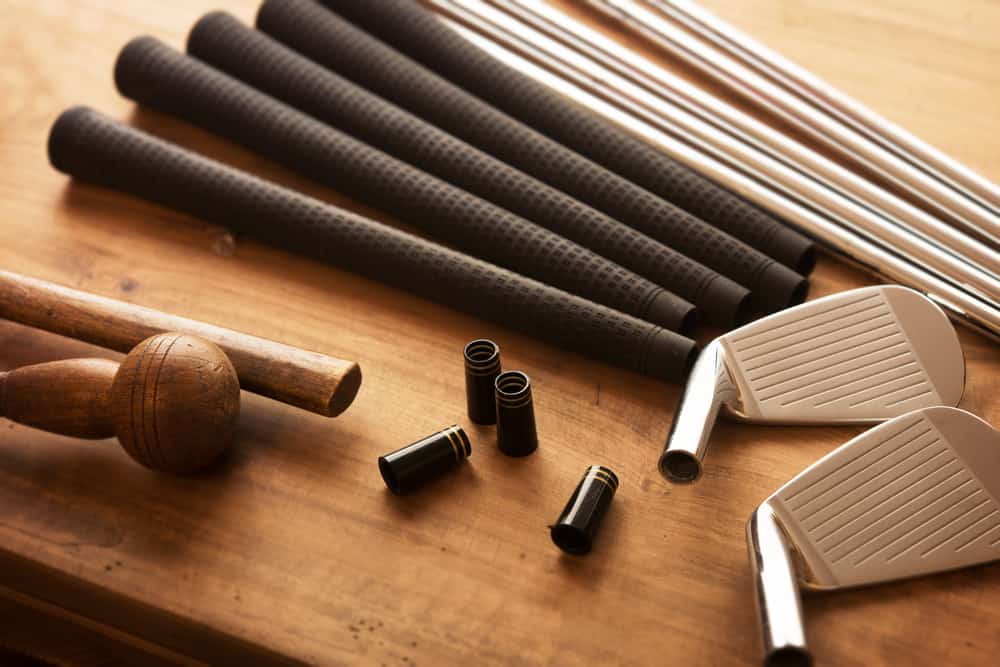
Take the grip that is coated internally with a generous portion of grip solvent and start to slide it on the grip.
You will hold the club head of your golf club between your feet and put the grip on while you continue to hold the club tightly.
Keeping the club tight between your feet will allow you to have some stability and control over the club while you are working on it.
It is important to note that the solvent is going to pour out of the club as you complete this process.
Grip solvent can sometimes end up coming out of the top of the grip, and it can also end up all over the floor.
Be prepared for this with a towel.
While you slide the grip on, you should have a towel in one hand.
This will help to make sure that the grip goes on properly.
If this is your first time replacing a golf grip, in addition to putting solvent on the inside of the grip, you may need to pour a little on the tape at the top of the club as well.
When both the grip and the top of the club are wet with solvent, the grip can slide on a bit more easily.
7. Drain Excess and Clean the Grip

Once the grip is in place, the first thing you are going to need to do is to check that it is on squarely.
This can be a little harder to do without a vice.
You will want to hold the club in your hand and address the ball.
When you address the golf ball, make sure that any label on the grip is pointed down at the golf ball.
If the angle seems off, you are going to have to twist the grip quickly.
If you twist it too late, you may end up having your club locked in place with a crooked grip.
Once the grip is twisted to its perfect location, you can then drain any excess solvent.
Drain it from the top of the grip and from the bottom.
Spin the club around a few times and make sure that there is nothing still leaking out.
Then you will take a towel and wipe anything on the grip off which may have spilled on it.
You always want a golf grip to be as tacky as can be, and when it is covered in a grip solvent, it will not be all that tacky.
Most of the time, a dry towel will take off any of the mess, but if there is any excess, you can use a little soap and water.
The last thing to make sure of before the final step is that the grip is fully seated on your club.
If the grip is not pushed all the way down, there is a chance it could be lost and cause you some issues later on.
The butt end of the grip should not be moving around or situated above the top of the shaft in any way.
8. Allow Time to Dry

Once the grip is in place, lined up, and cleaned up, you will need to allow it time to dry.
We recommend waiting at least twelve hours before you use the clubs to play a round.
Playing too soon could potentially cause the grip to twist.
If it twists in one area and not another, your hands could end up feeling different in certain areas of the grip.
Of course, you are going to want to make sure that you have consistency.
Tips for Changing a Golf Grip Without a Vise

Now that you have a much better idea of what it takes to change a grip without a vise, there are a few key takeaways and tips that you should have learned from this process.
Wear a good pair of shoes like sneakers or boots when you do this.
You will have to keep a good grip on the golf club while you are changing the grip and putting the new one on.
If the club is moving around, it is going to be much harder to get the grip in place squarely.
We recommend regripping with a vise whenever possible, but when it isn’t, be prepared to hold the club in a tight spot while you get the grip on.
Another thing to keep in mind about regripping without a vise is that things can get a little messy.
You need to make sure you have a towel or two nearby and protect your clothing while you are working.
Chances are some grip solvent will come out, and it will potentially stain your pants.
Lastly, make sure you have all of your supplies ready so that you don’t wait a long time before sliding the grip in place on the club.
You must work fast to get the grip on and in place efficiently and properly.
Conclusion
Gripping a club with a vise is the easier way to do it, but if you do not have a vise, you can certainly still get this gripping project done.
Changing the grips on your clubs a few times a year is very important.
You will need to make sure your grips remain clean and tacky so that they don’t cause you to miss a shot here and there.
Remember that your grip is the only connection you have with the club, and it must be right to ensure that you hit great shots.


Leave a Reply