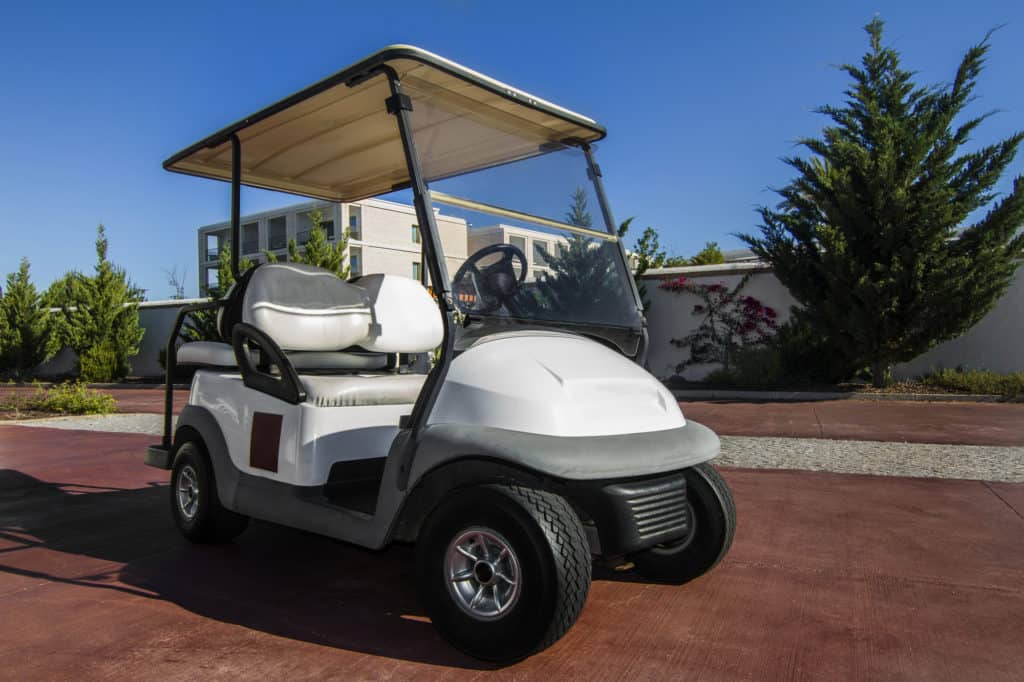
Whenever the Christmas season comes around, you may feel the need to change up the look of your golf cart to celebrate the season.
If you do, you will need to understand how you can attach Christmas lights to your golf cart and the different ways you can keep them operating.
Most of the time, this process is something that doesn’t take a lot of work to get right because it requires very little expertise.
However, you do need to understand several steps to ensure you don’t make any mistakes which could worsen this process for you.
Thankfully, there are just a few steps you need to take here, each of which is pretty easy to balance against the others if you are smart with your cart operation.
How to Connect Christmas Lights to a Golf Cart

Hooking up your Christmas lights to your golf cart requires attaching them directly to the battery of the cart in a way which provides power without drawing too much away from the cart’s normal operational requirements.
Unfortunately, too many strands of Christmas lights can cause a heavy drain on your cart’s battery which may cause it to die too quickly.
The rule of thumb here is to have two strands of Christmas lights per cart battery to avoid your battery dying out on you as you ride.
You can hook your lights up to any battery that produces at least 12 volts of power, and if you have a power converter, you can hook it up to others.
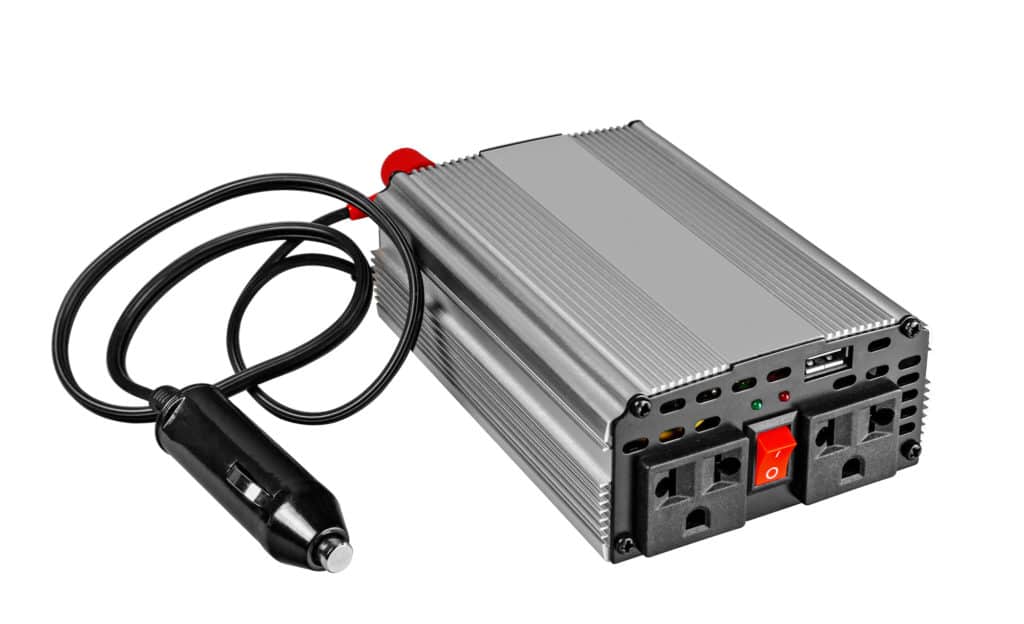
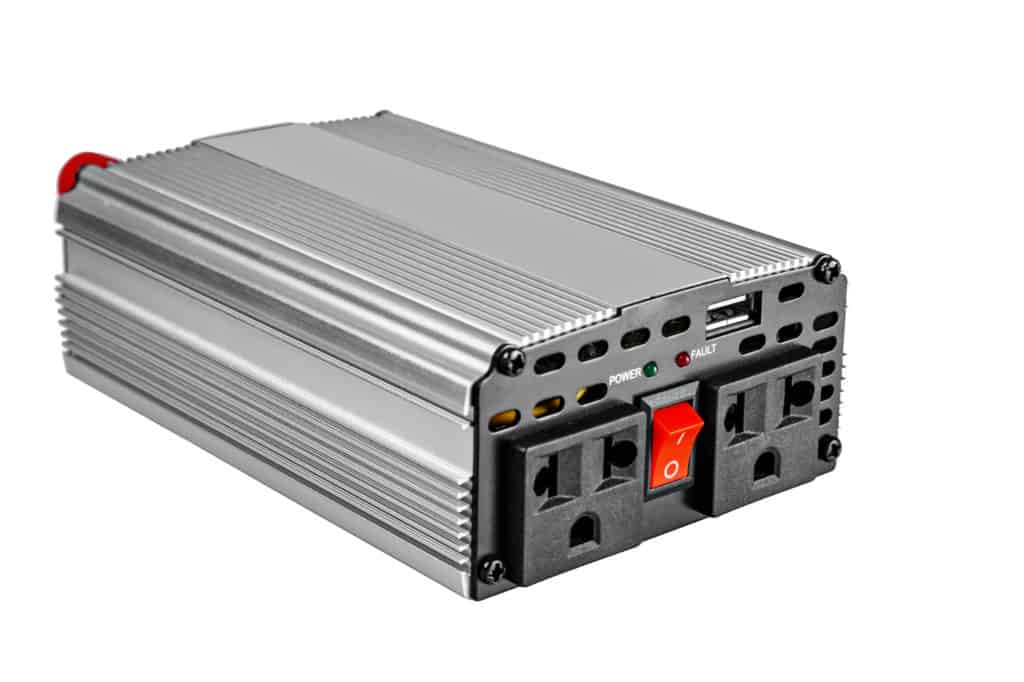
This process is one that will require not only 12-volt LED Christmas lights—however many you think your cart’s batteries can safely handle—and a power inverter or AC/DC power converter to get the best results.
The decorating part of this process is one you can turn into a fun game for you and your family or your friends.
We’ll discuss that step below, after giving you a better understanding of where you can add your cart lights without causing any issues and how you can keep them hooked up without causing any issues with your cart’s operation.
Thankfully, this process is one that shouldn’t take too much expertise or skill.
You aren’t going to need any specialized tools to handle this process.
Instead, you’ll just need a basic understanding of your cart’s electrical operation and a few simple steps that just about anybody can do.
Step One—Add the Lights to Your Cart’s Exterior

The cool thing about your golf cart is that it won’t take a lot of difficult extra work to attach the lights to the exterior.
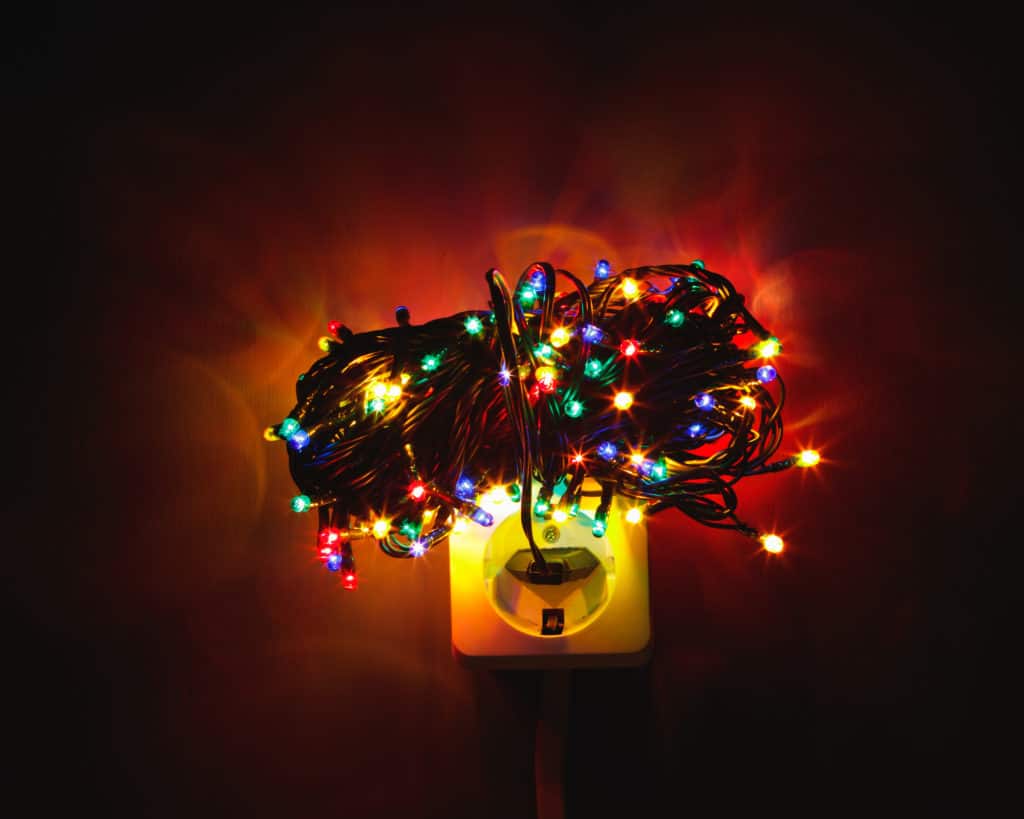
All you need to do is find strands that match the color scheme you want to create and to string them along the sides in a way that makes sense for you.
It is important for you to pay attention to where you add the strands of light, though, and how you plan on attaching them to the cart.
It is also a good idea to test the light strands at a standard outlet in your home or garage to make sure they are working properly before you even begin.
Put simply, there are many different ways you could make your lights unattractive and cause them to be unappealing.
Try to find lights that blink the way you want them to blink and either match the color of your cart or contrast with it in a pleasing way.
Then, you need to place them up against the exterior of your cart and hold them down using some type of attachment process.
Typically, you’re going to want to use something like strong tape that either matches the color of your cart or ties that can go around areas of your cart with ease.
Make sure the cart lights are held down as tightly as possible and place their ends towards where you plan on plugging in the inverter to your power source.
Step Two—Attaching Your Inverter with a Cigarette Lighter

If your cart has a cigarette lighter and your inverter has a plug for this type of lighter, this process is going to be much easier.
Instead of having to splice wires to the cart’s battery or doing any other specialized steps, you can just plug your inverter into the cigarette lighter.
Note: It doesn’t strictly have to be a cigarette lighter to work here but simply have a 12-volt outlet into which you can plug.
Simply push the inverter into the proper plug in and you are just about ready to plug your lights in to get them running.
If your inverter does NOT have a cigarette lighter into which you can plug it, you’re going to need to jump to step three.
If you have already plugged in your inverter at this point, you can skip ahead to step four.
The hardest part of this process by far is now over for you, thankfully.
Step Three—Attaching Your Inverter Without a Cigarette Lighter

When your power inverter lacks a cigarette lighter plug, you’re going to check to see what kind of wiring situation it possesses.
Most of the time, you’re going to have two leads or wires coming out of the end of the clamp, one red wire and one black one.
If this is the situation for you, it is imperative to take these leads towards your battery outlets and find one that has a 12-volt outlet.
At this point, you need to attach the red cable to the negative terminal on the battery and tighten it down, holding the black wire away from it.
Now, you can add the black wire to the positive terminal and position your inverter in such a way that it can’t get damaged.
At this point, your inverter is probably best stored near the battery cover in such a way that it is easy to access later on in this process.
Step Four—Plug the Lights into the Inverter

At this point, you are just about done with this process and nearly have the lights you want for your golf cart’s needs.
However, you’re going to have to plug them into the inverter to finish up.
Thankfully, this process is fairly simple.
Once you have your inverter hooked up properly to your battery, you should have a plug where you can insert your lights.
Plug your strands into this plug, using the extra backs on the light themselves if you end up installing more than one strand on your cart.
Before you assume that your lights are properly installed, you need to turn on your golf cart to see what happens.
Flip the ignition and your cart’s battery will send electricity to the lights.
When this happens, the lights should immediately turn on and blink.
If not, your inverter may not be plugged in properly or your strands may not be operating smoothly enough because they may not be fully plugged into the cart.
Check that your lights are plugged in properly and all your connections are secure and try again.
Your battery may also be getting low on power, so test the power level using a 12-volt voltimeter and charge up the battery, as it needs, to ensure you have the best Christmas light style for your cart.


Leave a Reply