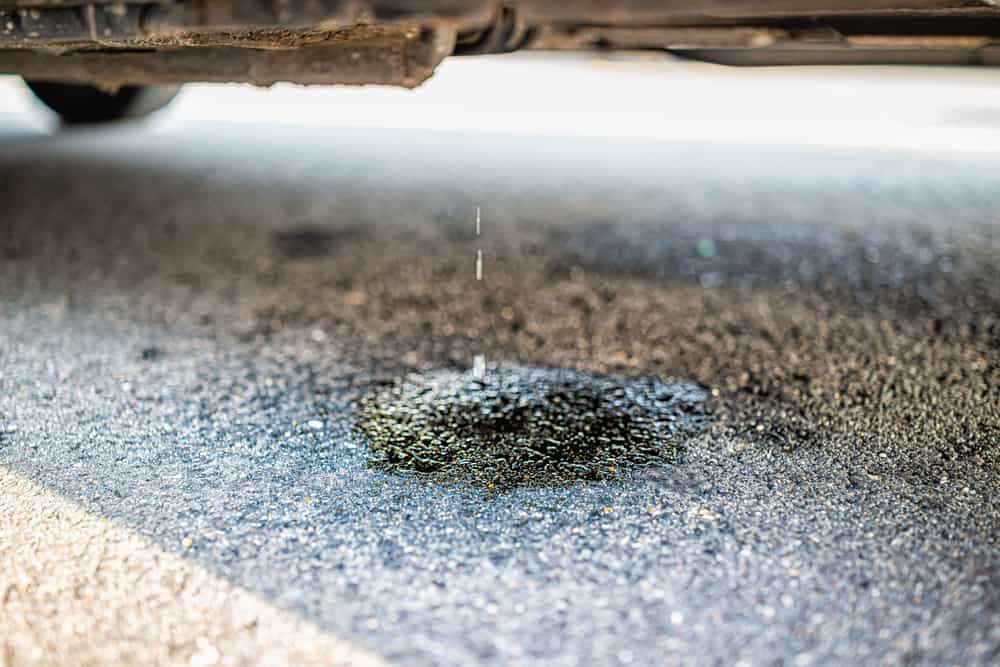
Gas-powered golf carts have many benefits over electric models that make them well worth the purchase for many people.
However, there are also concerns that you’d never have to consider if you had an electric golf cart instead.
For example, leaking gas is a common concern for older and even some newer golf carts, usually due to wear and tear on a few parts in the engine.
Make sure that you take steps to clean up any gas that may have leaked, such as using kitty litter or sand to soak up the gas and make it easier to remove.
If the gas leak is big enough or is threatening to get into sensitive areas, you may need to contact a professional who can help to manage this problem for you and ensure your yard is safe.
Reasons Your Golf Cart Is Leaking Gas
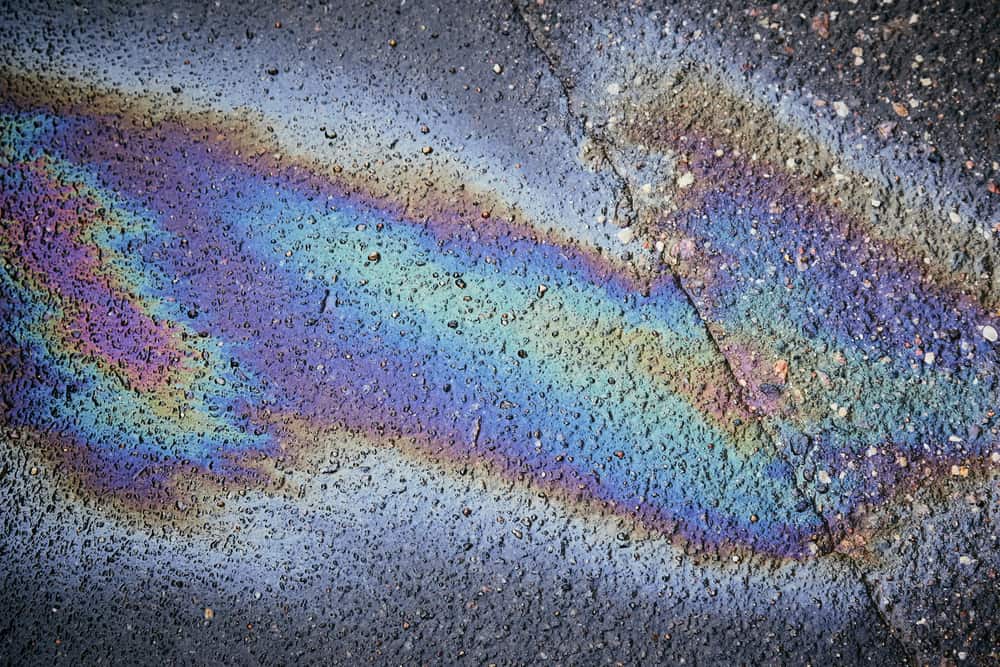
Typically, there are just a handful of reasons your golf cart could be leaking gas: faulty fuel lines, problems with your carburetor, or holes in the gas tank itself.
These concerns typically occur over time and are almost always due to wear and tear issues that may be hard to predict.
However, it is often easy to spot some of these problems if you do regular maintenance and inspection on your golf cart.
Typically, you’re going to have to use a variety of tools to spot some of these problems, all of which will be discussed in the sections below.
If you ever find yourself baffled by these instructions or unsure of how to proceed due to a lack of understanding, just contact a professional mechanic.
Trying to fix your cart is a noble gesture and could save you a lot of money but only if it’s done right the first time.
Working with a mechanic ensures that these delicate procedures are properly handled, though you will spend a lot more money, so balance your mechanic skills with your pocketbook to get the best results.
1. Faulty Fuel Lines
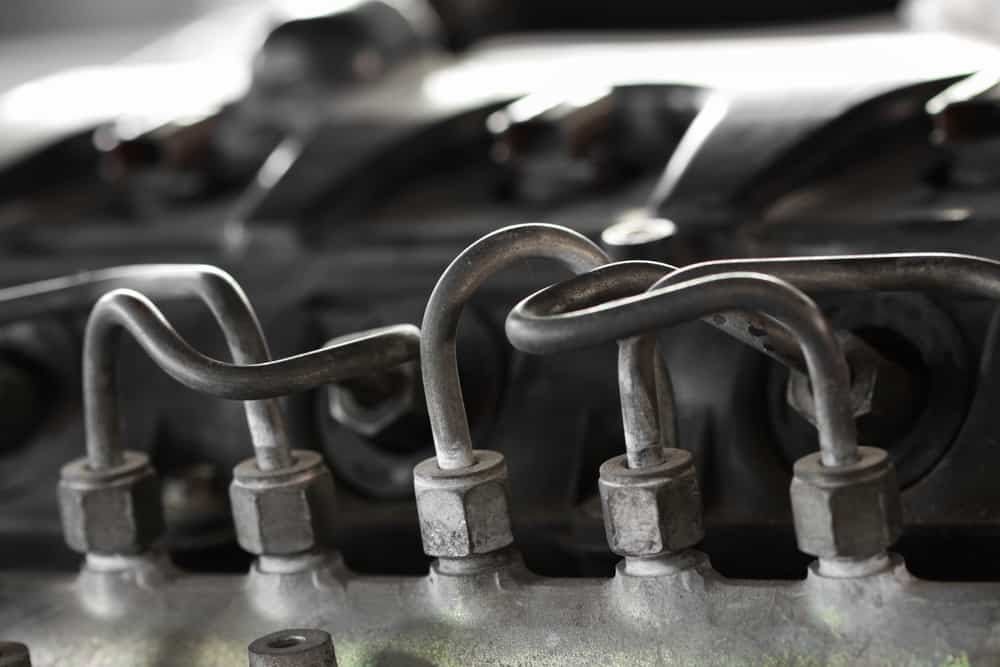
The fuel lines on your cart are fairly simple when compared to a standard vehicle and are usually quite easy to identify and replace.
Unfortunately, they are also one of the most commonly damaged areas on a golf cart and often need to be replaced to keep the cart running smoothly.
Thankfully, this process is also one of the easiest fixes for most golf cart owners, meaning that even the least experienced should be able to handle it with relative ease.
You can identify these problems by following the steps below and making sure that they are accurate to your golf cart, as you may have a slightly different layout to your cart and its engine than these steps imply.
- Park your golf cart, put it in neutral, and place bricks in front of and behind its wheels.
- Open up your cart’s engine compartment by lifting the seat from your golf cart.
- Identify the various hoses coming from your gas tank to the other areas of your cart.
- Make sure that these lines are properly connected and tightly fit to their attachment areas.
- Run your fingers along the hoses and inspect them visually to look for damage or cracks.
- Look for the gas line connecting the fuel tank to the carburetor near the bottom of the engine.
- Spot any splits or breaks in this line, which can be common as the cart ages.
- Remove the gas cap to see if the fuel tank is venting properly, waiting a few minutes for the leak to stop.
Fixing this problem is typically fairly simple if you understand how to disconnect and replace hoses on your engine.
Before you start this process, make sure that you purchase hoses of the proper size, looking at your cart’s manual as necessary to ensure you are correct.
Pull off any damaged hoses from your cart and throw them away, making sure to clean them of gas if necessary.
Replace the broken hoses with new ones, making sure to keep them as tight on the connecting elements as possible.
Make sure that you always start with this step because it is usually the most common issue that is causing your cart to leak gas.
2. Stuck Carburetor Floats
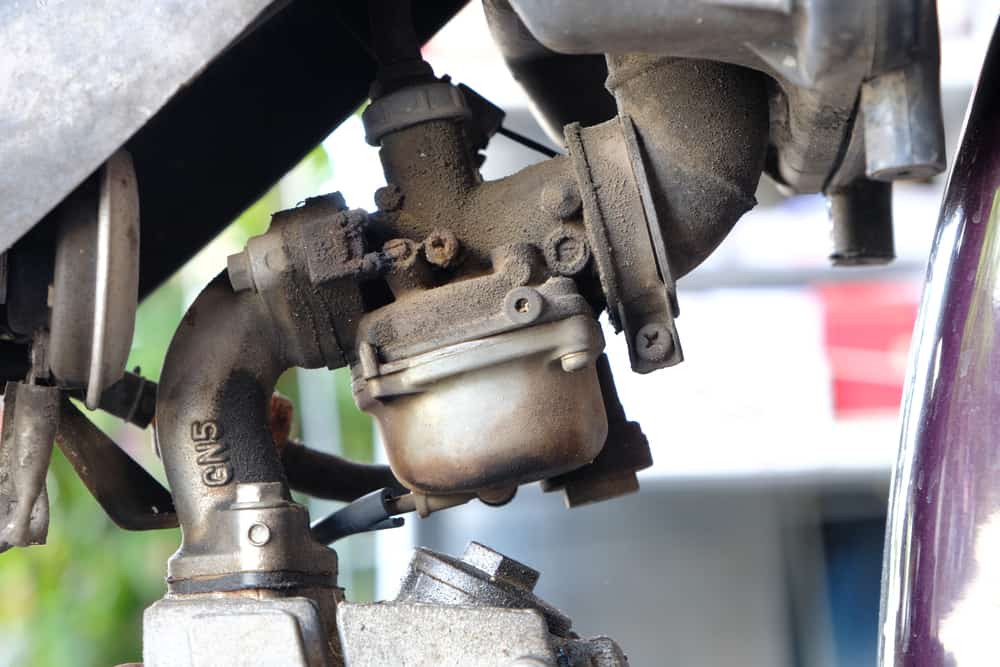
Your carburetor is often another common cause of gas leaks and is, unfortunately, sometimes fairly hard to fix if you aren’t sure what you are doing.
Many carburetor problems will require a professional who understands these types of repairs and who can do them in an efficient way.
That said, there are a few steps that you can take that may help with a handful of different carburetor issues.
For instance, a stuck carburetor float is a common problem that causes gas to leak out of your carburetor.
Thankfully, it should be fairly simple for you to perform repairs on this problem that help ensure that it no longer affects your cart.
- Park your golf cart and put bricks in front of and behind its wheels if you’re doing this step long after the first.
- Open up your cart’s engine compartment and identify the carburetor, which should have hoses running to it from the gas tank.
- Carefully remove the screws on top of the carburetor and lift the top away, paying close attention to avoid gas spilling from it.
- Identify the carburetor float, which should be a small flotation device on a long and thin metal handle that rests on top of the fuel.
- Take a screwdriver and gently tap on the bottom of the carburetor bowl to try to shake loose the float if it is stuck to the bottom.
- Tap the sides of the carburetor, and if the float does not come unstuck, try to create a slightly different type of vibration that may also help.
- If these steps don’t work, place your hands on either side of the (cold) carburetor and gently shake it, with minimum force, to help move the float.
- As a last resort, you can use the screwdriver to push the float, but this step is not good if it ends up damaging the float or causing any other issues.
Close up your carburetor after you finish this step and wait a few minutes to see if the gas stops leaking.
If you performed this step properly, the gas should slowly stop leaking and you should have little difficulty getting it to run properly.
However, if you find that this doesn’t fix the problem and you aren’t sure what to do next, open your carburetor back up and perform the next step.
3. Dirt In The Carburetor Needle And Seat
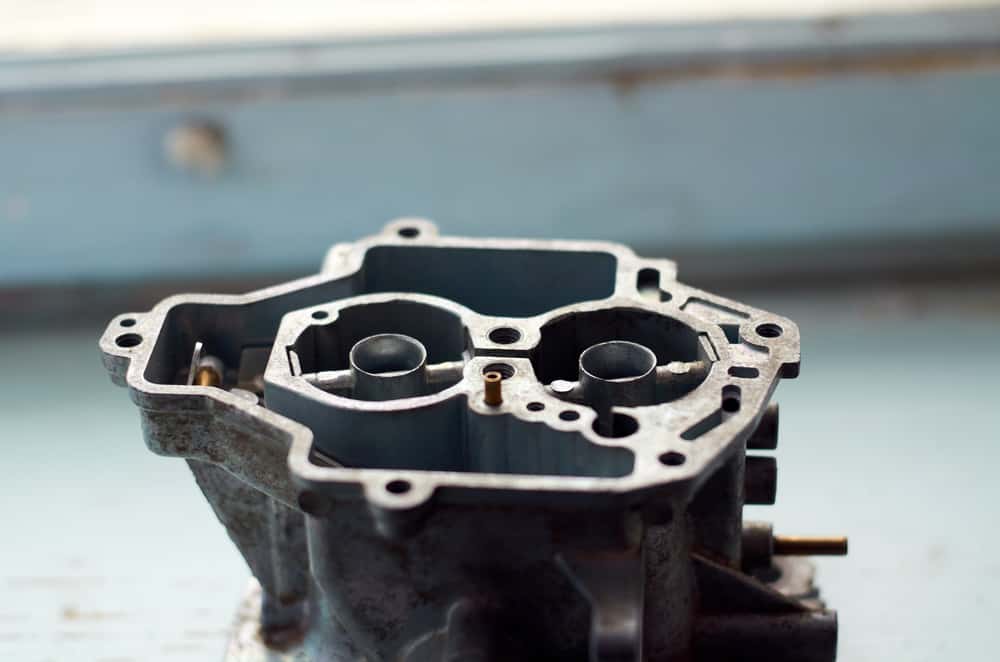
The carburetor needle and seat of your cart’s engine often end up getting quite dirty over time, and this may cause gas to leak out of your carburetor due to slushiness.
When this happens, you typically have to remove the dirt from this system by performing a handful of different steps.
Most cart owners should be able to handle this process, despite it involving some delicate parts, and is rated as fairly average in difficulty.
As always, contact a cart maintenance professional if any of these steps seem beyond your skills or if you want to make sure that you get the best all-around experience possible for your cart repair.
- Park your cart if you moved it after the last repair process and put bricks by the wheels.
- Identify the carburetor and seat system and see if you have an in-line fuel filter on the gas line.
- If you do and it seems dirty, remove it, and replace it with a new one.
- If you do not have that kind of filter, you’ll need to flush your fuel system instead.
- Start by removing the fuel line from the carburetor and putting a plug in the open end.
- Find the small brass cover screw on the bottom of the carburetor bowl.
- Use an appropriate screwdriver to remove the screw after placing a pan beneath it.
- Wait for all the gas to drain from the carburetor, waiting for the dripping to fully stop.
- Repeat this process with fresh fuel or a carburetor cleaner to get the dirt out of the system.
- Close the screw and put the fuel line back into place on the carburetor.
As with all repair methods included on this list, you should wait a few minutes before you assume that your gas is leaking.
It may take upwards of five to 10 minutes for some leaks to stop, though it should take no more than two or three minutes.
If you find that these fixes don’t cause your leak to stop, then there is one more likely culprit that is causing this problem: holes in your gas tank.
4. Holes In Your Gas Tank
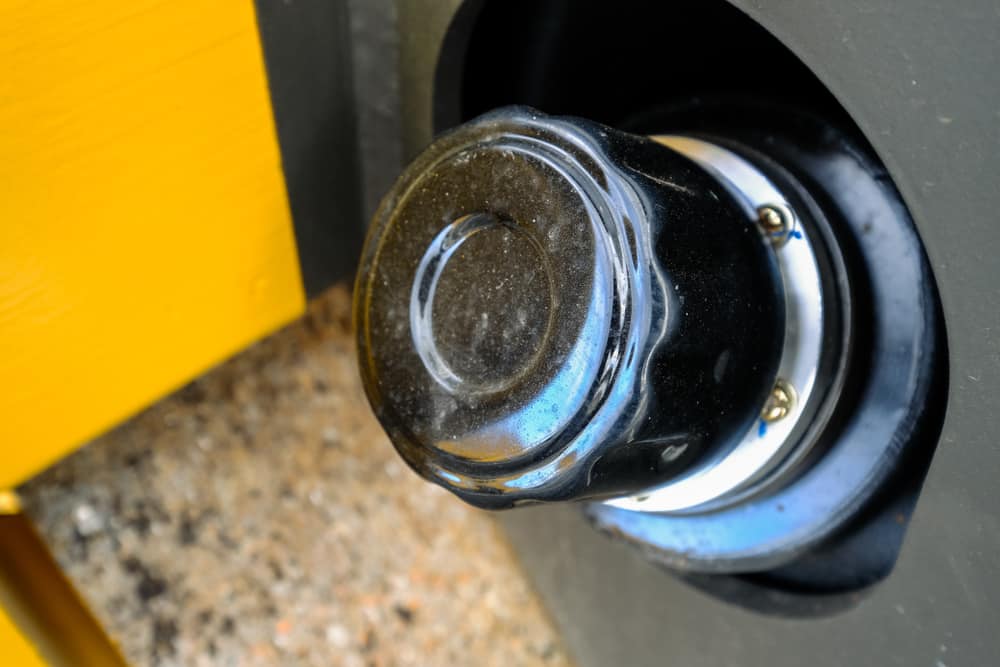
Removing your gas tank and checking for holes is a critical way of ensuring that your cart stops leaking gas.
Thankfully, this process is fairly simple, though it is the most complex on this list, and it’s something that you should take very seriously.
- Park your cart and put bricks behind its wheels to keep it from moving.
- Place a powered siphon tool into your gas tank.
- Let the tube suck out all of the gas before you continue.
- Remove the spark plug from your cart to avoid any sudden sparking dangers.
- Carefully remove all hoses from the gas tank and clamp the ends to prevent leaks.
- Plug the connection holes on the tank with appropriate plugs from a cart shop.
- Identify the screws, nuts, and bolts holding your tank in place and remove them.
- Take out the gas tank and look for any obvious signs of breakage or leaks.
- Repair small leaks with the proper sealant, if possible.
- If larger holes are present, consider whether it is time to replace the tank completely.
If the holes on your cart’s gas tank are much too large to be patched up or would be likely to leak again over time, install a new gas tank into the proper area.
Attach it back into place with the nuts and bolts that came with it, and put the hoses back into the proper places.
Always buy a gas tank appropriate for your cart and avoid getting a general or generic tank, as this may not fit properly.
It’s probably best to replace your tank if you notice any issues, as sealants only provide a year or so of protection for your tank.


Leave a Reply