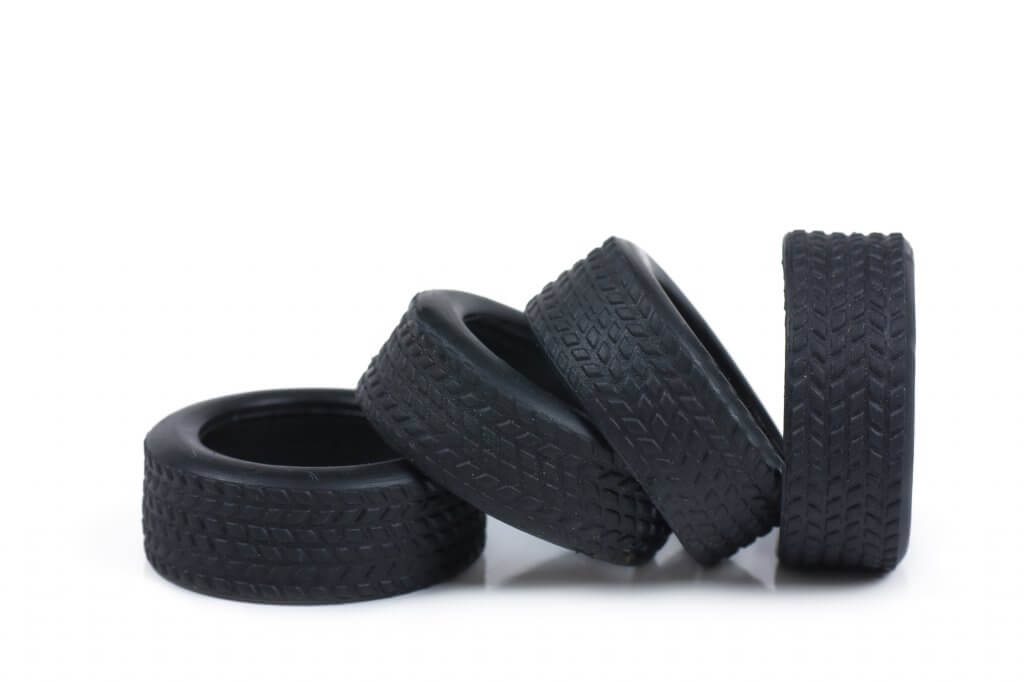
When you’re cruising on your golf cart, the last thing you want to do is to deal with a flat tire.
Flat tires immediately end your ride and put you in a frustrating situation that requires immediate repair.
Thankfully, it is possible to fix this situation and get your cart running smoothly again as soon as possible.
Make sure you carefully read all of these instructions to ensure you get the best results.
You’re going to be replacing the tire completely here and must understand what you are doing to avoid any possible mistakes.
How to Fix a Flat Golf Cart Tire
In the sections below, we’re going to discuss two different options: replacement and temporary patching.
We’re going to emphasize a few times that you should replace your tire rather than patching it if it goes flat and you have a leak that must be fixed.
Replacement may be more expensive and require a bit more work, but ultimately, it provides the best chance of fixing your tire properly.
Replacement: Your Best Option for Comprehensive Repair
Though we will give you a brief rundown on how to plug a golf cart tire hole temporarily, we strongly suggest you just replace your tire.
Though it may seem like more work, you’re going to ultimately end up with a much better result.
However, you should also learn how to plug a tire if you need to get your cart home, to a workshop, or if you otherwise need a quick and temporary fix for a blown or flat tire.
Note: Replacement may not be necessary if your flat is not caused by a leak, so talk to your mechanic if you cannot identify a leak that triggered your flat tire.
Step One—Gather Your Tools
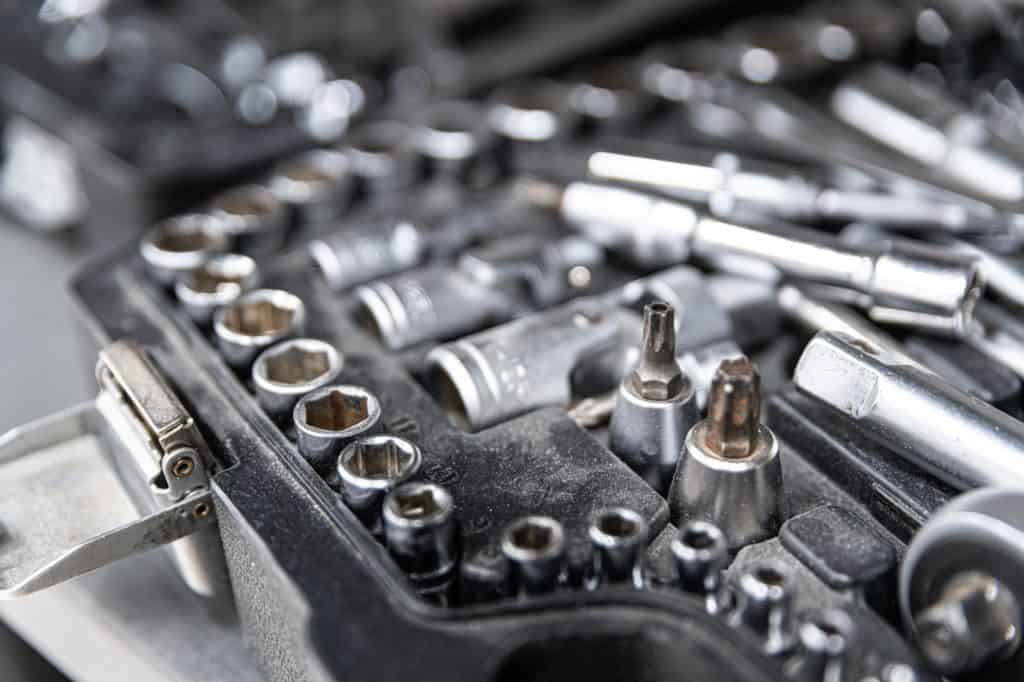
You’re going to need a handful of tools to get the best result for this process.
Without these items, your repair is going to be very difficult or even impossible, putting you in a very rough situation.
We suggest you get a high-quality floor jack, a socket set, a ratchet wrench, a pair of gloves, some safety goggles, and a replacement tire that is suitable for your specific cart model.
This may vary, so be prepared to do a little research.
Make sure your cart is parked on a flat surface and in a sheltered area, if possible, to decrease your chance of damaging the cart via weather-related issues.
Step Two—Jack Up Your Cart

Put cement blocks in front of and behind the cart wheels on which you are not working, place the jack underneath the side where you are replacing the wheel, put your cart in park, and carefully position the jack underneath the axle of your cart.
You’re going to want to position the jack here because you’re going to be lifting it, and you want to make sure the weight of the cart is held on a strong area, one that won’t break under the pressure of gravity’s pull on your cart.
Carefully remove the wheel cover before you jack and use the proper socket and ratchet set to loosen the nuts.
Don’t remove them, but instead, jack the cart up so the tire is just off the ground.
Now you can remove the lug nuts one by one and place them in your pocket or in a container to keep them safe.
Step Three—Remove and Replace the Tire

After removing the lug nuts from your tire, carefully tug on it with your gloved hands to pull it off of your wheel spokes.
Make sure you pull evenly to avoid causing any unnecessary damage to the axle of your cart or any other element.
Put this old tire to the side for now, because you’ll eventually want to take it elsewhere and throw it away or recycle the tire.
Now, carefully insert the new tire and push it all the way onto the axle.
Make sure it is properly balanced by adjusting its position as needed. Most of the time, you won’t have any difficulty here.
Replace the lug nuts and carefully screw them into place without tightening them completely.
Lower the jack until the new tire touches the pavement without putting full weight on the tire.
Use your socket to tighten the lug nuts equally, tightening each one a few turns in order before completing the tightening.
Lower the cart all the way to the ground and replace the wheel cover.
Step Four—Test Your Golf Cart to Ensure It Works Properly

Test your golf cart to make sure the wheel is strong and not uneven.
Start up your golf cart and drive it around across the concrete surface to feel how it operates.
Pay attention to the way it moves, as the cart may end up wobbling if you don’t have it on properly. You may also hear the tire whining if it is not properly installed.
One common issue that may end up becoming a concern is a loose lug nut on the wheel or lug nuts that aren’t properly tightened.
Repeat these steps if you have an uneven ride, or get a new tire if the current one feels improper or inaccurate for your current cart.
If the tire still doesn’t feel quite right, you may want to talk to a mechanic who can adjust the wheel and make sure it rides smoothly.
These experts can make sure the wheel is balanced and effectively stable after your installation so that it doesn’t end up getting damaged while you ride.
They can also spot any issues which may cause leaks on further tires, such as rubbing on the frame or any other concerns.
Patching the Old Tire: Only Attempt If Absolutely Needed for Your Cart
If you are affected by a flat tire as you drive, you may be far from home and need to get your cart back to where you can replace the tire.
In this situation, you can patch the tire to drive it home.
A patch should be considered a temporary fix and something that is used only to get your cart back to where it needs to go.
Later, we’ll discuss why a patch is not a comprehensive repair option.
Finding Golf Cart Tire Leaks
Step One—Buy a Patching Kit
A typical patching kit includes tools like pliers, probe tools, nozzles, rasp tools, a plug gun, various plugs, and retractable razors.
You’re also going to want a variety of different safety gear to keep your repairs easy to finish, such as goggles, footwear, gloves, and an apron.
Once you have these items, park your cart in an area that is easy to access and sheltered to ensure you are safe during repair.
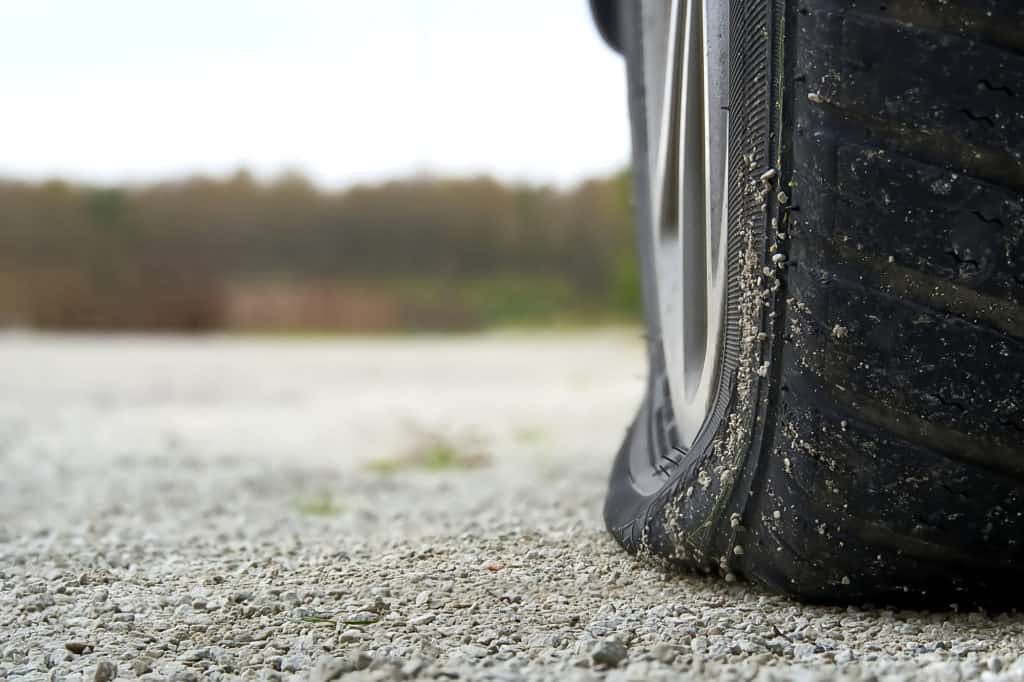
Step Two—Spotting the Leaks
Turn off your cart and put it into park and then follow the removal instructions above—including jacking the cart up—to get started.
Now, it is important to pour a solution of soap and water over the surface of the tire to spot leaks.
If the tire is completely flat, you may need to pump some air into it to start this process.
Watch for bubbling areas on the tire to see where the leak or leaks are occurring on your tire and causing it to go flat.
Check the whole tire for leaks, turning it over as needed to completely cover it.
Pay attention to any obstructions you may see that trigger the leaks, such as various bits of metal in the rubber.
Step Three—Fixing the Leaks
Use your pliers to take out any objects that are stuck in your tire, including small stones, which may not cause a leak but can be stuck in your tread surface.
Twist and pull these objects to get them out and then use your rasp tool to carefully ream the hole to the size and shape of your patch, using a screwing motion to get the best results.
Insert the plug or the patch on the leaks and carefully push it as far as it can go, using pliers to trim the patch or the plug to the level of your tire treads.
Replace the tire, refill it with air, and get back on the road.
Why You Shouldn’t Patch Your Golf Tire for a Permanent Repair

If you don’t want to perform a complete tire replacement, you may feel compelled to buy a patch kit and fix up your tire this way.
We suggest you don’t take this approach because it is one that is often beyond the abilities of the average person.
Though patching isn’t too hard in some ways, it does have a few concerns which can make it more challenging than replacing the tire—as hard as that may seem when you are working to replace the tire and struggling to remove the lug nuts.
Why is it better to just replace your tire and not patch it up?
Well, golf cart tires are tubeless, which makes them a bit harder to patch than you may expect.
Bicycle tires are often easier to patch because they are tubed and don’t require as much careful adjustments.
Patching a tubeless tire may require more specialized options, such as various types of creams and sealants which are available at golf cart repair shops.
However, these may be too difficult for you to use properly.
For example, you may end up putting on too much sealant and causing your tire to run a little unevenly.
Conversely, you may put on too little sealant and cause your tire’s surface to open up.
The main complication here is the tread of the tires, as they will complicate where you can and cannot place a patch and make it harder for you to do this step properly.
Even so, there are mechanics who can patch your tire if you want to add a little bit of extra life to it and maybe save you a replacement for a temporary period.
That said, even most professional golf cart repair experts are likely to tell you it is best to just replace the tire rather than attempting to patch it.
That’s because they understand that a patch is a poor substitute for a new tire and just something that will eventually wear out, no matter how professionally it is applied.
A patch should be considered only as a way of getting your cart to a mechanic or your home, where you can replace the tire to keep your cart running.
If necessary, reach out to a cart mechanic to get the best results.


Leave a Reply
You must be logged in to post a comment.