Having trouble with your golf cart clutch?
Don’t worry, a lot of people face similar issues.
This may be because a clutch in your golf cart is quite dissimilar from the one in your automobile.
A golf cart clutch is a CVT i.e. Continuously Variable Transmission and it is made up of two separate clutches connected together.
The only similarity in an automobile clutch and golf cart clutch is that both are used to transmit the power from engine to transmission.
Hence, without any prior experience or someone’s assistance, it may be bit difficult for you to work with a golf cart clutch.
This comprehensive article will provide you a step-by-step guide on how to remove a golf cart clutch.
But first, we will be getting into the fine details of one of the major components of a golf cart.
How does a CVT work?
A CVT, (Continuous Variable Transmission) also known as a golf cart clutch, will seem familiar if you stick-shift drive your regular automobile.
Otherwise, it can be difficult to adjust and remove the clutch in your golf cart.
This component is made up of a drive which is the primary clutch and a driven which is the secondary clutch.
The drive is attached to the engine crankshaft.
When at rest, the drive’s sheaves are separated by a wide belt whereas the driven sheaves are spring-loaded.
As the rotations per minute increase, the drive clutch starts to spin with a strong centrifugal force and weights, and the clutch is pulled inwards.
Due to slopes on the clutch’s surface, the belt rides higher and tightens the tension.
This is how the energy is transmitted from an engine to the transmission/differential by a CVT.
The main functions of clutch components are further described below:
1. Drive
The drive is the source of rotations and the transmissions. At first the drive is turned on to cause the energy transmission within the engine.
2. Driven
The drive provides the transmitted energy to the driven. The driven is connected to the drive and has same number of teeth. The drive creates power, transmits it to the driven and causes mutual rotations for the cart’s acceleration and deceleration.
3. Sliding sheave
Both golf cart clutches are of different sizes and incorporate a sliding sheave that moves in and out along a central shaft as the brake or accelerator is pressed. This movement of the clutch plate along a sliding sheave enhances the performance and safety of the clutch plates.
Initially, the drive clutch plate (sheaves faces) are separated by a wide drive belt while the driven clutch plate is bolted to the input differential. As the engine spins, these sheaves either move along or spin giving the cart a transmission system similar to that of an automatic vehicle.
4. Wide belt
The wide belts connect the drive and driven together. The function of this part is to engage both the clutches and transmit torque force from one shaft to another. Similar to driven, the energy is provided to the belt by the drive clutch, so the sheaves get separated and brings the belt closer to the central shaft.
Together, the clutches may look like a large pulley. However, they work separately and both clutch’s sheaves move in and out along a central shaft providing a smooth start-up, speed, and brakes.
Reasons the clutch needs maintenance or removal

Getting your golf cart from point A to B smoothly requires the efficient performance of the clutch.
To analyze whether the cart is working properly or not, investigate the uphill and downhill movement.
The Following are some of the major indicators for the removal/replacement of your golf cart’s clutch:
- Inability to slow down and increase speed while in transition.
- Drastic change in speeds and acceleration with sharp fall or rise in the speed.
- Uneven jolts during the startup.
- Screeching or cranking noise while starting, driving, or hitting the brakes.
These problems indicate issues that may be present in any part of the clutch.
All the components including drive, driven, shaft, and wide belt can malfunction and become a cause of a problem.
The replacement of the clutch is indicated when the cart runs smooth on a leveled surface, but shows a decline in speed when going uphill.
This is a classic problem which requires you to divert your attention towards the clutch.
As for the driven clutch, the small plastic buttons attached to the inclined metal ramps can gradually wear out and vanish.
This causes the ramps to glide against each other.
It has a serious impact on the speed transitioning ability of the cart.
Required tools to remove golf cart clutch

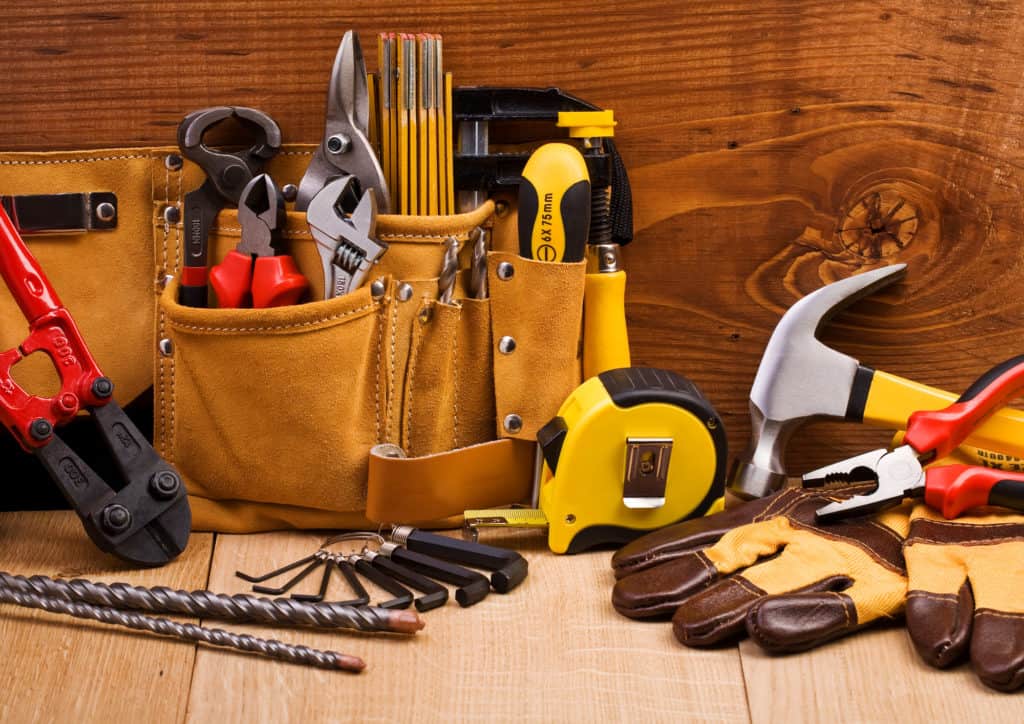
There are few essential tools which will be needed to effectively remove a golf cart clutch without harming the component itself or your hands.
The tools are listed and described below:
1. Clutch puller
It is absolutely impossible to remove the clutch without a clutch puller. The key here is to identify the right puller for the cart model you are working on. Since the clutches are press-fitted, it is imperative to remove them correctly without causing any damage. When you do anything related to your cart engine, a clutch puller will be an absolute requirement.
2. Air gun
An air gun is required in the clutch removal process to unscrew the bolts. An air gun is basically a screwdriver powered with electricity or battery. It is highly accurate and efficient for working with sensitive and brittle machine components like small bolts and screws. An air gun will come in handy while removing the bolts involved in the golf cart’s clutch system.
3. Rubber hammer
A Rubber hammer is a small and inexpensive tool. It is a multi-purpose, must-have item for your toolbox and can be required in the procedure under discussion. It is used to loosen tightly secured drive and driven bolts and threads of a golf cart clutch. This hammer has a soft impact on the surfaces and is suitable for working on components made up of sensitive and brittle metals.
4. Machine oil
Machine oil is not an essential component. However, if your cart’s clutch has not been removed or worked upon for a long time period, impurities like dust, rust, and debris can cause the belt to get stuck. Since the driven clutch is a mated component, removing it can be very difficult. Squirting some machine oil into the clutch can cut through the rust and make your work trouble-free. Once you grease the clutch, do not forget to clean the sheaves and bushings within them. Nothing should come in contact with the riding belt or it will become sticky and cause startup issues.
Step-by-step golf cart clutch removal process

Removing the golf cart clutch is a little tricky.
Step#1: Identify the right clutch puller
To get started, find out the serial or VN number of your golf cart and send it to a local dealer. They will look up the model of your golf cart and tell you the right clutch puller which is required for the particular model.
Step#2: Remove the belt
The driven is mounted on the crankshaft. It sticks out of the engine. Before proceeding to remove either the driven or drive, unhook the belt. When the cart is static, the belt is loose enough to be worked upon.
Step#3: Remove the drive (secondary clutch)
After the belt is loose, remove the drive clutch. Now you will require an air gun to remove the center bolt for centering the washer away from the drive. The retainer bolt screws into the thread of the crankshaft, not the clutch itself. Hence, the bolt is much smaller from than the hole from which it comes out.
There are also noticeable unused threads inside the clutch. Now insert the clutch puller into the clutch hole and slightly thread it in. Using the air gun, turn the puller inward at a high speed.
The pressure created pops up the tapered fit. This will happen as soon as your clutch puller comes in contact with the crankshaft. Here, we would like to reiterate, the clutch puller is an essential tool required for this process.
Point to note:
Modern golf carts have a tapered fit at the end of the crankshaft which causes a very tight fit to the shaft. Thereby, it does not easily come off. That is the reason the right clutch puller is necessary.
Step#4 Remove the driven (primary clutch)
The driven clutch removal can be a tricky thing to pull off. The tightness and pressure of the crankshaft makes it hard to deal with. Although the driven does not have a tapered fit like the drive, and is just attached with a key or splined into the shaft, but it can still be difficult to remove. The reason is that driven is probably never been removed before and has gone rusty.
So it is recommended to put in some machine oil to help it break free easily at the time of removal. Let the oil sit in there for at least an hour and then use a little hammer to tap it. Be very gentle with the taps because vigorous tapping can cause dents in the clutch if it is made from cast aluminum.
By following this easy breakdown of the golf cart clutch removal procedure, you can easily remove the different components of the clutch and have the parts separated in no time.
Video example of a Yamaha Golf Cart Clutch Removal
Conclusion
Who does not love a smooth, trouble-free golf cart which runs well without any complications.
To make sure of it, it is important to know the parts and key performance indicators related to each component of the clutch and engine.
Having this knowledge helps in identifying the problems which arise during the cart drive.
Getting to work and fixing the issue promptly will not only elongate the life of your cart, but will also keep it fresh and rust-free.
Furthermore, working with your golf cart’s clutch will not seem difficult if you have the understanding and possess the right tools.


Leave a Reply