
You can’t quite find the golf cart that suits your needs and have decided that it’s time to build a model that works for you.
This step is a very exciting one but can be complicated if you aren’t prepared for the unique challenge.
That’s why we’ve created this in-depth guide to building your own golf cart.
Taking these steps can ensure that you are satisfied with the end result of your cart design.
When following these steps, you must be aware that many of the small steps – such as the types of screws and nuts that you use – will be kept vague because of the differences between cart models.
If the instructions here are not exact enough for you to even start, don’t attempt building a cart.
We repeat: do NOT attempt this process if you don’t understand it.
However, cart owners with more mechanical skill shouldn’t have too much difficulty knowing what is happening here.
How to Build Your Own Golf Cart
Elements to Consider
First of all, you must consider the type of motor that you want to install in your cart.
Many people choose inexpensive options, such as those found in a chainsaw, lawnmower, or water pump.
These can be easier to find than golf cart motors and may be just as suitable for a cart’s operation.
However, you must be careful to choose the motor that provides the best power for your needs.
That’s one major reason why we suggest just getting a golf cart motor instead.
They’ll not only have the proper level of power but the electrical balance that your cart needs to run smoothly.
The best choice here is to find one that has a rating of at least 10 horsepower.
If your cart’s motor does not have that power, you’re going to end up struggling to get up steeper hills and on rougher terrain.
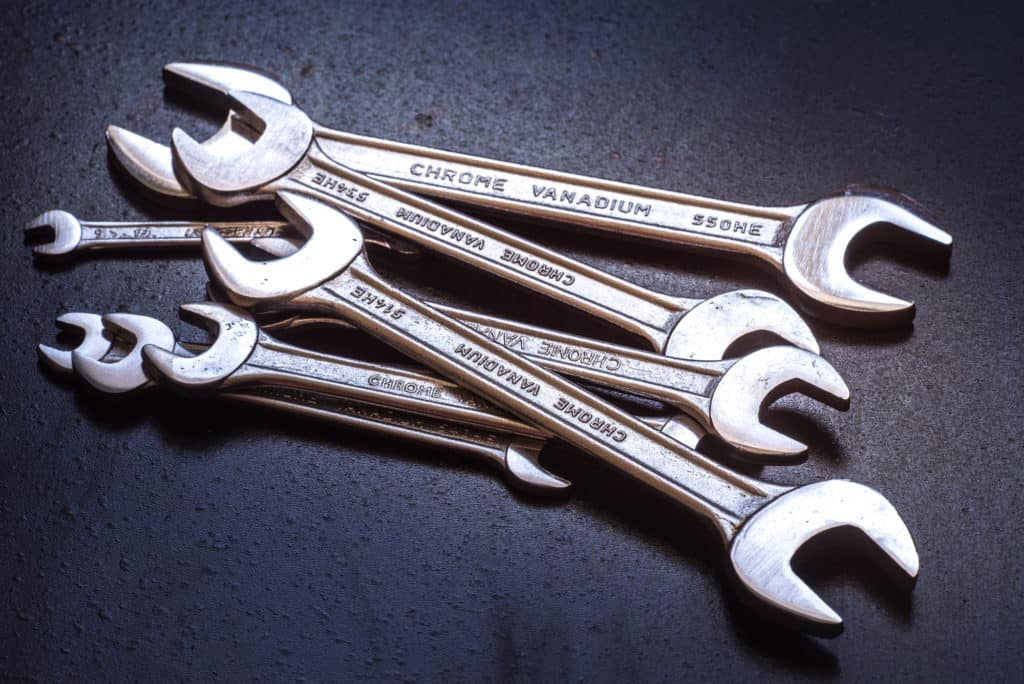
You’ll also need to collect a various group of tools to keep your cart building process smooth and easy.
We suggest a ruler or tape measure, various types of power converters, keys, screwdrivers, power wrenches, lug nuts, and much more.
By paying attention to these tools and keeping them in one place, you can make sure that you finish this installation in a way that makes sense for your needs.
And lastly, it is critical to make sure that you find a selection of parts that makes sense for you and your needs.
This step includes finding all of the items we describe in the following sections and making sure that they are compatible with each other.
Remember that old Johnny Cash song “One Piece at a Time” where in he builds a hilarious car out of mismatched parts?
You do NOT want to relive that song with your golf cart – we promise you that.
Finding a Place to Work
Before you begin, it’s a good idea to decide where you want to work before you even get started.
We think that this is a great step for a number of reasons.
First of all, it ensures that your cart is protected from weathering damage and any other issues that you may encounter.
As a result, you must find an enclosed area where you can work on your cart over a period of a few hours or even days.
A good garage is smart idea because it lets you close up and lock your cart up in safety if you don’t feel like working on it anymore that day.
And it also keeps dirt and other elements from getting on your cart during installation.
Even better, a good garage stops animals, such as pets and pests, from snooping into your cart and causing problems with its operation.
Basic Rundown of What You’re Doing
The basic process of building a golf cart is fairly simple and doesn’t require a lot of steps.
You do need to make sure that you match the frame of your cart with a proper motor to avoid any complications.
For example, use a frame designed for a gas cart to make the building process that much easier for you.
The steps that you’ll be going through in this process include:
- Finding a frame that is strong, secure, and capable
- Adding electrical elements to make your cart operational
- Installing the axles to provide motion for your cart
- Putting in the motor to get your cart running
- Adding in new brakes and testing the steering
- Wiring up the cart and testing its operation
Below, you’ll get much more detailed instructions on how to do these steps.
These steps are typically possible for both electrical and gas-powered carts because their basic design is the same.
However, your motor will need to have an exhaust system if it is gas-powered.
This installation will occur during the motor addition and only requires running the muffler outside of the cart.
The Process in Total
By now, you should have a pretty good idea of why people build their own golf carts and a basic idea of what you’re going to be doing here.
However, it is time to examine a more step-by-step process to ensure that you do everything properly here.
We’ll try to give as much detail as possible in this situation, though many elements will vary depending on a series of factors that we can’t predict.
For example, the frame that you use may require different screw sizes than another type of frame.
Or you may end up using different types of kits, parts, or other items for your cart.
Anybody who wants to do these steps does need a pretty good mechanical understanding and should only attempt it if they feel 100 percent comfortable doing things that may take a surprising amount of skill.
1. Clean the Frame and Prepare It for Work
After you have found an old golf cart frame that you want to use for this process – or if you have purchased a new frame directly from a manufacturer – you need to clean and prepare it for installation.
This process isn’t as complex as you might think, thankfully, and may be one of the easier parts.
However, there are many steps that you need to take to ensure it goes properly.
First of all, you should clean, repaint, and repair the frame, as needed.
If your frame is new, you probably don’t have to do much of anything here.
But if it is older, you’re probably going to need to fix up any rust problems, clean off dirt and stains, and perform other steps to keep it in great shape.
You are also going to have to prepare a few elements before you move on to other steps.
First of all, you’ll have to install the motor mount and secure it to get started.
The motor mount should come with your frame and is a small device designed to keep your cart’s motor in place.
You shouldn’t have to do a lot of preparation, here, but you do need to make sure that you balance and install the mount properly to avoid any issue – check a manual, if possible, to get good results.
Now, you’ll need to do some wiring throughout your cart frame.
The amount you’ll do varies depending on your cart.
For example, you’ll have to take wires from your throttle – these should either be there or can be purchased from a cart shop – towards the mount where you’ll place the motor.
You also need to do wiring for any radio, audio, video, or lighting elements of your cart.
For the most part, this wiring is fairly simple.
You’ll take the wires included with each electrical part and pull them towards your motor mount.
You haven’t yet put in the motor or the batteries yet, so you should tape the wires to the side for now to keep them out of the way.
Now, you can move on to other steps to get your cart in better operating order in no time.
Sample Golf Cart Build Video
2. Add Rear Axle and Suspension
At this point, you’re going to add your rear axle and suspension to your cart.
You perform this step now for a few reasons.
First of all, it’ll help to keep your cart more even on the road when it runs.
And it also helps to streamline other steps , such as adding your motor.
You might be a little worried about this step but adding the axle and suspension is surprisingly not that difficult.
Lift your cart off the ground using a jack in the front and back – to make the lift even – and carefully hold the axle in place in the proper spot on your cart.
You may need two people – one at each end – to keep it here.
Find the proper brackets along the sides of the axles – will vary depending on your cart model – and screw them into place using a wrench or screwdriver, as needed.
Now, you can add your suspension kit – including spindles, lift brackets, and lift blocks – on the axle to provide it with the proper bounce.
This step requires you to identify where you need to install the installation – usually somewhere near the middle of the axle – and carefully attaching it to the frame.
At this point, your axle should be in good place and you can move on to the next step.
3. Install the Motor
Here’s another situation that can be somewhat unnerving – adding the motor to your cart.
However, it is only unnerving if you don’t understand what you are doing or why you put your rear axle on first.
Put simply, the rear axle helps to provide your motor with a place to sit and keeps it safely in place.
The mount is critical here too, of course, but the motor is in the back above the axle and putting the latter in place first saves you time and energy.
The motor that you use should have been carefully selected using the methods we described above.
The motor should be suitable for your cart, powerful enough to keep it moving, designed for simple operation, and much more.
The selection process here is, honestly, the toughest part about installing your motor.
And once you are ready, you can slide it into place on the mount.
Start by carefully lowering the motor towards the mount and then sliding it into the proper attachment area on the mount.
These should be pretty obvious and include arms and other types of devices that hold the motor in place.
Once the motor is fully on the mount, you can snap it into place and make sure that you keep extra space around it, as needed, to give yourself room to work.
Your motor should already have the appropriate number of batteries installed on it.
Attach all of the electrical wires mentioned earlier to get your cart in operative order.
You also need to attach the motor to your rear axle using the proper belts that should have been included with your axle kit and motor.
These belts help to convert electrical power into action on your cart.
4. Check the Steering and Install Brakes
At this point, your cart is in pretty good shape but isn’t quite ready to start running yet.
First of all, you need to make sure that you check the steering equipment on the cart to make sure that it is in its proper place.
Most frames that you’ll buy will already have these items in place, which helps to speed up this process and avoids a lot of confusion and agitation by decreasing the steps you must take.
If you want to – and know how to – you can use various adjustments and other types of performance parts to change the strength of your steering or the power that it takes to turn the wheel.
We honestly don’t suggest that you try this because you can create a lot of issues if you aren’t 100 percent sure of what you are doing.
But you can add them to the steering column and throughout the rest of the system to change it up, if you like, such as adding a stronger steering column action.
You also need to make sure that you install the front axle at this point using the same type of action you used for the rear one.
Add it now and you can check the steering connections beneath the cart to see how they are operating.
Do they look rusty and worn or are they in great shape?
Replace these items if they aren’t as strong as possible and move on to brake installation to finish up.
The brakes are another item that you need to be careful about because making a mistake here can make your cart unsafe.
Thankfully, it shouldn’t be too hard – open up your wheels on your axles, locate the current brakes, check if they are in good shape, and remove them if they are not.
You’ll need various types of lug nuts and wrenches to accomplish this goal, so get to work on it.
Next, you need to place the new brakes into place and screw them down to keep your driving safe.
Again, you’ll need various wrenches to accomplish this goal.
You’ll also need to test every element that you just installed here later to make sure that they are properly installed.
We’ll talk about those processes a little later to give you the best idea of how to perform them.
5. Personalizing Your Cart
At this point, you’re just about done with the cart building process and can nearly take it out on the road for a spin.
However, there are a few other steps that you need to take to ensure that it is safe.
If you haven’t installed the wheels already, do so now.
Make sure that they are held down properly on the axles and that they connect to any brakes that you may have added to the axles.
Next, you need to attach any electrical components that you may have missed and attach the body to the chassis of the cart to keep it strong and secure.
These steps are crucial because they keep your cart safe and protect it from problems with night driving – your LED lights must be very bright, here, so make sure to choose a model that is right for your needs and operational desires.
Now, you can do a once-over throughout your cart to make sure all the nuts and bolts are in place.
After you feel confident that everything is tight, you can personalize your cart in any way that you see fit.
There are a few options that you can choose, here, each of which is a good choice for the right person.
Make sure that you read through them carefully to get an idea of what you can do.
First of all, we strongly suggest that you use vinyl graphics, like wraps, instead of paint.
Though you can paint your cart, it usually looks somewhat cheap and unimpressive to many people.
And it may even cause damage to your cart if you don’t pick the right type of paint.
So make sure that you choose a vinyl wrap that is simple, attractive, and which makes your cart feel uniquely you.
We also suggest avoiding tacky upgrades that make your cart seem “wacky” or a bit too silly.
Excessively loud horns, colors that are too bright, and many other elements can all combine poorly to make your cart the laughing stock of the course.
Try to keep your cart quiet and dignified to avoid this issue.
Or go all out and accept the consequences – it is, after all, your cart.
6. Testing the Cart
Lastly, it is time to test your cart to make sure that it runs properly for your needs.
Thankfully, this process is nowhere near as difficult as you might expect.
Get behind the wheel and turn all of the electrical switches on and off, one at a time.
Do they activate properly or fail to work?
Or do they blink on and off or seem to act inappropriately when they are activated?
If any of these problems occur, your electrical system needs to be double-checked and repaired.
Open up the cart’s motor and check to see if the wires are connected properly.
If they are connected, look to the wires for any frays or breaks in their sheaths.
Replace any wires that may be too frayed and check your cart again to see how well it is operating in this way.
Next, drive your cart out on a smooth and even surface.
Start out driving slowly and increase your speed as you drive.
Does your cart feel like it accelerates smoothly?
If so, test the brakes by stopping slowly and sharply a few times.
There should be no “sluggishness” in your brakes and they should activate and keep your cart from moving without any difficulties or struggles.
Now, test how well your cart turns on the road while you drive.
Does it feel like it drives smoothly without any wobble?
If you notice any poor steering or wobbly control, your steering may need to be repaired.
We strongly suggest that you talk to a repair shop near you to get these fixes done because you don’t want to make a mistake in this process when you’re so close to finishing it.
Lastly, it is important to listen for any scraping metal noises as your cart runs, as these can indicate motor issues, problems with metal rubbing against your tires, and much more.
Take your cart to a cart repair shop to see what is wrong.
We know that this does ruin the feeling of DIY but any serious motor problems will require professional help to manage, anyway, so be prepared for that.


Leave a Reply
You must be logged in to post a comment.