If you have ever had a club head go flying off at the driving range, you know the importance of epoxy for golf clubs.
Golf club epoxy can come to the rescue when your clubs need a quick fix.
Knowing how to use golf club epoxy, finding it, and applying it can be very helpful.
Sometimes you may be able to use golf club epoxy to fix your own clubs without having to pay much more than a few dollars for epoxy.
Here is everything you need to know about epoxy for golf clubs.
Epoxy for Golf Clubs (How to Use, Where to Get, Dry Time)
What Is Epoxy for Golf Clubs?

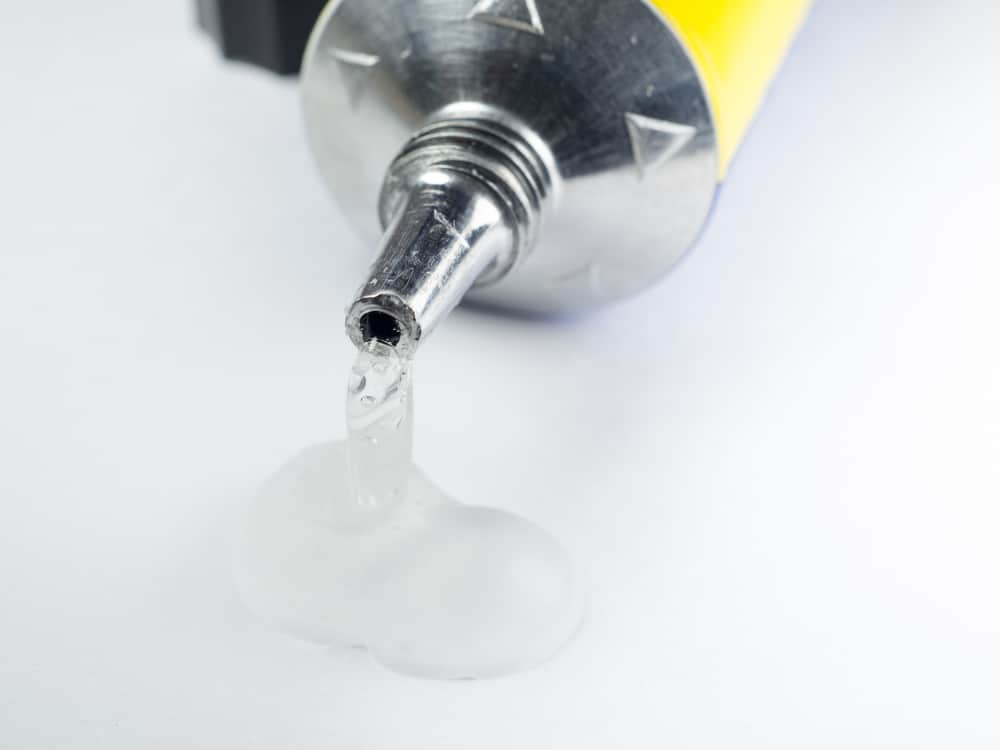
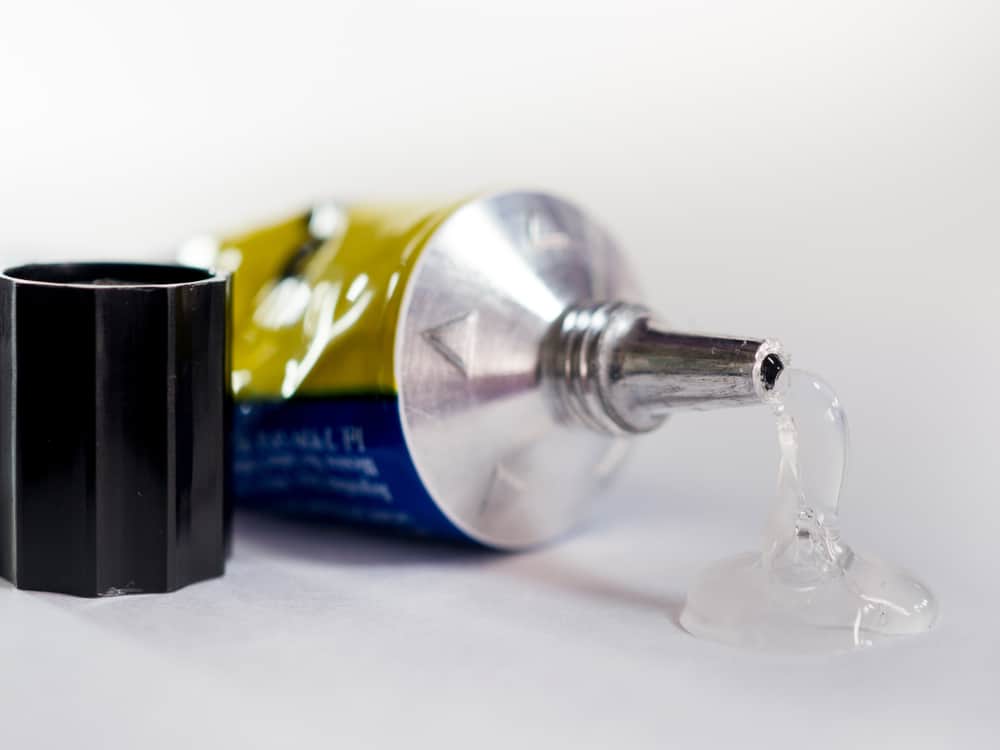
Epoxy is essentially a type of glue that can be used on golf clubs.
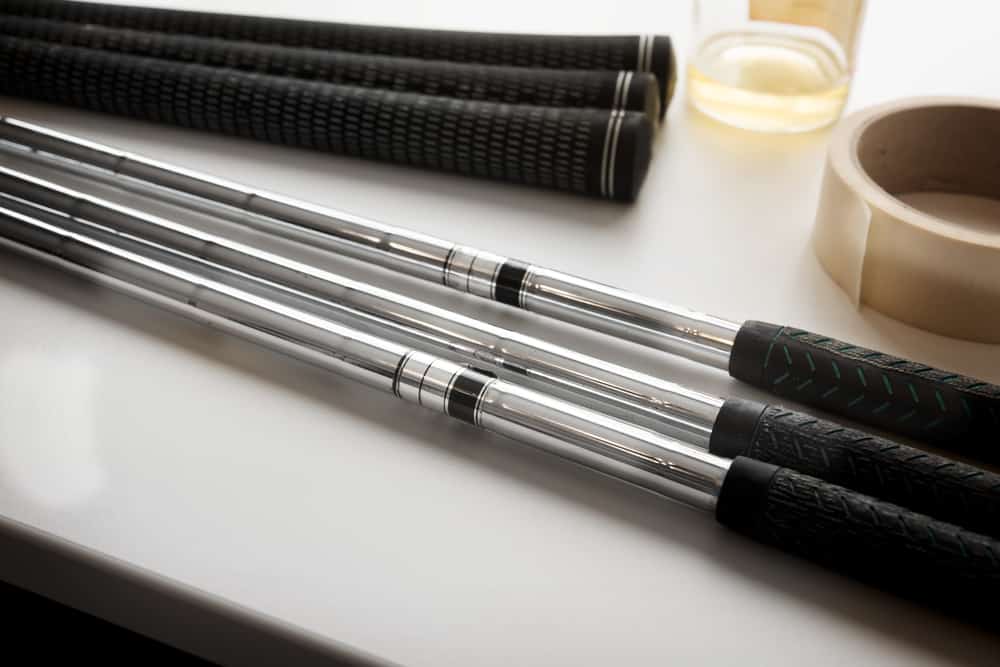
Epoxy is what is used to attach a golf shaft to the clubhead.
Golf club epoxy is very strong so that it can stand up against fast clubhead speeds and hard impacts into the ground.
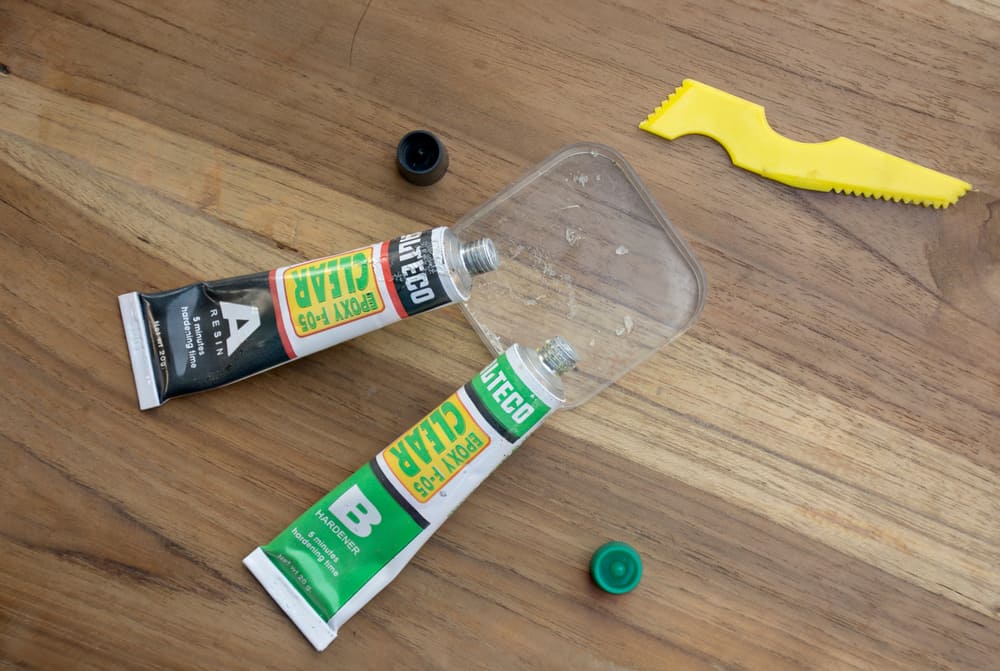
Golf club epoxy usually comes in a two-part formulation.
The two bits of epoxy will bond with each other and make a connection that will last for quite some time.
When the epoxy is first placed on a surface, it is not going to do much to adhere anything together.
However, once the epoxy starts to cure and harden, it will make a very strong attachment to the golf club.
The epoxy is used to keep the club head in place.
When a golf club is shipped from a manufacturer, they will use epoxy to affix the club head in place.
If, for some reason, the epoxy cracks, wears out, or has another issue, then you can replace it.
The Best Type of Epoxy for Golf Clubs

There are two main types of epoxy golfers will use on their clubs.
The first is the quick cure epoxy, and the other is the long cure.
These are both two-part epoxies.
This means that you will place one part of the epoxy in the club head and the other on the shaft.
When they combine and harden, they will form a strong bond.
The long cure epoxy seems to be the best fit for golfers.
The problem with the long cure is that you are going to need to wait 12 to 24 hours before you can use your golf club.
The good news is that the long cure will create a very strong bond which is capable of holding together even for fast swinging players.
The quick cure epoxy will only take about five minutes to cure, and you can head out with your golf club about twenty minutes later.
This is a great choice if you have a golf round or tournament the next day and you need a quick fix.
However, if you want to do the best you can for your club and get something that will last for a long time, the long cure epoxy is the better choice.
The quick cure epoxy is a bit easier to work with because you won’t have to store the club in a temperature-controlled environment for a long period to let it dry.
If all you have on hand is the quick dry, however, it can certainly get the job done.
You should remain aware of the fact that you used the quick cure as it could cause your club to potentially break at some point in the future.
Are Regular Epoxy and Golf Club Epoxy any Different?

Most homeowners will have some type of epoxy around their home.
If you are wondering if this epoxy is going to work for you, we recommend sticking with something that is specifically built for a golf club.
Using an epoxy to fix something around your house is a bit different than using epoxy to fix a golf club.
Let’s think about the pressure you put on a golf club.
You will expect your golf club to be able to be swung at speeds well over 60 mph and handle impact with the ground and the ball.
At the impact position, there is quite a bit of pressure and twisting of the iron head.
Since this is customary, you must make sure you are using the proper epoxy.
Golf club epoxy is built to hold up under this excessive pressure, and it will do well in temperatures where golfers are usually playing.
If golf club epoxy gets too hot, it could start to lose its effectiveness.
This is one of the major reasons we are always telling you not to put your golf clubs in the trunk of your car.
As soon as the clubs start to get hot and the club heads heat up, the epoxy can start to melt.
When you need to purchase golf club epoxy, you can do so through many online distributors or Amazon.
What Can You Use Golf Club Epoxy For?

Golf club epoxy is mostly used to attach a golf club head to the shaft of the club.
Almost all of the club heads you use are attached to the shaft with a bit of epoxy.
You should carefully consider how you use golf club epoxy because you want to make sure ti does not affect the performance of your golf club.
When regripping golf clubs, you will not need epoxy.
Epoxy cannot be used to fix a broken golf shaft.
However, if your golf shaft does break, chances are you will have to remove the club head and insert a new shaft using some epoxy.
What Is the Drying Time for Golf Club Epoxy?

The drying time for golf club epoxy is going to vary depending on the type of epoxy you are using.
If you are using a quick dry epoxy, you can wait about fifteen minutes, but for the longer cure, you will need to wait twenty-four hours.
While your golf club epoxy is drying, you should consider that it needs to be left in a temperature controlled environment.
If your weather is very humid or you are leaving the epoxy in very cold or very hot temperatures, it will not cure.
We recommend setting the club down in a location where it will not be bumped or disturbed and then letting it dry for 24 hours.
The best temperature is between 70 and 90 degrees.
You will get the best curing and the best bond when the temperature is correct for the epoxy to cure.
Another important thing about the dry time for the golf club epoxy is to make sure you follow directions exactly.
If either part of the two-part epoxy is exposed to water, wax, or other elements, its ability to cure could be significantly impacted.
Therefore, you should follow directions closely and understand when it is okay to touch your golf club again.
How to Apply Epoxy to Golf Clubs

Now that you know a bit more about golf club epoxy, it is a good idea to understand how to apply it.
This is a simple guide which will give you an overview, but you should closely follow any directions included with the actual epoxy you are using.
Step 1: Prepare the Surface
Before you can apply epoxy, you must prepare the surface.
You cannot put new epoxy over old epoxy.
This will cause issues with the epoxy, and it will potentially never cure.
You also want to make sure you have a very clean area for bonding so that the connection is good and it holds up for the long term.
Remove any excess epoxy at the top of the clubhead and on the bottom of the shaft as well.
You should be putting two clean surfaces together.
Sometimes this could require a bit of heat to be added to the golf club, and other times, it could be something that sandpaper will take care of.
Between a heat gun and sandpaper, you should be able to remove old epoxy, clean the surfaces, and then replace the epoxy.
Once your epoxy is off, use a solvent to clean the surfaces and let them dry completely before moving to the next step.
Step 2: Apply Epoxy
When you apply epoxy to a golf club, you are going to want to use a very small amount.
If you spill this epoxy all over the place, you are going to have a mess on your hands which can be difficult to clean up.
The fit may also not be nearly as secure if you use too much epoxy.
You have to remember, when you are applying epoxy to golf clubs, that you must get the club head on straight the first time.
You will not want to put your club head on crooked as it will be difficult to adjust after as the epoxy connects.
When you are applying epoxy to golf clubs, you will not need all that much.
Applying a drop to both the shaft and the club head will be almost enough.
Coating a golf club in epoxy is undoubtedly not necessary.
Step 3: Allow Time to Dry
Once your epoxy is in place and you have combined the club head with the club shaft, you will have to let it cure for the recommended period.
Keep the club in a room with a temperature between 70 and 90 degrees.
Don’t touch the club.
Just let it cure and set, as this will give you the greatest long-term hold.
We always recommend taking it slightly easy on a golf club after the 24-hour period.
You should try moving and twisting the clubhead in your hands before taking some shots with it.
This will allow you to ensure that the club head is in place and not about to fly off again as soon as you hit the range.
We highly recommend using the long cure epoxy when you can.
Can You Remove Epoxy from a Golf Club?

If your golf shaft breaks, you may be in a situation where you will need to remove epoxy from your golf club.
You will have to remove the broken part of the shaft so that you can put a new shaft in place.
As far as golf club repairs are concerned, this one can be a little more complicated.
You will want to use a heat gun to loosen the epoxy and remove the club head.
As the epoxy breaks down, you will start to see that you can move the club head around a bit easier and get it to come off.
This process can take a little while, and you have to be careful if you are working with a graphite shaft.
Graphite shafts tend to split or break if they are worked on too hard.
You won’t want more pieces to break and make this a bigger project for you.
Sometimes golf epoxy projects are worth it, and other times, it pays to have someone else come in and remove the epoxy for you.


Leave a Reply