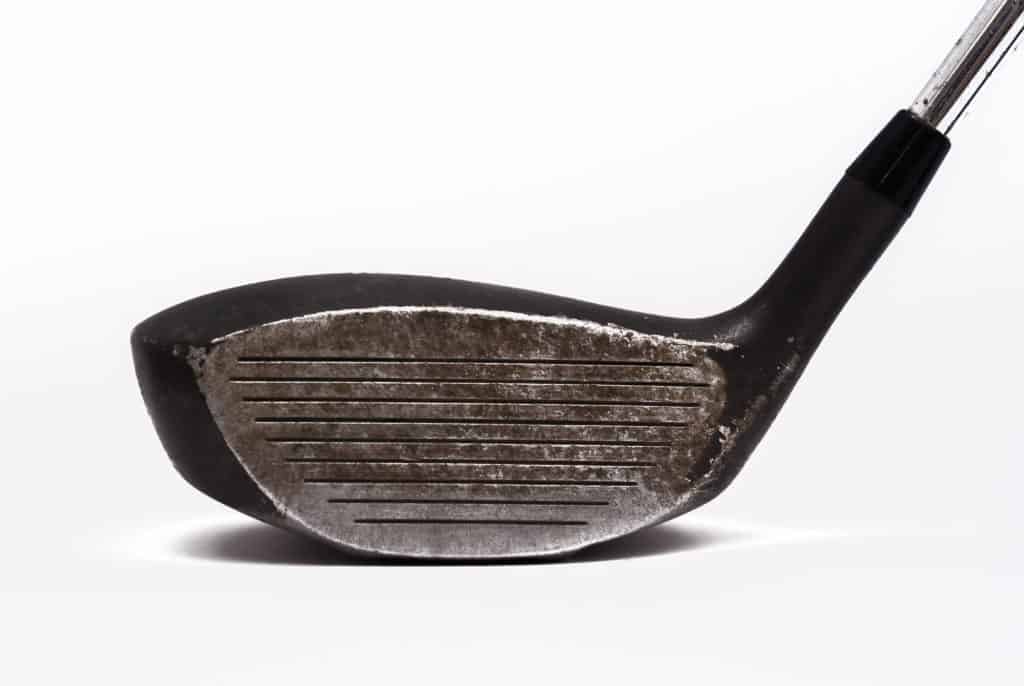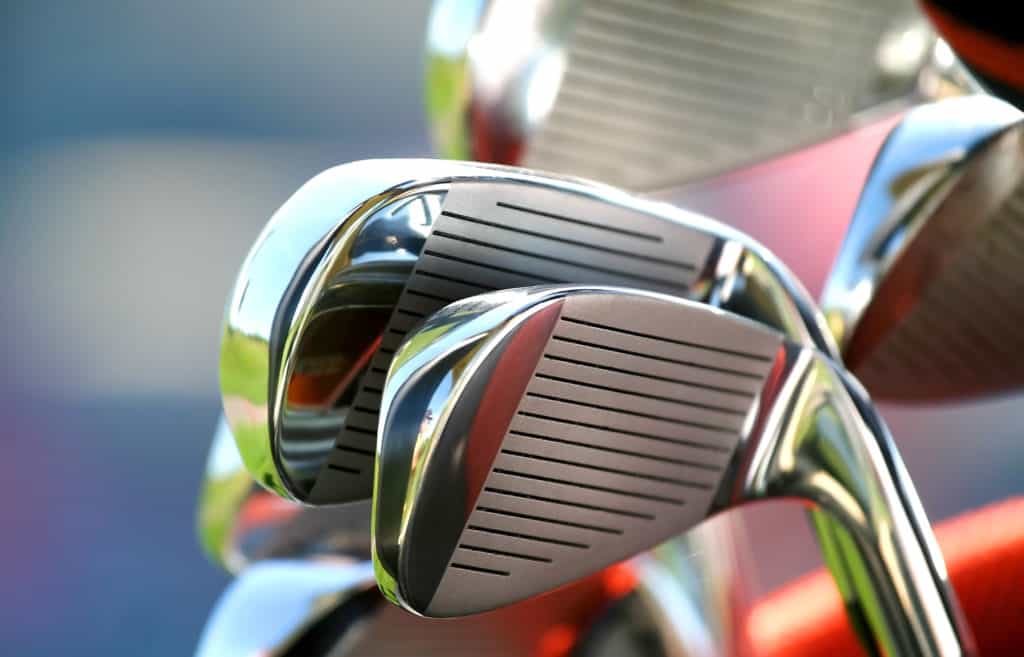
Golf club scratches can happen to anyone.
Sometimes it is a cause of improper treatment of a golf club.
Other times it just happens from a poor shot.
In this guide, we will give you some ways to remove scratches from your driver, and some great tips for preventing them as well.
Table Of Contents
How To Remove Sky Marks From A Driver

The most common mark on a golf club that people want to remove is a sky mark on a driver.
A sky mark happens when you hit entirely under the ball.
The ball gets hit off the top of the driver and usually travels straight up and straight down.
You may hear these shots referred to as pop-ups.
It’s terrible feeling golf shot to hit, and it’s only made worse when you look down and see the damage that you have done to your golf club.
With drivers costing almost as much as a mortgage payment these days, it’s terrible to look down and see this kind of damage.
The good news is that a sky mark usually has little to no effect on how the golf club performs.
It is more of an issue with visual aesthetics.
Here is the best possible way to fix a sky mark on your driver.
Step 1
Clean your driver thoroughly.
Do the best you can to clean the sky mark off as much as possible with a microfiber towel, some soap, and water.
While you are at it, clean the entire club head of the driver.
While you are going through this process, you are going to want your club to be immaculate and free of any debris.
Step 2
Now that your driver is clean, you are going to want to dry it and apply some painters tape.
Use painters tape to surround the area where the sky mark occurred.
Step 3
You can now take your paint and apply it to the area.
The paints that work best include model car paint, automobile paint, and sometimes you can find a paint designed for golf club touch up.
Most of the Drivers have a black top to them, but as times change, the shade of black can be from a gray to metallic color.
As long as you get something relatively close, it’s going to look a lot better than the current sky mark.
Don’t use any more paint than you need to, and don’t attempt to paint the entire top of the driver.
You may end up throwing off the weighting or performance of your club if you start covering it in the paint.
Step 4
After you have applied a minimal amount of paint to your driver, allow it to dry.
Your driver should dry for as long as the paint requires.
Most of the time, we recommend at least 4-24 hours.
When the paint is dry, you can remove the painter’s tape.
If the paint is not even with the finish on your driver, you can use very light sandpaper to try and smooth it out.
Some people soak the sandpaper in water first, so it does not cause any additional damage to your golf club.
You will not want to use a lot of pressure when applying the sandpaper.
How To Fix Scratches On A Driver

Fixing a scratch on your driver will depend primarily on where the scratch is.
If the scratch is on the clubface, you do not want to mess with it.
Do the best you can to clean the area and have a local professional take a look at the scratch.
A scratch on the actual face can sometimes not be an issue, but most of the time, it is.
The clubface of your driver is the most critical area to protect.
If the scratch is very thin and not deep into the face, you may be fine to continue using your club.
If the scratch is on the top of your driver or any painted area of the club, you can follow these steps to fix it.
Step 1
You must thoroughly clean your driver.
Do not just clean the area where the scratch is, make sure you clean it thoroughly.
Use a microfiber cloth, warm water, and soap.
Scrub with a moderate amount of pressure to make sure the clubhead comes clean.
Step 2
This is potentially the most important part of this project if you want it to turn out correctly.
Use painters tape to protect the clubface and any other areas that surround the scratch.
If the scratch is on the top of the club, make sure the clubface is still protected.
The less area of your club that you have to paint, the better off you are.
You do not want to repaint the entire club.
Step 3
Now that you have the scratch isolated, you are going to want to apply the paint.
Using a foam brush is usually the best way to apply paint.
As far as the paint that you may need, the color will vary based on the location of the golf club.
Sometimes you can reach out to a manufacturer and see if they sell touch-up paint.
Otherwise, we suggest going to a craft store and looking for something that would be used on a model car.
There will be plenty of colors to choose from, and you shouldn’t have trouble finding a close match.
Step 4
After you apply the paint, allow it to dry for quite some time.
When the paint is dry, you can remove all of the painters tape.
Step 5
Now that your painting project is complete, it’s time to see how the driver looks.
Does the paint stand out too much?
If you want to try and get a perfectly smooth finish, you can get a 600 grit sandpaper and soak it in water.
When the sandpaper has been soaked in water for fifteen minutes, pull it out.
You can use the sandpaper to sand down the area where you put the paint on the driver.
Be very aware when you are sanding that you are not unnecessarily damaging other areas of the golf club.
You will not always need to sand a driver after repairing it; sometimes, it comes out completely fine with just the paint job.
How To Remove Tee Marks From A Driver

If you have tee marks on the bottom of your driver or the clubface of your driver, they should come off quickly.
Most of the time, it is just the paint from the tee that ends up on your club.
Take a bucket of warm water and soap and grab a microfiber cleaning cloth.
Spend some time cleaning the bottom and the face of the club, and it should come off.
Try not to use abrasive cleaners as you don’t want to damage the face of your club.
Also, never use a brush to clean your driver as it could result in even more scratches to deal with.
How To Remove Scratches From Iron Golf Clubs

Depending on how deep the scratch is on your golf iron, it may be difficult to remove.
The good news is that most of the time, a scratch (especially on the bottom of the club) is going to have minimal effect on how the golf club performs.
Still, if you want to try and get your golf irons looking better, this is the best procedure to follow.
Make sure not to try this process on a black clubhead.
Step 1
Clean your golf iron head thoroughly.
Use soap and water and a microfiber cleaning cloth.
If you have a plastic brush that you can use to clean the grooves and get any dirt off, you should use it.
Once your iron head is clean, let it dry for one hour.
Step 2
Now that the iron is dry, use painters tape to cover the face and anything painted on the clubhead.
Try and keep the scratch on the sole as the only exposed area.
You have to be very careful to protect your clubface, leaving it exposed can damage grooves.
Step 3
Use a 220 Grit Sandpaper that you have soaked in water for 15 minutes.
You must not use any old sandpaper you have around your house as you will end up creating more scratches.
Buff out the scratches.
Once you have worked on the scratches, take some 400 grit sandpaper and soak that in water.
When the 400 grit has soaked for 15 minutes, it is now ready to use to buff again.
This will help smooth out the area.
Step 4
Let the club dry, remove the painter’s tape and see if this process worked to get the scratches out.
Sometimes if the scratch is too deep, there will not be much you can do.
Again, if the scratch does not reside on your clubface and it is just a mark on the bottom of the club, it most likely will not affect your play.
How To Fix A Scratched Graphite Golf Shaft

Unfortunately, graphite golf shafts are subject to scratches, just like club heads are.
There is not much you can do about a scratch on a graphite shaft.
If you can wipe it down with a wet cloth, it may just be a mark or a paint transfer from another club or shaft.
If you can see the actual scratch, you may have a more significant problem on your hands.
If the scratch is just superficial and it does not affect the integrity of the golf club, keep swinging away.
If, however, the scratch seems to extend down into the shaft, you will probably find that your shaft needs to be replaced.
A scratch in a graphite shaft will end up becoming a weak point, and the next time you hit a shot just a tiny bit off, the shaft will likely break.
Broken graphite shafts can be quite dangerous, so if you notice a deeper scratch, it is probably worth having the shaft replaced before it breaks.
How Can I Protect My Golf Clubs From Scratches?

Here are a few critical tips to protecting your golf clubs from getting scratches.
- Always use headcovers on your clubs
- Make sure your clubs are appropriately protected in your bag
- Store your golf clubs in a safe location where your golf bag cannot fall over
- Don’t hit a golf ball off a cart path or a tree root
- Don’t tee a golf ball excessively high
- Be aware when you are putting your clubs down or leaning on them that it is not on a surface that they could get damaged
Final Thoughts
The majority of scratches and scuffs on golf clubs do not affect the performance of the club.
If you are unsure about doing more damage to your club, have a professional work on the club for you.
If you have any concerns about damaging or scratching other areas of the golf club, make sure you protect it well with painters tape.
If you find that the scratch on your club is not visually appealing, but it doesn’t affect the performance, you may just want to leave it and start following better practices to keep it from happening again.


Leave a Reply