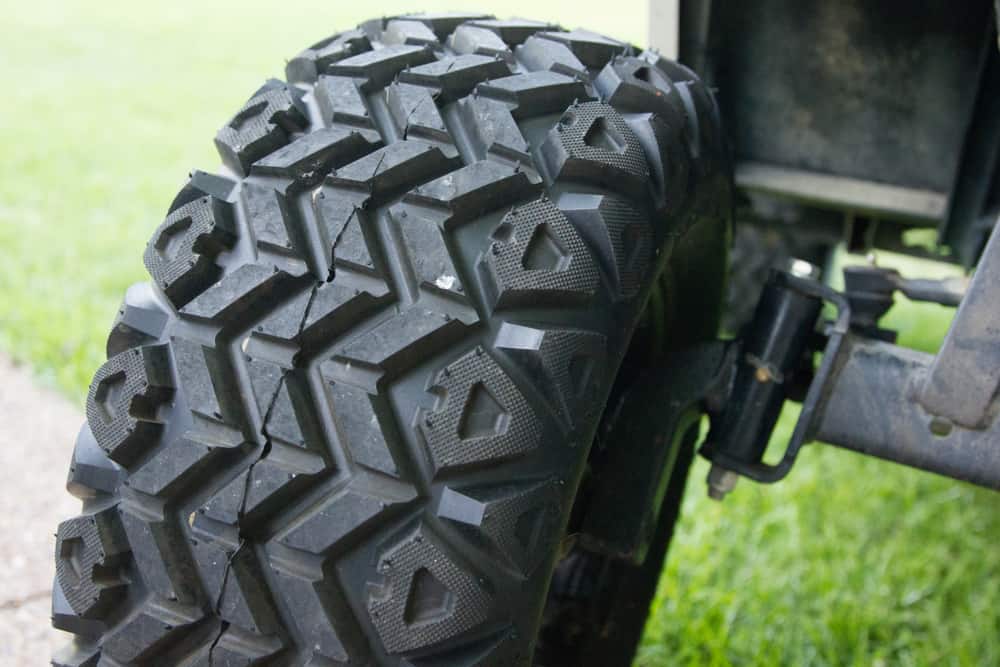
Golf cart tires are one of the most critical parts of your golf cart’s operation, but they can end up becoming unbalanced after a few years of operation.
When this happens, your cart may end up operating poorly or driving erratically and could even result in the cart getting severely damaged in unexpected ways.
As a result, it is critical for cart owners to understand whether or not they can balance their cart tires and, if they can, the steps to take to get it done.
The following information will help to make this process easier for you and other cart owners to handle with minimal issues.
Can Golf Cart Tires Be Balanced?
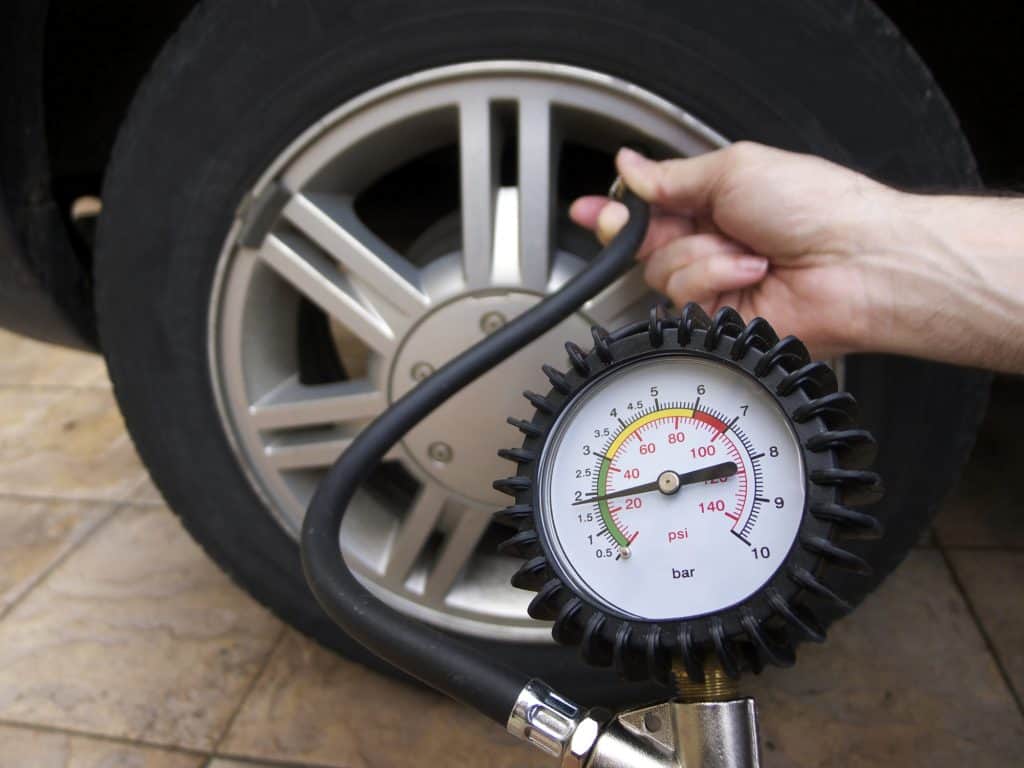
Yes, it is very possible to balance your golf cart tires to make them stronger and more secure and avoid wearing them down over time.
Most of the time, it is probably best to have a mechanic balance your golf cart tires for you to avoid any potential issues.
However, there are many scenarios in which you can perform this step on your own, depending on how comfortable you feel with cart mechanics.
Some people may prefer this approach because it can save them a lot of money on their mechanic bill and give them the chance to work on their own cart.
Others like the chance to personalize their cart and make it stronger and more capable, which is possible with this process.
However, you need to make sure you have had some experience with cart maintenance before because you’ll be working hands-on with various types of elements.
If you make a mistake when you are aligning and balancing your cart’s wheels, there is a good chance that you could end up making the situation worse.
Then, you’ll have to reach out to a professional mechanic after all and get their help, a moment which is always a little embarrassing.
Before you start, you need to ask yourself a handful of questions to make sure that you are ready for this process.
First of all, do you feel comfortable jacking up a cart, handling various tools, getting your hands greasy, and making precision adjustments?
Next, do you feel like you have the strength to remove a wheel, carry it around, and handle other steps similar to these?
Furthermore, do you feel comfortable with your capabilities and believe that you won’t make any mistakes, such as poor wheel alignment?
Lastly, are you ready to pay for professionals to do repairs that may end up costing more than if you’d just had somebody balance your wheels in the first place?
If you answered yes to all or even most of these questions, you may be capable of balancing your wheels without expert help.
Just know that you’re going to be on your own in this scenario and will have to rely on your wits and the steps below to balance your cart’s wheels.
Note: These steps should work for just about all cart models and manufacturers on the market, thankfully.
If you notice any issues that make these steps incompatible with your cart, you should speak to a mechanic right away or contact the manufacturer for help.
How to Balance Tires
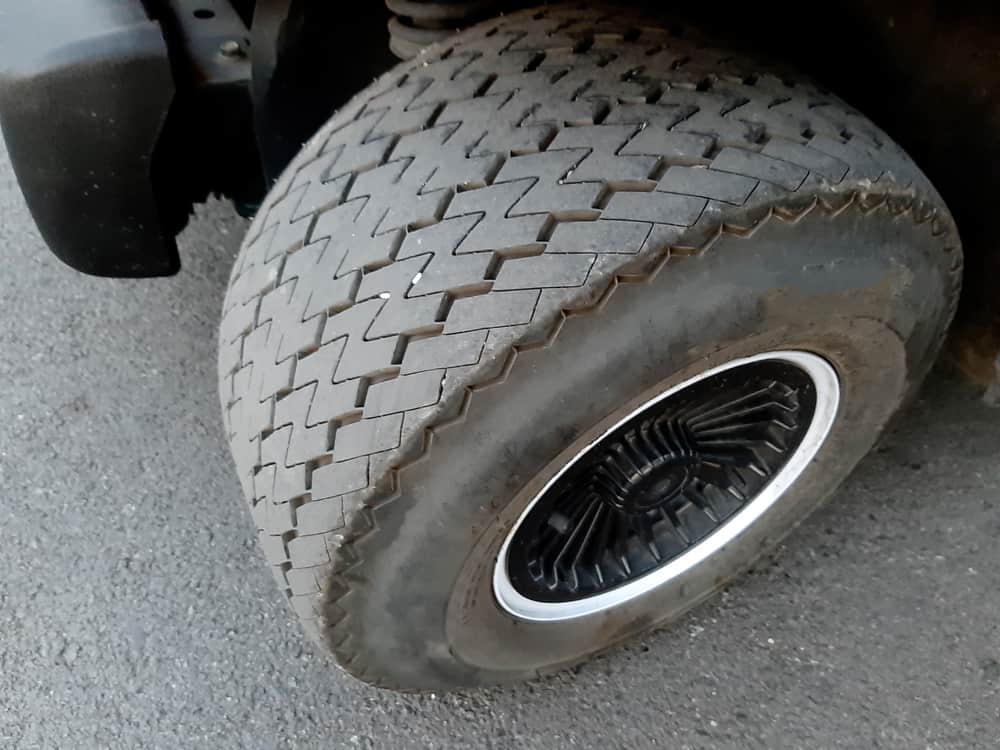
Balancing your tires will require a handful of different steps, each of which will require a careful approach and specialized consideration of this situation.
Make sure that you feel fully comfortable, as we’ve said before, before you attempt this long and involved process.
Read through all of these steps a few times to get a feel for what to expect and make sure that anybody who works with you fully understands them as well.
You may want to print them out for reference as you work and hand out a few copies to make this process simpler for all involved parties.
Step One: Preparing Your Golf Cart

The first thing you need to do before you start balancing your tires is to prepare your cart for this process.
Start by figuring out if your tires need to be balanced in the first place by placing a straight flat-edged object, like a ruler, on the ground against the side of your front driver’s side wheel.
Make sure that the wheel is turned straight to ensure that it is easier to work on it and to make it easier to gauge its level.
Place your level against the front side of the tire and adjust it until it is level, not necessarily against the tire but until it is straight on the ground.
If you see a gap between the level and your tire, there is likely a problem with the heim joints on your cart.
You will need to adjust these later, which we will get to in later steps, as it can be a quite involved process even for professional mechanics.
There are also a handful of other diagnostic steps we’ll perform later, too, which will help to gauge how far out of balance your tires are at the moment.
For now, it is best to take your cart and place it somewhere that will be easy for you to work, such as in a sealed garage with a door and windows that you can close.
You need to work on level ground and will need a jack and a handful of other tire-working tools to ensure that you can properly adjust your wheels.
You may also want a second worker in the garage with you to help with some of the more difficult steps and other elements.
A secondary worker can also help to protect you if your cart ends up falling off your jack while you are underneath of it and trapping you.
This situation is no laughing matter and, if you aren’t careful, could kill you or at least cause serious injuries.
Thankfully, a secondary worker can help to avoid this problem and ensure that you are safe.
This person can also keep you company, get some drinks, and prevent boredom during what can be a long job.
Just how long will this process take you?
That all depends on how badly your tires are out of balance.
It will also depend on how good you are at this type of repair.
In a best-case scenario, you could possibly be done in about one or two hours and have time to enjoy the rest of your day.
However, you could find yourself working most of an afternoon or even having to take a break for another day.
Don’t push yourself too hard in this situation or you might end up getting fatigued and making mistakes which could affect your cart’s value.
Step Two: Adjusting the Heim Joints
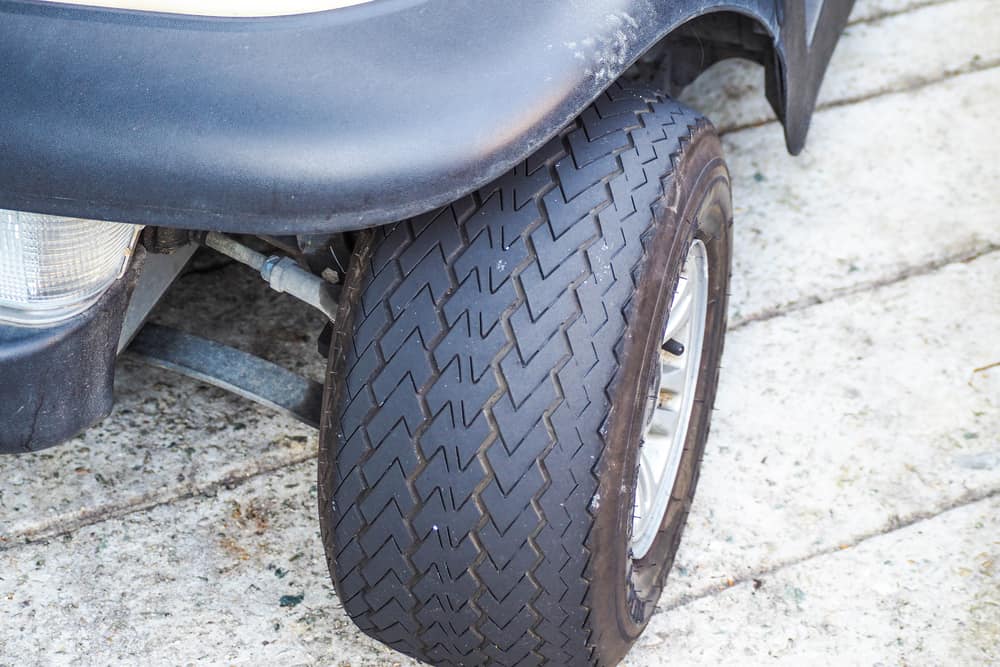
Jack up your cart on the flat surface of your garage floor and get it off the floor enough that you can get easier access to the cart’s camber.
Look for a nut on the inside of the lower control arm on your cart, the arm that connects your cart’s wheel to the axis.
This nut is the bottom heim joint and can be loosened to change up the position of your tires, as needed, to get them back into proper alignment.
Loosen up the nut on the front driver’s side wheel without removing it; it should be loose enough that you can safely adjust your tire and nothing more.
If the top is closer to the frame, carefully tap the bottom of the tire with a hammer or your foot to move it towards the center of your cart’s frame.
If the bottom is closer to the frame, instead, nudge the top of the tire using the same simple tapping method.
Lower your cart and recheck the tire using the same method as before to see if this process helped get the tire back in place.
If not, lift it again and find the second heim joint on the spindle of your cart on the front driver’s side and loosen it and perform the same type of adjustment.
When you finally finish this process, tighten up all of the nuts and then repeat the process on the front passenger side wheel.
Step Three: Balancing the Wheels Together
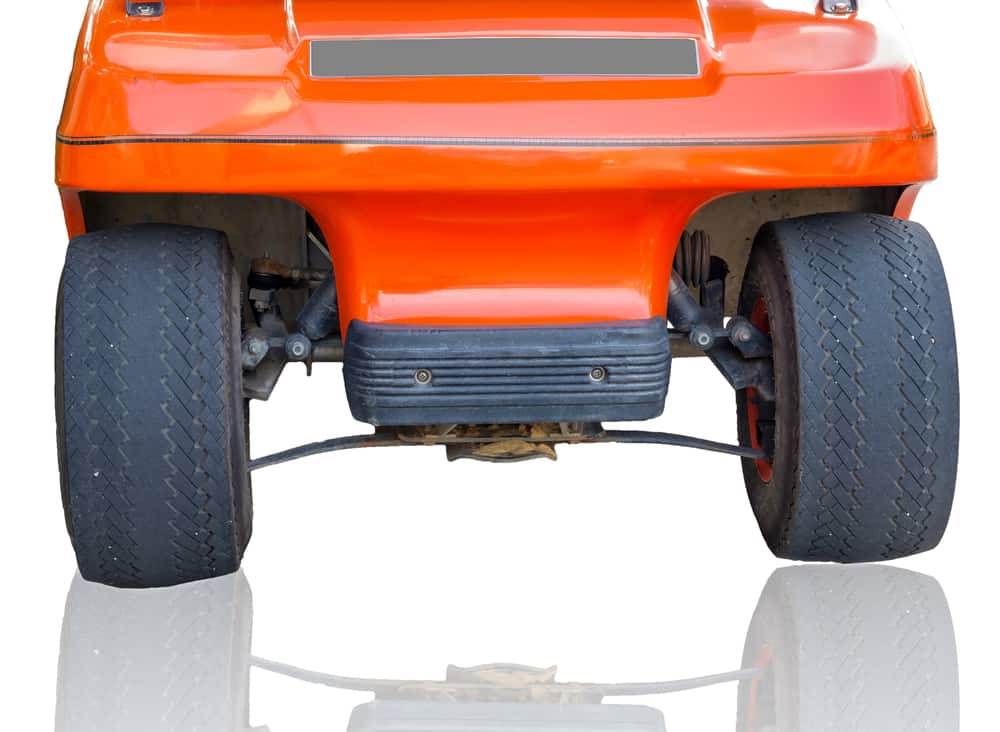
The second step in this process is necessary for creating a reference for your total wheel alignment.
After you have the wheels forward and straight, you can adjust their distance.
Start out by measuring the distance across the front of the insides of the two front tires, picking a spot that is as close to the front as possible.
Write down this measurement and then, getting underneath the cart, take the same measurement at the rear end of the front tires.
Compare these two measurements and see if you have between one-eighth to one-quarter of an inch difference between the front to the back of the cart wheels.
If you are already within this range, then you can stop right now and perform these steps on the rear wheels of your cart to balance them.
However, if the difference is much higher between the front and the back measurements, it is important to adjust them properly.
Start by finding the tie rod on the driver’s side wheel and carefully adjusting the rod as necessary to change the wheel’s position.
Turn it to the rear of the cart to turn your tire slightly inward and turn the rod out to turn the wheel outward for more of a balance.
Perform this adjustment carefully and check the measurements regularly until you find that your wheels are properly aligned.
Now, you can tighten up the tie rod again, jack down the cart, and roll it 20 feet to see if the alignment goes out.
Measure the distance to see if it stays the same.
If it does not stay consistent, adjust the measurement again, as needed, until your test works.
You can then perform this test on your rear wheels, if necessary, to keep them aligned and strong for years to come.
You typically need to balance your tires in this way if your cart is an all-wheel drive or if you notice that your rear wheels are out of alignment.
Typically, you’ll mostly see this problem with the front of your wheels and adjustments here should be more than enough to keep your cart aligned.
Note: While you are under the cart, you may want to check any moving objects to see if they are fully greased and oiled.
If you notice anything is dry or doesn’t seem fully lubricated, add the proper type of oil or grease directly to their surface.
If you aren’t sure what type of grease or oil is right, check your owner’s manual, as this should give you an idea of the maintenance steps necessary for your cart, which may vary depending on your cart and its year of manufacture.


Leave a Reply