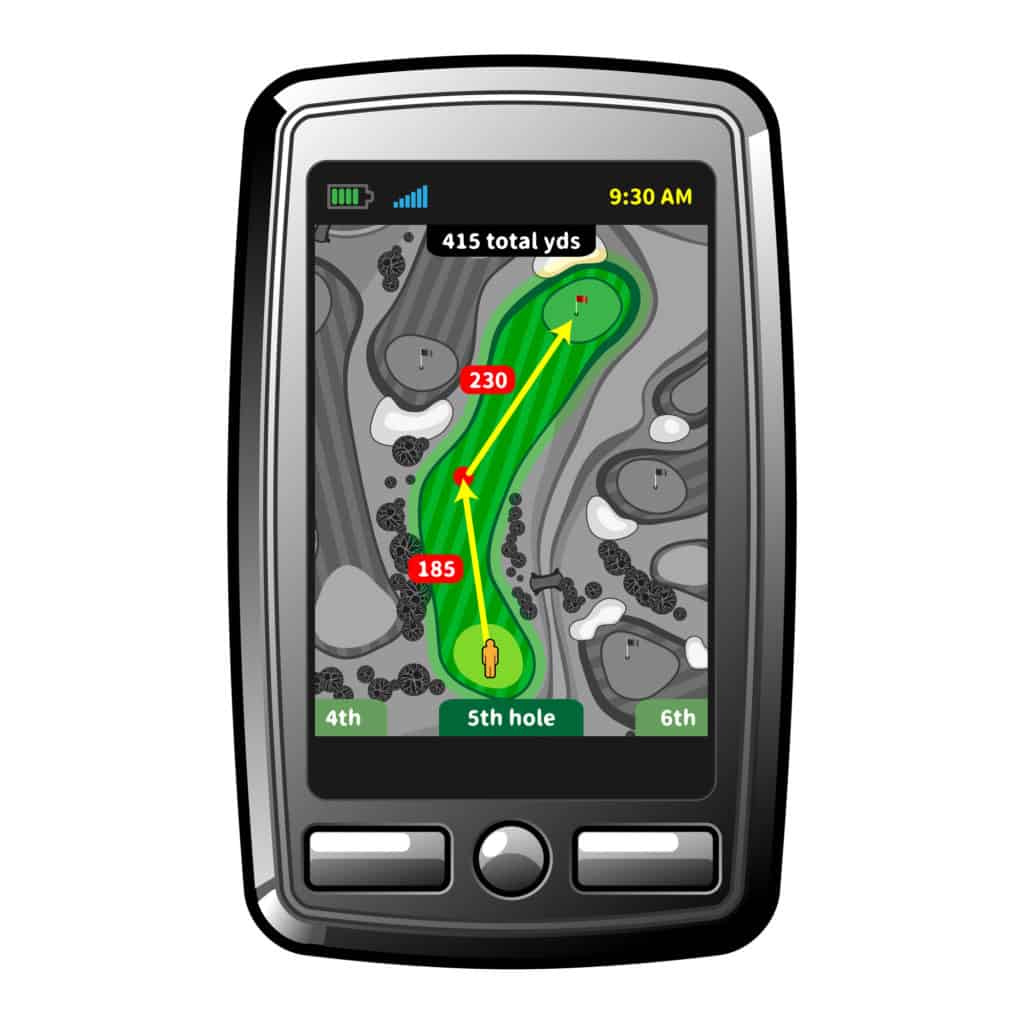
If you have been thinking of adding a Rangefinder to your golf technology, it is a great choice.
Rangefinders can help any level golfer be more accurate and precise with their game.
There is no better way to get the exact yardage of a pin than using a rangefinder.
There are many types of rangefinders available, but we will give you the necessary steps as to how to use a standard golf rangefinder.
How To Use A Golf RangeFinder (Step-by-Step Guide)
Since there are two basic types of rangefinders used in golf, the Laser, and the GPS, we will break down how to use each one separately.
Although some of the steps will be the same, there are some differences to be aware of to ensure accuracy.
Laser Golf Rangefinder- Step By Step Guide
Step 1: Clean
It is essential to keep your laser rangefinder in a clean and dry location.
Leaving this device in the trunk of your car is not a great idea as the extreme heat can cause some issues.
The same goes for your golf clubs, try to store everything in a temperature-controlled environment.
When you take your rangefinder out to use, wipe down the lens with a cleaning cloth.
Most rangefinders will come with one when you purchase them.
Step 2: Power
Once you have your rangefinder clean and ready to go, you need to power it on.
This is also an excellent time to check the battery on your laser rangefinder.
Most laser rangefinders are not chargeable and will need batteries to operate.
If yours is running low, it’s essential to have another in the golf bag.
Step 3: Mode
Depending on the laser rangefinder that you own, there may be several modes of operation.
The slope mode is going to give you yardage that adjusts for elevation changes.
Without the slope mode, you would have to make those adjustments manually.
Think about a golf green that is twenty feet higher than where you are standing.
A typical rangefinder without slope may give you a yardage of 150 yards.
With the slope setting on, the yardage could end up being 170 yards.
The slope is not legal to use in tournament play.
Make sure that you know whether or not the slope is on and that you can quickly turn it on and off on your unit.
Once you have your mode of play selected, you can move to the next step.
Step 4: Aim
The hardest part of using a laser rangefinder is making sure that you line it up with the proper target.
If you are trying to get a pin, but there happens to be a building or a flag pole behind the green, sometimes your yardage will be off.
Some rangefinders have a pin seeker technology.
This allows them to look for the golf hole, and it usually picks it up with ease.
If your rangefinder does not have pin seeker technology, then you will need to use a steady hand to focus in on the target that you need yardage for.
Once you have your target in view, then you can press the button on our rangefinder, letting it know you want yardage.
The rangefinder picks the object you are focused on and gives you a number.
When the slope is turned off, this number will be the exact distance to the object with no adjustments for elevation.
If you have a shaky hand or trouble with the vision, you are better off buying a higher-end range finder with pin seeker technology.
It will eliminate some of the work for you and help you get more accurate yardage.
Step 5: Activate
Most rangefinders will require you to press a button to activate the yardage.
Some will work if you just hold the rangefinder over the pin for a few seconds.
The yardage will automatically pop up.
Some people like getting the auto yardage, and others want to press the button and get the result.
Most of the time, the result will come within seconds.
Step 6: Evaluate Yardage
As with any technological device, there is always room for error.
If you are standing hundreds of yards from a green and your rangefinder says its 80 yards to the pin, that is a mistake.
In general, a laser rangefinder is very accurate.
Within a yard or two, you should be getting exact yardage.
The problem with laser rangefinder is when you are zeroed in on the wrong target.
If, for some reason, you catch the edge of a bunker instead of the pin, it may skew your numbers.
Some golf courses are putting devices on flagsticks that help them stand out to your rangefinder and get you a more accurate and faster result.
How To Use A Rangefinder Video Example
GPS Golf Rangefinder- Step by Step Guide
Step 1: Power On
A GPS Golf rangefinder is a bit different than a laser golf rangefinder.
You will not have to search for the pin or hold the GPS Golf Rangefinder to your eye to get a yardage.
The GPS Rangefinder uses satelites to determine your yardages.
Although the GPS rangefinder can be a little easier to use, they do not give you exact distances to a pin.
With this device, you will get a number to the center of the green only, the front of the green, and the back of the green.
The first step to playing a round with your GPS golf rangefinder is to power it on.
Step 2: Check Charge
Once you have your GPS on, make sure that it has a charge.
Most GPS rangefinders can last for one to three rounds of golf.
If you have been playing a lot of golf lately and not charging in between rounds, you will be left without yardages.
Depending on which GPS you have, it could take a few hours to charge the unit.
Step 3: Load Golf Course
Once your GPS is charged up and ready to go, you must make sure that the golf course you are playing is loaded on your GPS.
Most of these units come with tends of thousands of golf courses already loaded on the device.
If the golf course you are playing is not already on the device, then you can download it before you head to the golf course.
Most of the time, this will be free to do, and the golf course will save and be stored on your GPS for future rounds.
Step 4: Initiate Start of Play
Some GPS units have an auto hole and auto course recognition.
This means when you get to the first hole; your GPS will not only know what golf course you are playing but also what tee box you are on.
With this capability as you move along the golf course, the GPS will switch from one hole to the next and always know where you are.
If your GPS does not come with this auto hole recognition, you may have to alert it to the fact that you are moving to the next hole.
Without doing this, the unit may say you have 25 yards to Hole Number 1 when you are standing on the tee box of hole two.
Step 5: Explore Features and Functions
Most people purchase a GPS unit because they want simple yardage to the center of the green without having to do much work.
Although this device can give you this information, there are usually quite a few other features included.
For instance, you should be able to see a flyover of the entire hole.
You may get to check for unknown bunkers or water hazards.
There could be a sand trap on the right side of the green that you can’t see from your approach shot.
Using the GPS course map or flyover to view these things is a great choice.
You may also get a map of each green.
The maps could show if the green has more than one tier or if it is sloped in any way.
This information can help you adjust the yardages just a bit.
It is also essential to pay attention to the flag location when you are looking at a green.
If you see the flag is at the very front of the green, make sure you choose the proper yardage displayed on your golf GPS.
Step 6: Stat Tracking?
Since your GPS essentially follows you around the golf course, many of them come with stat tracking options.
The stat tracking allows you to keep track of your fairways hit, greens in regulation, putts, etc.
Although this can be done on a scorecard manually, some of it will be picked up automatically with your GPS unit.
This is a very nice feature for people who are working on improving their game and looking to lower their scores.
The more information you have about what causes your good and bad rounds, the better.
If you know that when you miss a green, you bogey every time, you may need to work on your chipping.
The skills of getting the ball up and down could make all the difference in your score.
The GPS units tend to offer more features overall than the Laser, but it will come down to preference when you decide to purchase one over the other.
How do you use a rangefinder on a golf scope?

Some people will call a golf rangefinder a golf scope.
You may also hear it referred to as an optical rangefinder or a GPS rangefinder.
Some people will call a rangefinder just by the brand that they purchased, so somebody may say that they will use their “bushnell.”
Most of the time, a golf scope is an optical range finder.
The optical range finder does not use laser technology.
Instead, it will give you a scale.
When you look inside the scope, you will see this scale, and you can estimate the distance that you have to the hole.
These are priced lower than laser or GPS units, but they are not as accurate.
Where should I aim My golf rangefinder?

Where you aim your rangefinder will depend on the yardage you are trying to get.
If you are looking to get the pin, then you must aim directly at the pin.
You will have to make sure that your view of the golf hole is unobstructed.
If you happen to have a golf cart or other obstructions in your way, it can be harder to get the pin to show accurate yardage.
Having a great balance in your hand and keeping steady while looking through your rangefinder will help your aim.
How does an optical golf rangefinder work?

An optical rangefinder is not as typical in today’s golf world as the GPS and Laser.
The pricing on the GPS and Laser has decreased; people are finding less need for the Optical.
An optical rangefinder is mostly a scope that you can look through and determine your yardage.
There will be a yardage guide when you look through the scope.
There are no lasers used when using an optical rangefinder.
The problem with these types of rangefinders is that they are not very accurate.
You mostly have to take an educated guess as to what the distance is.
For some less accurate sports, an optical rangefinder could work very well, but the difference between a yard or two in golf is very significant.
How do you use a monocular rangefinder?

A monocular rangefinder is just like an optical range finder.
When you look through the scope, you will have to estimate your own yardage.
Sometimes people will call the rangefinders that look more like a tube with a single hole a monocular rangefinder.
How far can a rangefinder see?

How far a rangefinder can see will depend on how accurate it is.
Some of the costly high-end models can see more than four hundred yards.
Some rangefinders will be able to see for very long distances but only give you yardage for less than three hundred yards.
Rarely, a golfer will need yardage for more than 350 yards.
If you have less than 350 yards to hole chances are you can figure out what you need as far as how to play that hole and manage the golf course.
How accurate is a rangefinder?

A golf rangefinder is much more accurate that pacing out your yardages.
A golf rangefinder with slope is going to be the most accurate, but it is not legal for tournament play.
The GPS rangefinders are accurate to the center of the green, but you will need to make adjustments to the yardage to make it specific to the pin.
When you think about all the room for error when it comes to pacing out yardages and guessing about pin locations, the rangefinder is very accurate.
Most higher-end models claim to be accurate within a yard.
This is excellent accuracy and will make a difference in your golf game.
Conclusion
Using a golf rangefinder is not hard.
Making sure you take proper care of your unit and keep it in great shape, so it stays accurate for years is very important.
If you find that a laser rangefinder is hard for you to get accurate numbers, then the GPS is always a good option as well.
Find something that works well for your game and your budget.



Leave a Reply