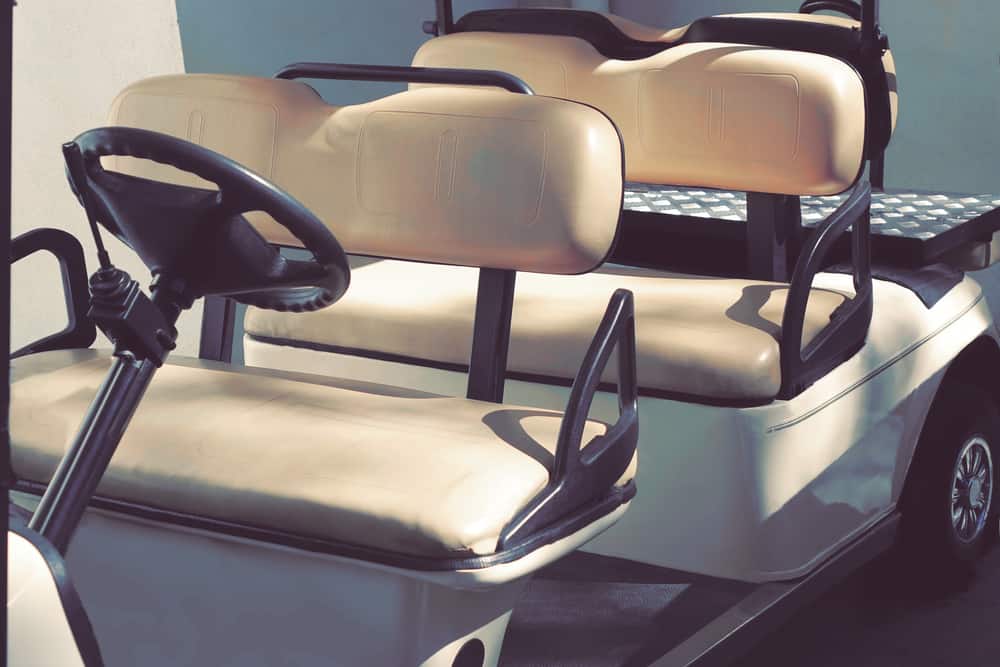
Are your golf cart seats starting to look a little worn out or have cracks on their surface that you’re sick of having to look at every time you get on your cart?
Then you may want to seriously consider taking the time to learn how to upholster your golf cart seats in a simple and streamlined manner for your needs.
Though this process may seem like it would be a complex one that you initially may not feel comfortable performing, you might come to realize it is easier than you’d expect.
In this way, you can change up the look of your seats and get the strong and high-quality style and design that you deserve.
Don’t forget that these steps are simple enough for just about any cart owner to handle, as long as you follow them exactly.
Also, make sure that you research different types of materials and other elements that help to make your seats more attractive.
Thankfully, these steps can be followed whether you are trying to repair your seats and keep them strong or if you just want to make your seats look better with new upholstery designs.
How To Reupholster Golf Cart Seats
If you want to reupholster your golf cart seats, you need to understand a few basic steps that will help to make this process easier.
These steps include removing the seat from your cart, removing the fabric from the seat, carefully measuring the fabric you need to replace, cutting the fabric properly, and adding it to your cart seats.
The extra money is more than worth it if you’re worried about making any mistakes and want to ensure that you don’t run into any needless complications.
Step One: Gather The Materials And Tools You’ll Need

Before you start doing any steps in the upholstery process, you’ll need to buy a handful of materials and tools that will make this project easier.
The items that you need should be carefully chosen based on your golf cart and the various elements that affect its design.
Though the list below should be comprehensive enough for most projects, you may want to talk to a golf cart expert to ensure that you choose the best items.
Make sure you buy the items below or use tools or materials you already own but which you’ve never used to upholster a cart seat before:
- The Proper Fabric. The type of fabric that you purchase should be of the highest quality and specific to your golf cart’s needs. Many people suggest marine vinyl fabric for the best overall effect.
- The Best Thread. The thread that you’ll use for your golf cart seat reupholstering project should also vary according to your cart’s needs. The white polyester thread is probably the best choice for your needs.
- The Strongest Staples. You’re probably going to need high-quality staples throughout this process, so look for three-eighths-inch (10 mm) steel staples for the best level of protection.
- The Most Comfortable Underlining. You’re going to also need high-quality underlining that helps to make your seating more comfortable. Ask your cart dealer which would work best for your needs.
- The Most Accurate Ruler. Make sure that you purchase a clear ruler that allows you to measure out the various lengths and widths you’ll need for your fabric. A tape measure is also critical.
- The Strongest Tack and Staple Remover. If you already have a tack or staple remover you’ve used for other upholstery projects, you can reuse that one. Otherwise, you will need to buy a new one.
- The Best Collection of Upholstery Tools. Make sure that you have a comfortable grip rotary cutter, a high-quality sewing machine, a pair of scissors, a staple gun, a scratch awl, and needle nose pliers for this project.
How much money can you expect to pay for these items if you don’t own any of these materials or tools for this project?
That all depends on a handful of factors, but we anticipate you’ll probably spend anywhere from $200 to $300 (or more) if you’re buying everything new.
However, if you already own items like a tape measure, a ruler, needle nose pliers, a sewing machine, staple removers, or even marine vinyl fabric, you might find your costs decreasing significantly.
You can also cut back on your overall investment by buying used items or by going to thrift shops and seeking out inexpensive items.
However, make sure that you don’t skimp out on your fabric or the underlining, as these need to be strong and capable of withstanding weather damage as well as the wear and tear of being sat upon.
Talk to your cart dealer to find a place where you can purchase this fabric or seek out a dealer from which you can buy directly to ensure you get the best results.
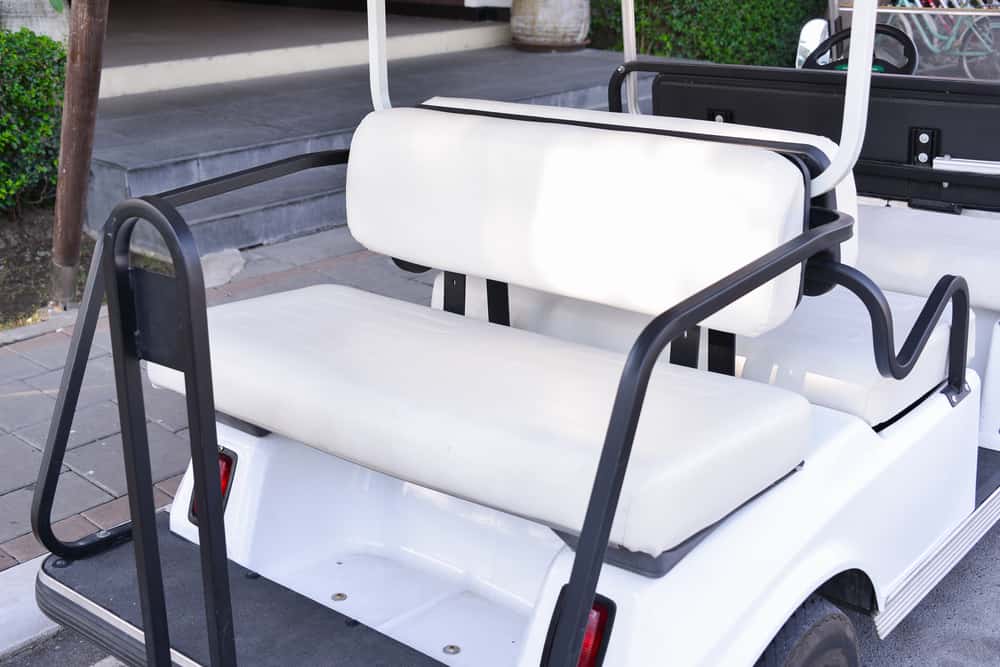
Step Two: Removing The Seats

Before you start upholstering your seats, you need to take them off of your cart and measure out the new fabric that you’ll be adding to the cart.
This process is surprisingly simple and doesn’t require a lot of specialized steps to ensure that you get the most out of it.
However, you will need to be careful and make sure that you follow each of the measures outlined below to ensure you do them right.
The steps that you’ll be following include the following (which may vary according to your cart design, so be prepared to take different steps as needed):
- Identify the screws holding your seat to the frame of your vehicle.
- Carefully use your screwdriver to remove the seats and the backrest.
- Place the screws and any other items (like washers) in a small container.
- Take the seats and the backrest off and set them to the side.
- Examine the fabric on the cart and place your new fabric on the seat.
- Trace the shape of the fabric along the seat of your cart.
- Cut the fabric and underlining out to get the overall shape and look that you want for your seats.
Take the new fabric that you just cut and place it to the side to ensure that it is out of the way while you perform the other steps.
At this point, you have done quite a bit to prepare your cart’s seats for their new upholstery, but you need to take other steps first.
These steps will be outlined below to ensure that you get the most accurate and high-quality look needed for your new seat design.
Step Three: Remove The Old Fabric

At this point, you should be just about ready to remove the old fabric from both your seats and the backrest before you begin your upholstery process.
This part of the project is one of the simplest and shouldn’t take a lot of specialized skill, just the following steps that most golf cart owners should handle with ease:
- Use the tack or staple remover to take out the old staples holding your fabric down.
- Carefully use the scratch awl to pull up the fabric away from the seat.
- Cut or trim away excess fabric using your needle nose pliers.
- Remove the fabric slowly and without excessive tugging to avoid damage to the seat.
- Check around the edges of the seat and the backrest for fabric that didn’t come off.
- Remove this fabric from the seat and continually check to get the best results.
- Carefully remove the old underlying material to prepare your seat further.
- Remove any extra staples you may find lingering in the seat fabric.
At this point, you should have a seat and backrest that are free of old and damaged fabric and without underlining as well.
It’s going to look a little sad at first, but you’re only a few steps away from adding the new fabric to your cart that will make it stand out.
Step Four: Adding The Upholstery

It is now time to add the upholstery to your seat, the step that is the most rewarding and fun for most golf cart owners:
- Wrap your seat and backrest with the underlining you cut out earlier.
- Make sure that the underlining is tight, and then staple it to the back of your seats.
- Pull the new fabric around the underlining and adjust it properly.
- Make sure that the new fabric is lined up in a way that makes sense for your cart’s design.
- Tightly wrap the fabric around each of the seats and cut away excess amounts.
- Staple the fabric to the seat, spacing the staples out evenly to make it hold.
- Use at least 30 to 40 staples on each seat, depending on the size of the cart seat.
- Make sure to keep the fabric taut as you staple to keep it from coming loose.
At this point, your upholstery should be strong enough for you to ride your cart, so go ahead and jump on and take it for a test drive.


Leave a Reply
You must be logged in to post a comment.