
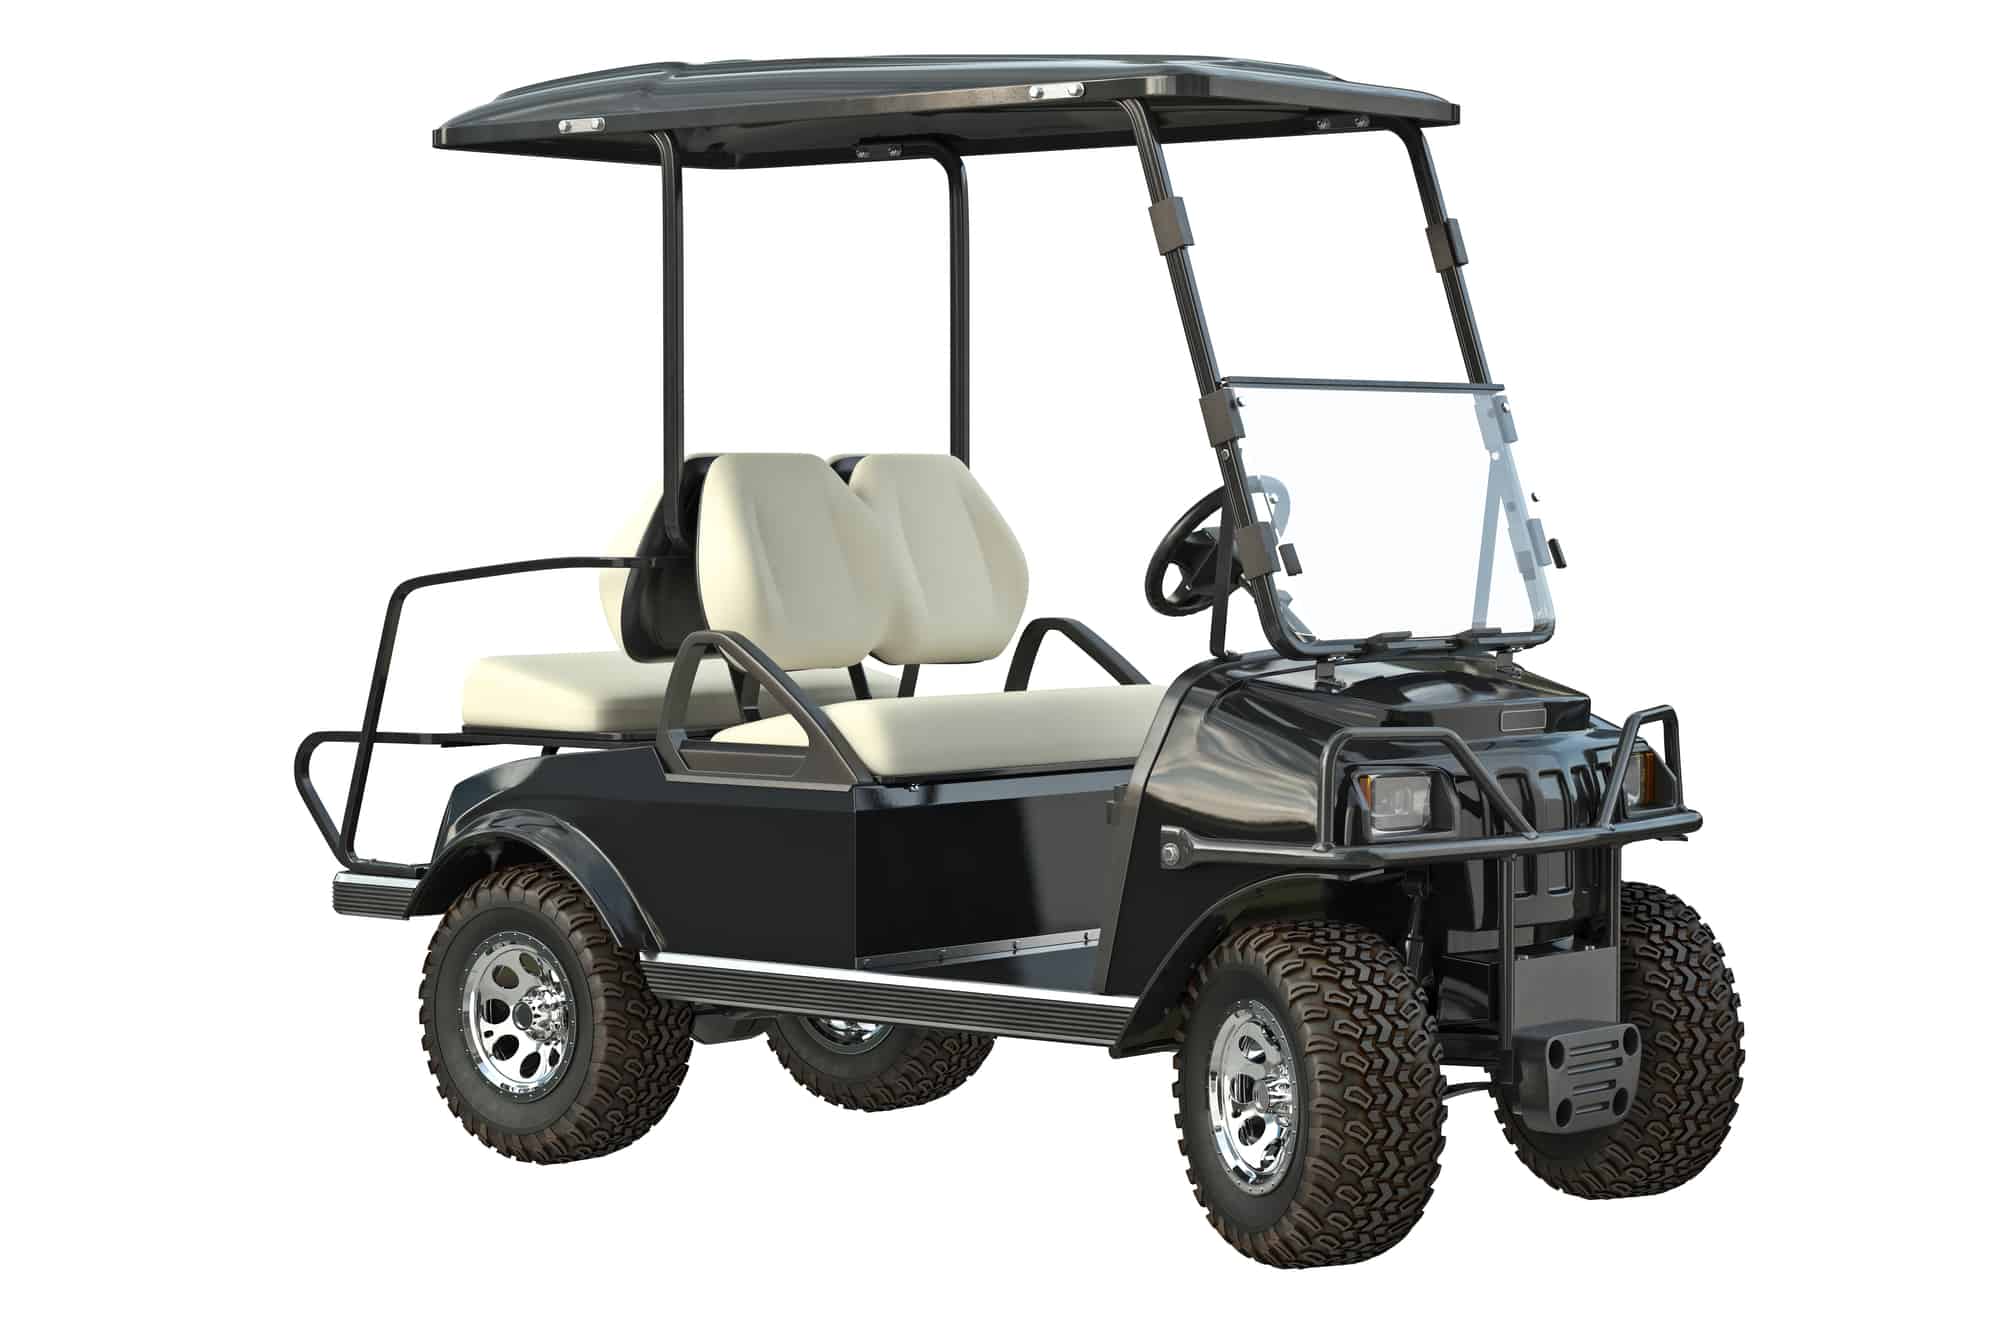
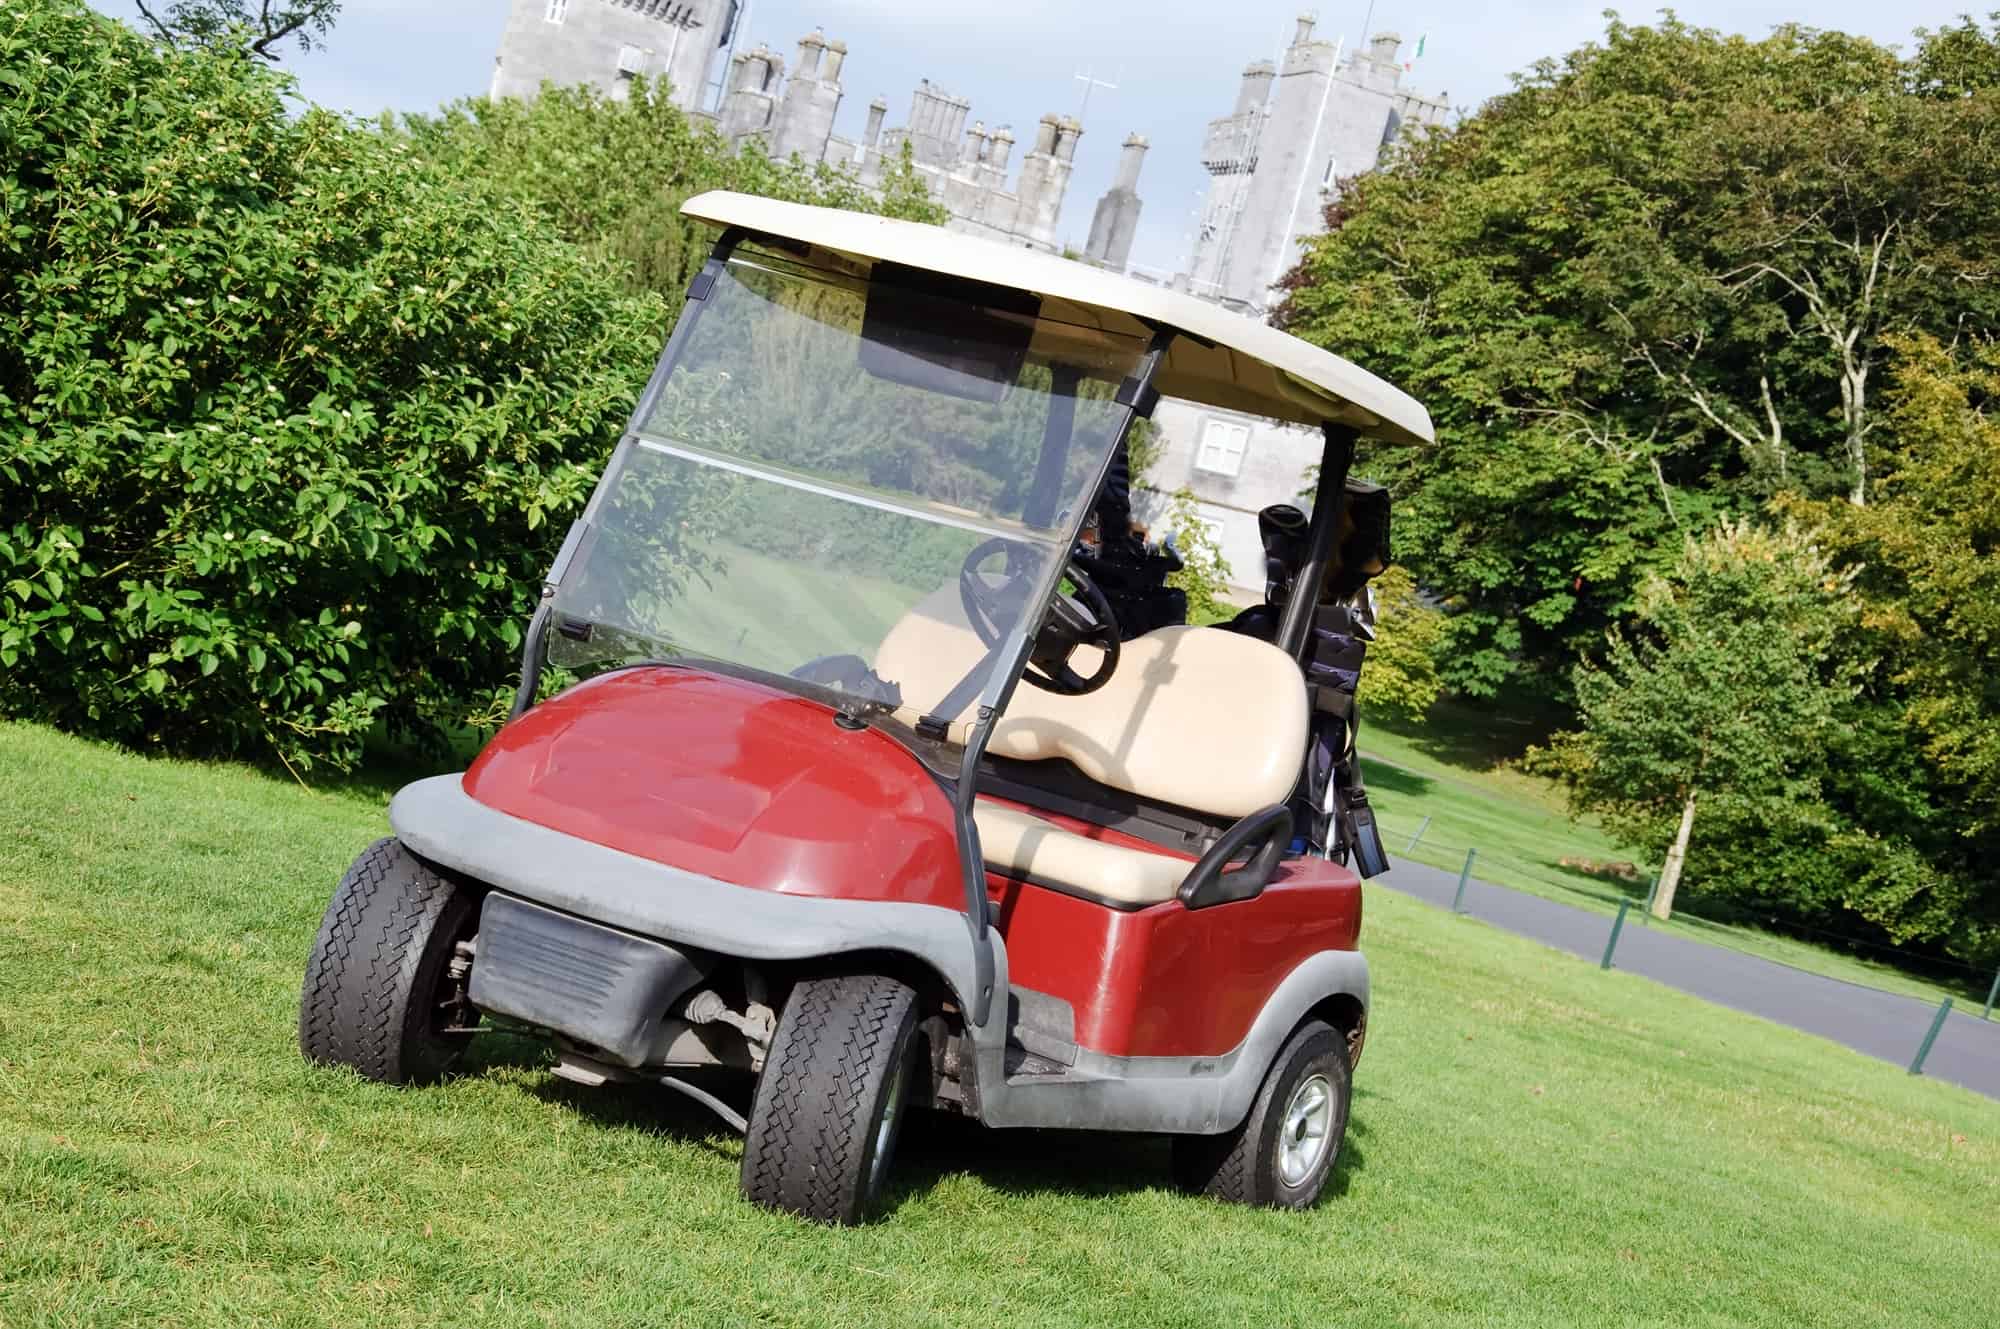
Your electrical golf cart’s accelerator is one of those parts that you might not think a lot about until you suddenly can’t drive your golf cart any more.
This problem is something that many owners are likely to experience at some point, finding themselves stranded in a frustrating situation.
Thankfully, it should be fairly easy to diagnose one or more of the top 10 reasons why electric golf cart accelerators stop working.
10 Common Electrical Golf Cart Accelerator Problems (With Fixes)

Although other problems may occur that cause your golf cart’s accelerator to work poorly, these are by far the most common.
Taking these steps in this order should diagnose your problem, troubleshoot its extent, and making it easier to fix.
10. Loose Wire Connections
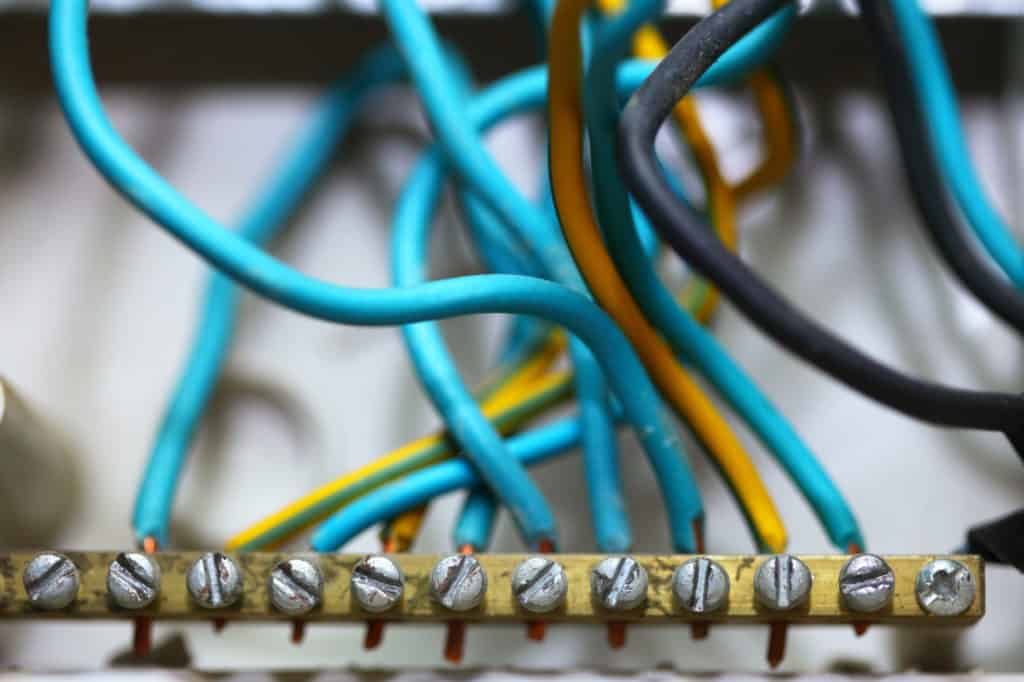
Sometimes, your cart may wiggle while you are riding it and loosen the many wires that connect the controller to the battery and other parts of your cart.
Thankfully, this is usually the most common reason for accelerator issues and the easiest one to fix without real experience by using these steps:
- Open up your cart hood and find the wires connected to your controller
- Check to make sure each of these wires is properly screwed down and held in place
- Inspect all other wires throughout your engine and accelerators
- Tighten the connections on these wires to ensure that they run smoothly
You should be able to get your golf cart running smoothly again, unless you see frays on your wires that need to be replaced or fixed – if so, go to the next section now.
9. Frayed Wires
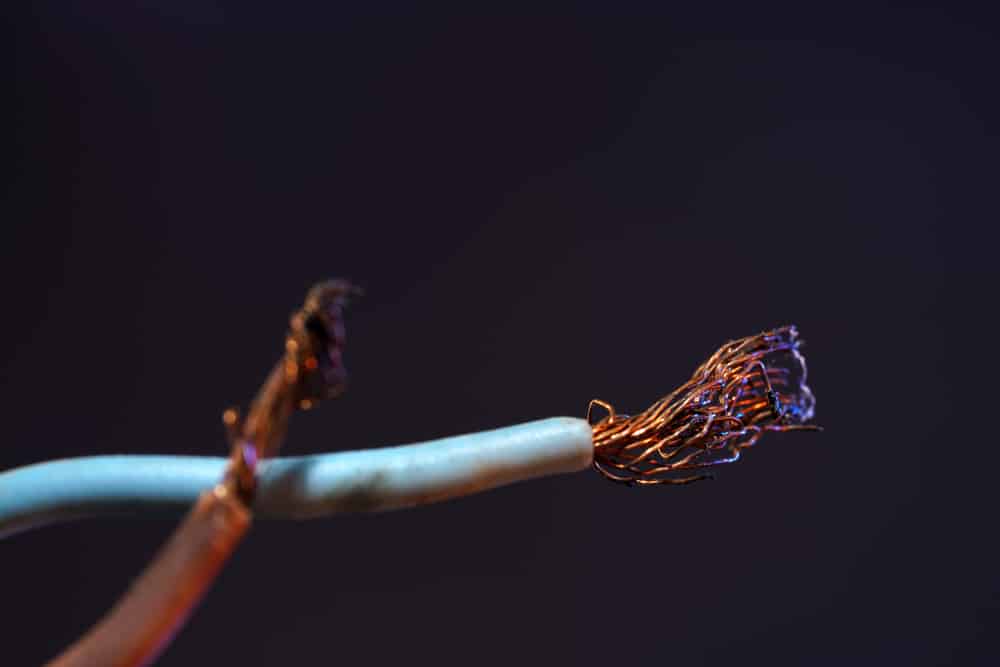
While inspecting disconnected wire problems, it is also a good idea to check each of your wires for frays that may exist throughout their surfaces.
These frays are likely to cause some malfunctions in your engine and must be fixed by replacing the wires with new ones or wrapping with electrical tape.
You should probably replace the wires if they get too frayed, as electrical tape should only be considered a temporary solution.
Replacement requires you to remove each of the wires and add new types for the engine, only removing wires that are not directly connected to the part but their metal electrical connectors.
8. Dead Battery
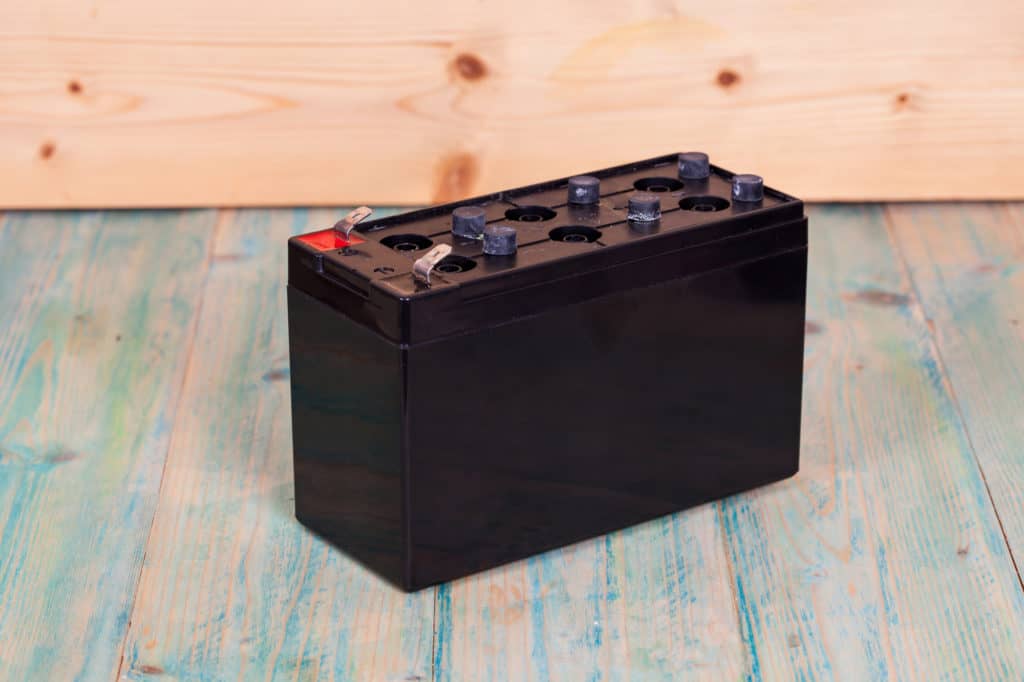
Next, you need to make sure that you don’t have a dead or damaged battery on your hand, a problem that can be caused by issues like bad cells or connections.
Typically, this process is very simple and should be something that you can handle by following these easy tips below:
- Check the positive and negative wires if they are loose and reconnect
- Test your battery with a voltimeter to see how much charge it possesses
- Charge the battery back up using the proper tools
- Try out your accelerator again to see if the charge worked
- Disconnect the battery if it will not hold a charge
- Pull it out and replace it with a proper replacement
- Test this new battery’s charge before hooking it up
- Try out your golf cart to see if the accelerator works
Many times, this simple fix is all that you’ll need to do to get your accelerator working smoothly and efficiently again.
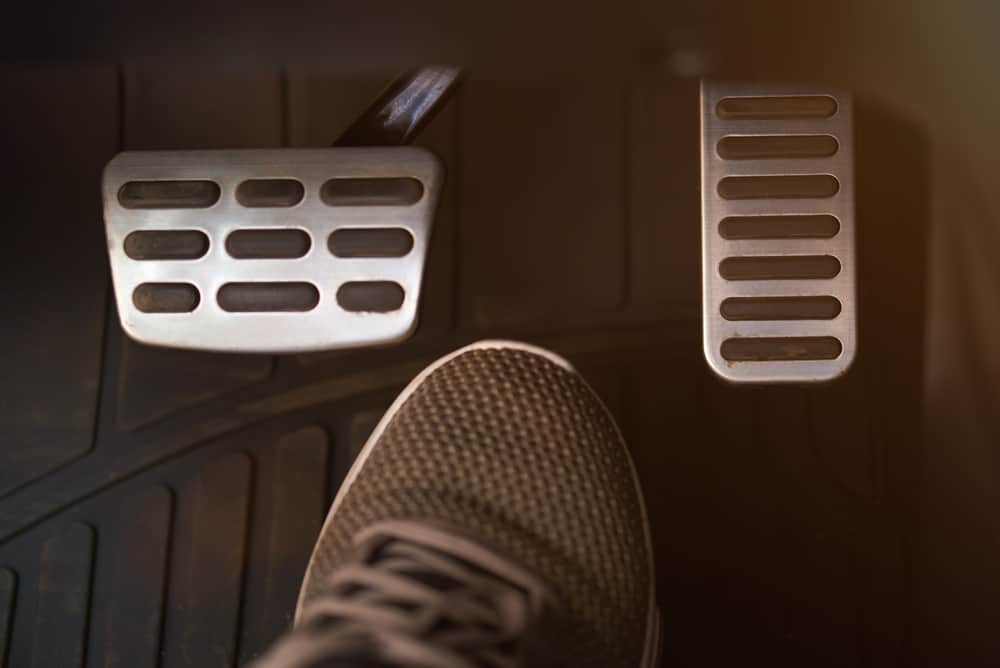
7. Debris Near The Foot Pedal
This issue is probably the most embarrassingly common on this list and is something that is likely if you are something of a regular cart driver.
Many drivers may find that they end up getting small bits of debris, dirt, and other items stuck beneath their foot pedal.
This issue can create a “squishy” feel for your pedal that may cause your accelerator to run at low potential and never quite hit top speed.
Get into your cart and use a small hand broom and hand vacuum to get rid of any of the debris near your pedal.
Lift it up and check for any items that may be lingering here and carefully remove them to ensure that you get your cart running smoothly.
6. Poor Potentiometer
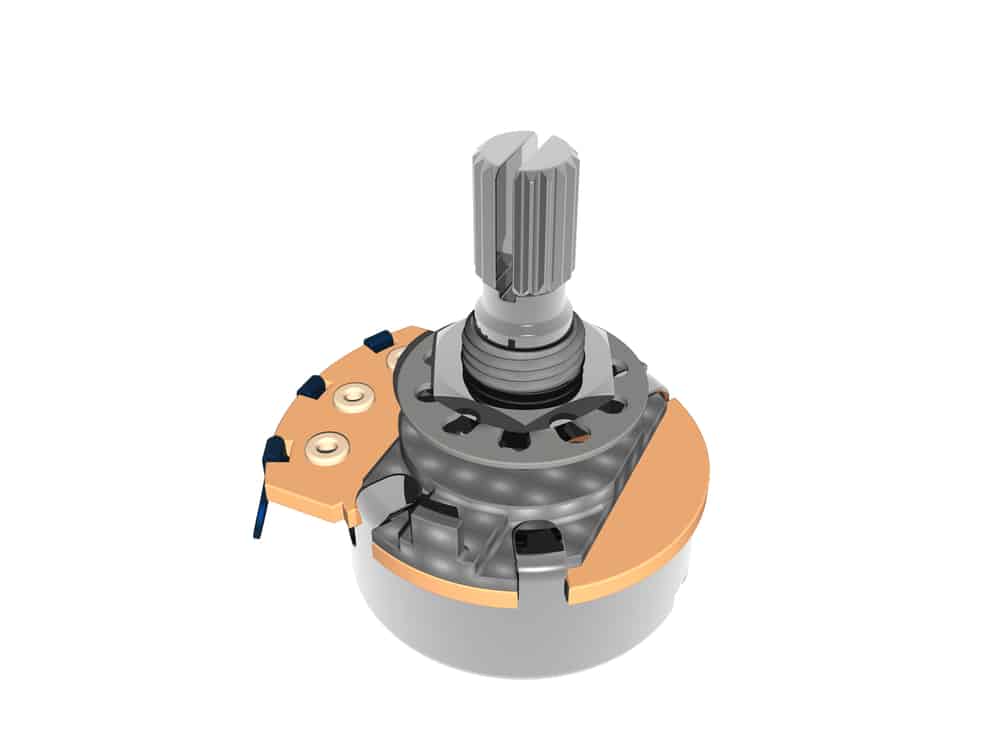
The potentiometer is a small part of your golf cart that is rarely discussed because it rarely goes bad on a golf cart.
It provides the electrical signal to speed controller from the accelerator to indicate the pedal’s position and how much charge the controller should send to the motor.
When it goes bad, the controller may read varying levels of charge that may indicate the pedal isn’t pushed at all – thankfully, you can fairly easily replace this part:
- Trace the wire from your foot pedal up towards your speed controller
- Identify the small part it connects to before reaching the controller – the potentiometer
- Carefully remove this part from the wires and replace it with a new one
- Close your cart hood back up and get ready to test out your accelerator
You may also want to test your potentiometer before you replace it, as this process is fairly simple and shouldn’t take a lot of time.
Carefully remove the small nut on the side of the potentiometer and carefully try to move the lever on the side with very small movements.
Position it properly (you should see its indicated position on the part) and test it to ensure that it has about 5,000 ohms when you push the pedal to the floor.
Replace the potentiometer if the charge is erratic when you push the pedal or if you get no signal from it at all.
5. Direction Switch Malfunction

The direction switch on your cart indicates whether you’re going forward, backward, or sitting in neutral.
And it is important for your accelerator because it helps to let your engine know what direction to turn your wheels.
And when your direction switch malfunctions, you may find yourself having to replace it because you can’t accelerate. Replace this switch following these directions:
- Remove the screws and bolts holding down the switch plate
- Take the plate out of the cart hole as far as you can go without tugging wires
- Disconnect each of these wires and wrap a piece of tape around them
- Write a number on this tape that indicates where the wire goes on your new switch
- Attach these wires to your new direction switch and put it in place
- Screw the switch back down properly
Test your cart now by turning it on and setting your direction switch in forward and pushing the accelerator pedal.
Reverse direction and push the accelerator pedal – if it goes in both directions, you should be fine with your fixes.
4. Damaged DC Converter

The DC converter is critical for taking the AC power of your cart and turning it into a direct current that helps it run smoothly.
And if your DC converter is malfunctioned, the power you generate pressing your accelerator pedal will not be direct current and won’t create any acceleration unless you replace the damaged box with these steps:
- Trace the wires away from your speed controller until you find a small, black box
- Carefully undo the screws and wires holding this part in place on your cart
- Remove the DC converter and replace it with a new one
- Screw down the new converter and connect it to the proper wires
Start up your cart again and push the pedal to see what kind of acceleration your cart gives you when you push down.
If for any reason your golf cart still doesn’t accelerate, you’re getting into more difficult and technical steps that will require more time and money investment.
3. Speed Controller

As mentioned earlier, the speed controller of your cart helps to translate the pressure from your pedal into electrical signals that get your cart moving.
When this part ends up failing, there’s just not much you can do to force your cart to move and you may end up having to replace it.
The speed controller is a complex part that does not do well with DIY repairs, such as attempting to replace wiring elements and other features.
Instead, it is best to just follow these steps to get the controller out of your golf cart and to replace it with an all new option instead:
- Open up your golf cart hood and look for the speed controller
- Find the large, rectangular box that has wires coming directly from your foot pedal
- Carefully unscrew all of the wires connected to this golf cart part
- Remove the bolts holding it down using a specialized wrench option
- Put in the new controller in its place and bolt it back down
- Connect the wires back to the controller, saving the battery for last to avoid shocks
When you’re done, try to turn on your cart again and push the accelerator pedal to see how well this repair worked.
You should get an immediate burst of speed that is proper for your golf cart and its overall design and execution.
You should also see that your golf cart’s speed meter is working properly again – poor speed maintenance from the meter is one of the most common symptoms of controller failure in your cart.
2. Bad Solenoid
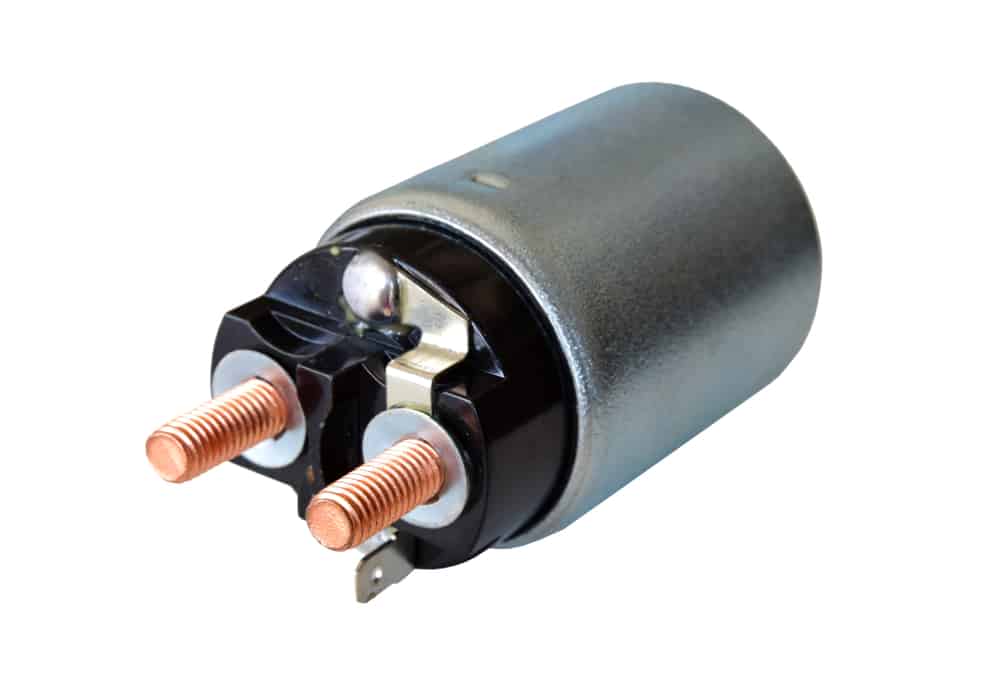
The solenoid is an important electrical switch that helps to keep your golf cart operating smoothly by taking electrical flow from your battery to other parts of the cart.
Unfortunately, the solenoid is often prone to various types of damage that may end up causing it to fail on you unexpectedly.
When it does, no matter how hard you press the pedal on your cart, you’re just not going to get much get up and go.
There are a few different things that you can do to check for symptoms of a bad solenoid, such as listening for it to activate when you press the accelerator or do anything else with the battery.
If you don’t hear the solenoid start up when you turn the switch, it is time to replace the solenoid with a different option following these steps:
- Open up your cart hood to find the battery system
- Identify the solenoid by looking at your cart schematic
- Carefully remove the screws holding the solenoid down
- Disconnect the wires connected to this part
- Put in a new solenoid and reconnect it to the wires
- Screw the solenoid back into place
Most of the time, you shouldn’t have to replace a solenoid more than once or twice throughout your golf cart’s life.
If for any reason your solenoid keeps burning out on you, it is time to talk to a professional who can inspect the rest of your engine and figure out what is going wrong.
1. Accelerator Failure

If you’ve gone through every step in this process and your accelerator is still not working properly, it might be time to replace it to give your cart a better chance to operate.
If your cart is older or has a lot of miles on it in a short time, there’s a good chance that your accelerator is just done.
Replacing it requires you to take a series of careful steps that should be quite easy for most people to do:
- Carefully detach all of the screws holding your accelerator pedal down
- Remove the pedal carefully but pay attention to the wiring connections
- Find the wires connected to the pedal and carefully remove them
- Tape down these wires to the side of the cart until you’re ready to replace the pedal
- Put the new pedal in place, connect the wires, and screw it back down
Once you’ve taken all of these steps, you should turn your golf cart on, put it in drive or reverse, and hit the accelerator.
You should start moving in the chosen direction without delay – if you don’t, there may be something wrong with your cart beyond the accelerator.
Thankfully, this fix should take care of most concerns with your accelerator, so make sure to contact an expert if your cart still won’t move.
Understanding The Role Your Accelerator Plays
Your cart’s accelerator is just one part of the system that keeps your golf cart moving, and is the part that you’ll contact the most as you drive.
As a result, it is important to understand a few of the most common elements of this design to give you an idea of what kind of problems might arise.
First of all, your accelerator is connected directly to your drive controller, which connects to elements like your DC converter, the speed meter, the battery, and your AC motor.
When you push the pedal on your accelerator, you send pressure to the controller that is then converted into DC power.
Your battery sends power to your controller to help it operate, allowing it to send electrical signals to your meter and to your AC motor.
The controller will gauge how much speed your motor should create by reading the pressure you put on the accelerator and translating it to your motor.
If any of these parts end up failing or running into any difficulties in your cart, there’s a good chance that your accelerator won’t work properly.
As a result, it is important to check for all of these elements before you end up resetting your motor or taking any other long-term repair steps.

Leave a Reply
You must be logged in to post a comment.