
There are so many different factors that go into a great putting stroke.
You will have to make sure you are lined up, you have the speed right, your stroke is stable on the path, and your brain is in the right place to make a putt.
With all this to think about, the one concrete thing you need to make sure of is that you are lined up correctly.
Here are our top ten favorite drills to practice your putting alignment.
Whether you are a low handicapper or a high handicapper, there is a drill here to help you improve.
10 Putting Alignment Drills to Improve Your Game

1. Putting Mat with Lines
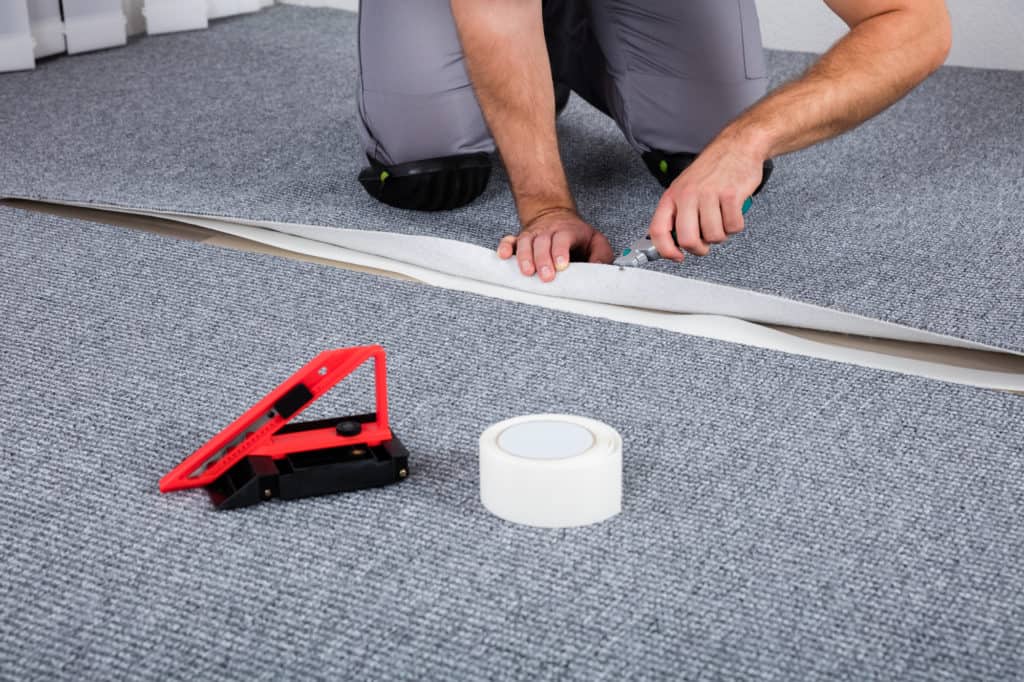
We are starting with one of the most simple putting alignment drills there is.
You may as well start simple, and it will help you realize how quickly start improving your alignment on the putting greens using such basic things.
With this drill, you will need an at-home putting mat, but a carpet will work.
If you choose the at-home putting mat, you will want something with lots of lines on it.
In fact, it’s best if there are lines almost all the way to the hole.
If not, you can add those lines with some tape, or you can even spray paint them or use a sharpie marker.
If you are using your carpet, start putting tape down on the carpet in a straight line from your clubface to the hole.
Seeing the line to the hole takes some brain training.
This can be hard to do on a real putting green on the course, but at home, it is easy.
What you should do is continually step in to set up and hit your putt.
Then go pick up the ball and come back to the setup position and line up again.
If you stand over the line and lineup over and over without taking a break, you won’t be training yourself.
By stopping and picking up the ball, you force yourself to setup again and get the proper alignment.
This drill is simple, but it will start to teach your brain what the proper alignment looks like.
2. Chalk Lines

In our first drill, we talked about setting up a line from you to the hole to start to train your brain on what alignment looks like.
On the golf course, it can be harder to get these same lines in place, but you can use a chalk line to help you.
A chalk line is an expensive tool, but there are a few things you should make sure of before you set this drill up.
Make sure the golf course is okay with you putting a chalk line on their green.
Ask the pro shop staff as this may be something they can do for you.
Always choose a straight putt that is not on a slope.
A line to the hole that is not the proper line is not going to help anyone get better at putting.
Choose a spot at least ten feet away if you are working on alignment.
Follow the same steps as above when it comes to setting up and then picking up your golf ball.
Hitting shot after shot is not going to help you get any better at golf; you must treat each putt like it is the golf course.
3. Gate Drill
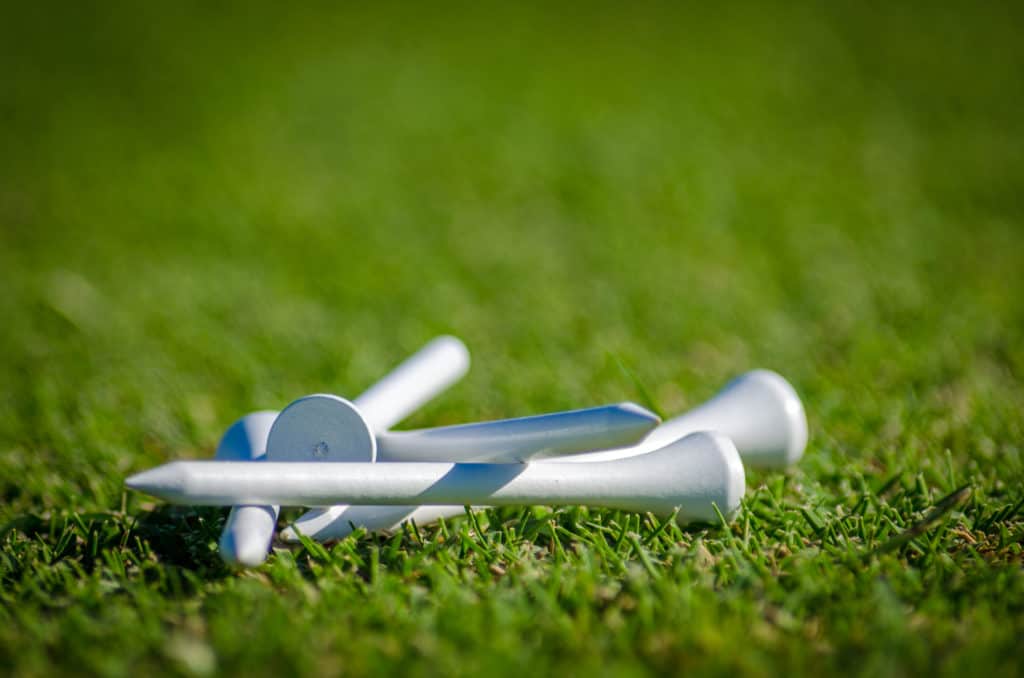
The gate drill is one of the most popular putting drills in golf.
This method involves setting up gates between you and the hole.
The golf ball you are hitting must pass through these gates to get to the hole.
The gate drill teaches players that they should be focusing on a path from the ball to the hole and not just the hole itself.
You can set up the gates using golf tees, and you make them slightly wider than the golf ball.
The drill is tough when the gates are narrow, and when they are wider, it certainly gets quite a bit easier.
Start with something a bit wider and then challenge yourself to get through narrower gates.
The more you can learn to accurately pinpoint this line between your club and the hole, the more putts you will start to make.
The gate drill is something even golfers on the PGA Tour will use.
If you ever watch Joran Spieth warm up before a tournament, you may see this drill in play as it is a great way to focus on seeing the line.
Remember, when you work on putting, you are not just working on the physical side of the game but the mental as well.
Much of what you must learn with putting is how to train your brain.
4. Circle Drill
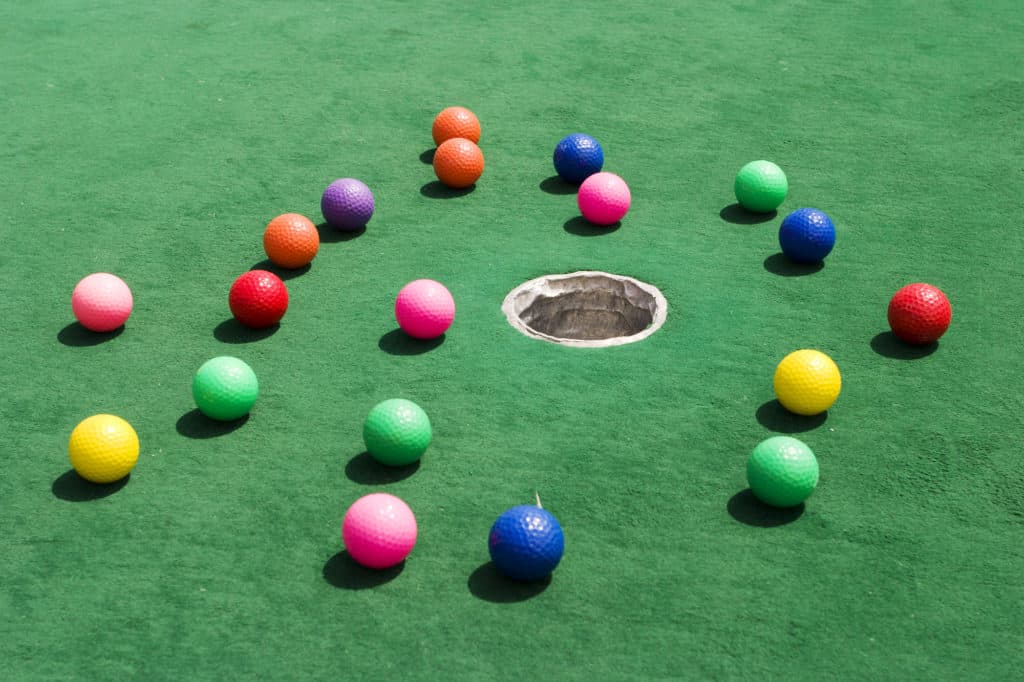
The circle drill is one of the best golf putting drills of all time, and the great Tiger Woods favors it.
This is a simple drill where you pick a three- or four-foot putt and place golf balls around the hole to resemble a clock.
You will put a ball at 12 o’ clock, 3, 6, and 9.
Then you go from one ball to the next and get the ball in the hole.
There are two ways to play this: you can’t move to the next until you make the putt, or you can keep moving around the circle.
The reason this drill helps with alignment is that it consistently makes you change your setup and your angle to the hole.
When you change your angle, you have to change your alignment as well.
After you go around the hole a few times, you should know what it takes to make the putts, and you can narrow down precisely what the proper alignment feels like.
Make sure you are comfortable with the length of the putt when practicing this drill.
This is a drill where you will want to allow yourself to make the putts.
It is not the best for twenty-foot putts as it doesn’t provide the feedback your brain and body need.
The ultimate goal of the circle drill is to go around the hole without missing a putt.
5. Mirror Putting Drill
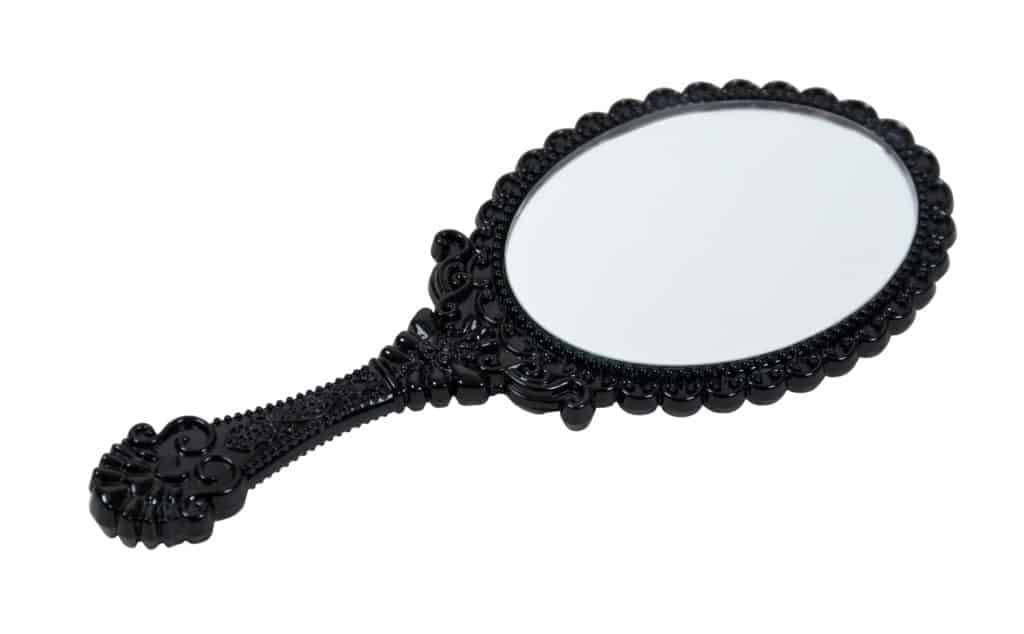
The mirror putting drill is a bit more of an alignment aid than anything else.
Most of the time, people struggle with alignment because their eyes, hands, or clubface are not lined up correctly.
When you set up to hit a putt, there is quite a bit that goes into it, and if you don’t have the proper alignment, your chances of making that putt are very slim.
What a putting mirror does is allow you to see if your eyes, putter, face, and hands are all working together or if things are going in different directions.
You can talk to the golf course where you usually practice to see if they have a putting mirror, but you can also purchase one online.
The putting mirror also helps you learn if your clubface is square.
If your alignment is perfect, but you don’t know the angle of your putter face, you may struggle with getting the ball in the hole.
6. Three Tee Putting Drill
Golfers tend to get very focused on hitting the ball in the hole.
Sometimes it makes sense to get away from this concept a bit and start hitting at another target or spot.
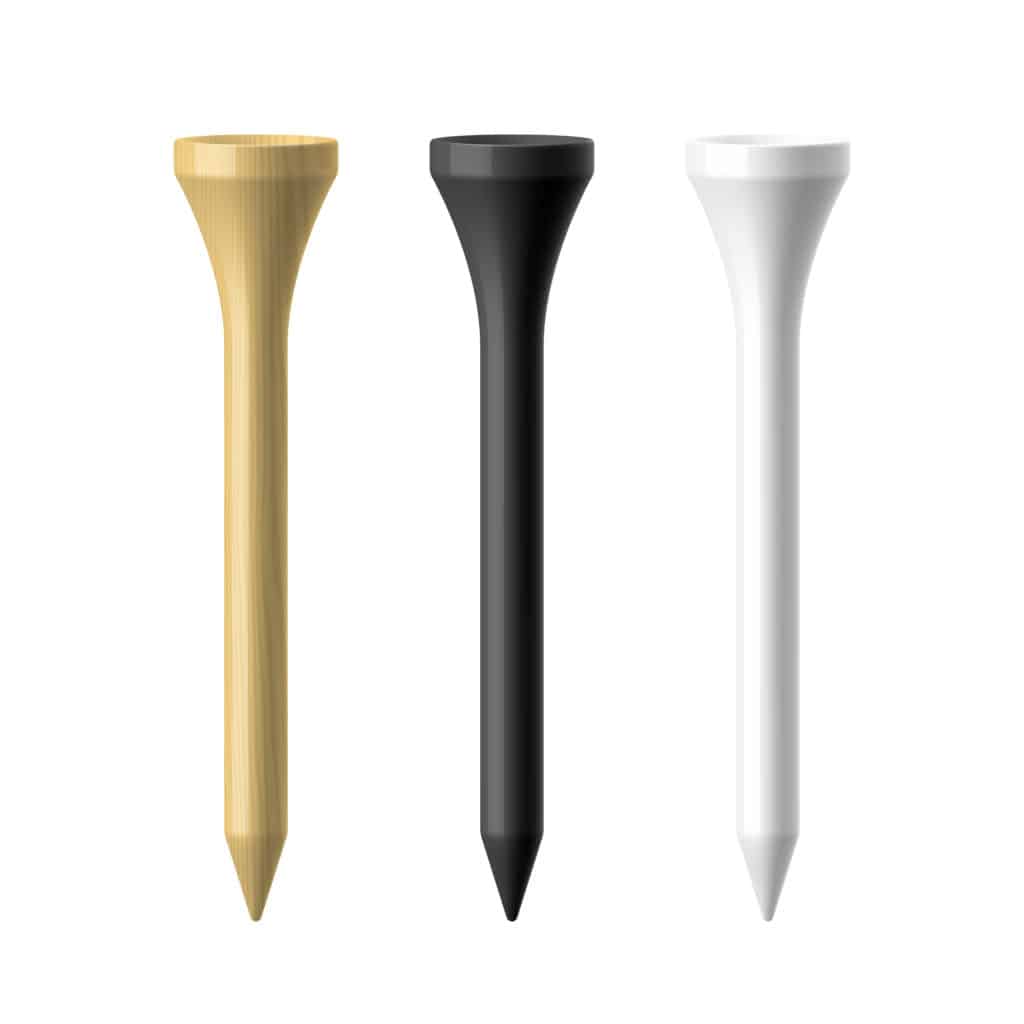
With this drill, you will need three tees, three balls, and your putter.
Take your golf tees and put them about three feet apart from each other, about twenty feet away from you.
Use these three tees as your targets.
The next thing you will do is hit the first ball to the first tee, the second ball to the second tee, and the third ball to the third tee.
By keeping these tees about the same distance apart, you won’t be working on distance control as much as you are working on alignment.
Each time you change the target, you have to work on changing your alignment.
Your feet changes, your head moves, your hands move, etc.
Everything is different, and it forces you to move and realign yourself.
So many golfers get stuck on the habit of hitting three balls to one target.
How many rounds of golf have you played where you got three chances to make one putt?
7. Suspended Line Drill

Although we love the suspended line drill, it can take a bit more time to set up.
Ensure you have two small sticks (about the size of a pencil) and a string to work on this drill.
Find about a ten-foot putt and set this line up so it extends from before your hitting area to a point beyond the hole.
This straight line will be very similar to the chalk line we referred to in one of our earlier drills.
The straight line is elevated in this drill, which allows you to putt the ball under the line.
This is an excellent drill for visualization because you can see the line to the hole much more clearly, and you can watch your putter’s swing on this line.
When you first set this drill up, don’t use a golf ball.
Simply swing your putter back and forth under the line and get used to what perfect alignment to the hole looks and feels like.
Once you have that down, you can introduce the golf ball again and start trying to make putts using this line you have in place.
A chalk line is an excellent tool for your stroke, but the elevated line helps your visualization and your golf stroke.
8. Two Tee Drill

The two tee drill is a great way to help players understand the importance of the clubface angle in putting.
With the two tee drill, you will set up behind the golf ball and make sure the putter is aligned with the hole.
Then take a tee and place one where the heel of the putter is and one where the toe of the putter is.
You can leave a little bit of wiggle room so the putter can freely pass between the two tees.
Now you can go about putting, knowing that if your putter is square between these two tees, you will be appropriately aligned to the hole.
This drill works particularly well for beginner golfers who tend to forget to square up everything before they take a putt.
If you start missing putts way to the left or right, try and make sure your putter is correctly aligned at setup.
If it is, you could have a stroke problem.
This can be done using other putting drills which can show you are twisting the clubface before or at the impact position.
9. Alignment Stick Drill
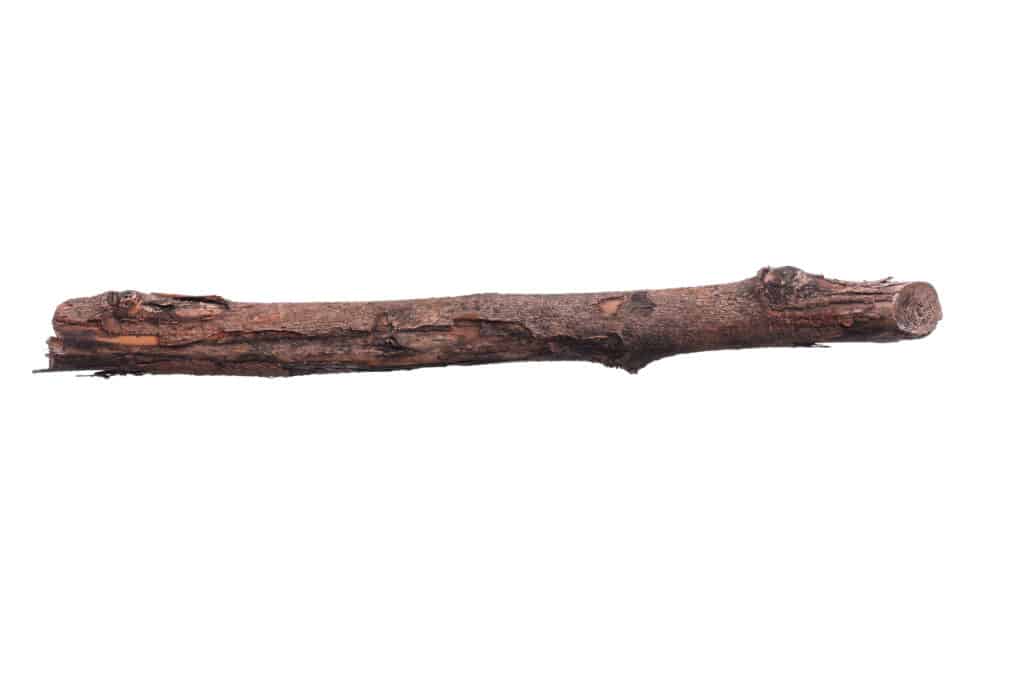
The golf alignment stick has become a must-have in the bag of almost all golfers.
These sticks can be used to work on so many things on the golf course and your putting.
One great way to use the alignment stick is to set up to the hole as if you are lined up.
Then place an alignment stick on the path between your club and the hole.
When you do this, you can then step back and see where the alignment stick is pointing.
If the stick points directly to the hole, you are great at alignment.
If the stick is pointing three feet left of the hole, you certainly have some work to do.
You can also use the alignment stick as a guide on your way to the golf hole.
Place a couple of sticks down and ensure they are headed towards the hole.
Now work on aiming to the stick, not just the hole, and ensuring that your body, clubface, and hands are all appropriately aligned to the stick.
10. Look Up to Avoid the Flip

Our last alignment drill is probably one of our favorite all-time drills.
Some people are decent at lining up their golf shots, but then they don’t trust the line they picked.
If this sounds like you, then you should try this drill.
To trust your alignment, start looking at the hole while you putt.
Set up, align the putter and your body, and then look at the hole while you are putting.
You will not miss the golf ball, but you will be more likely to swing along the path you chose.
When looking at the hole, you don’t have to guess where anything is, and you can trust that you are lined up directly to the hole.
This is such an effective drill that many people switch to looking at the hole when they are putting.
This method of putting can take a bit of the stress out of the game and the pressure of sinking a putt.
When you are watching the hole, you are much less likely to pick your head up too soon and open your clubface.
Overall, most people make more putts when they trust their stroke and their alignment, and this drill will teach that.


Leave a Reply